Over the past couple of weeks I’ve finished coating the roof, installed the racking for the solar array, pulled apart the dashboard, deep cleaned the interior, started rebuilding the heater and ventilation system, and started assembling the heart of the off-grid electrical system.
This is entirely too much progress to fit into one post, so we’ll focus on the roofing and racking first, then address the the interior, and electrical system separately.
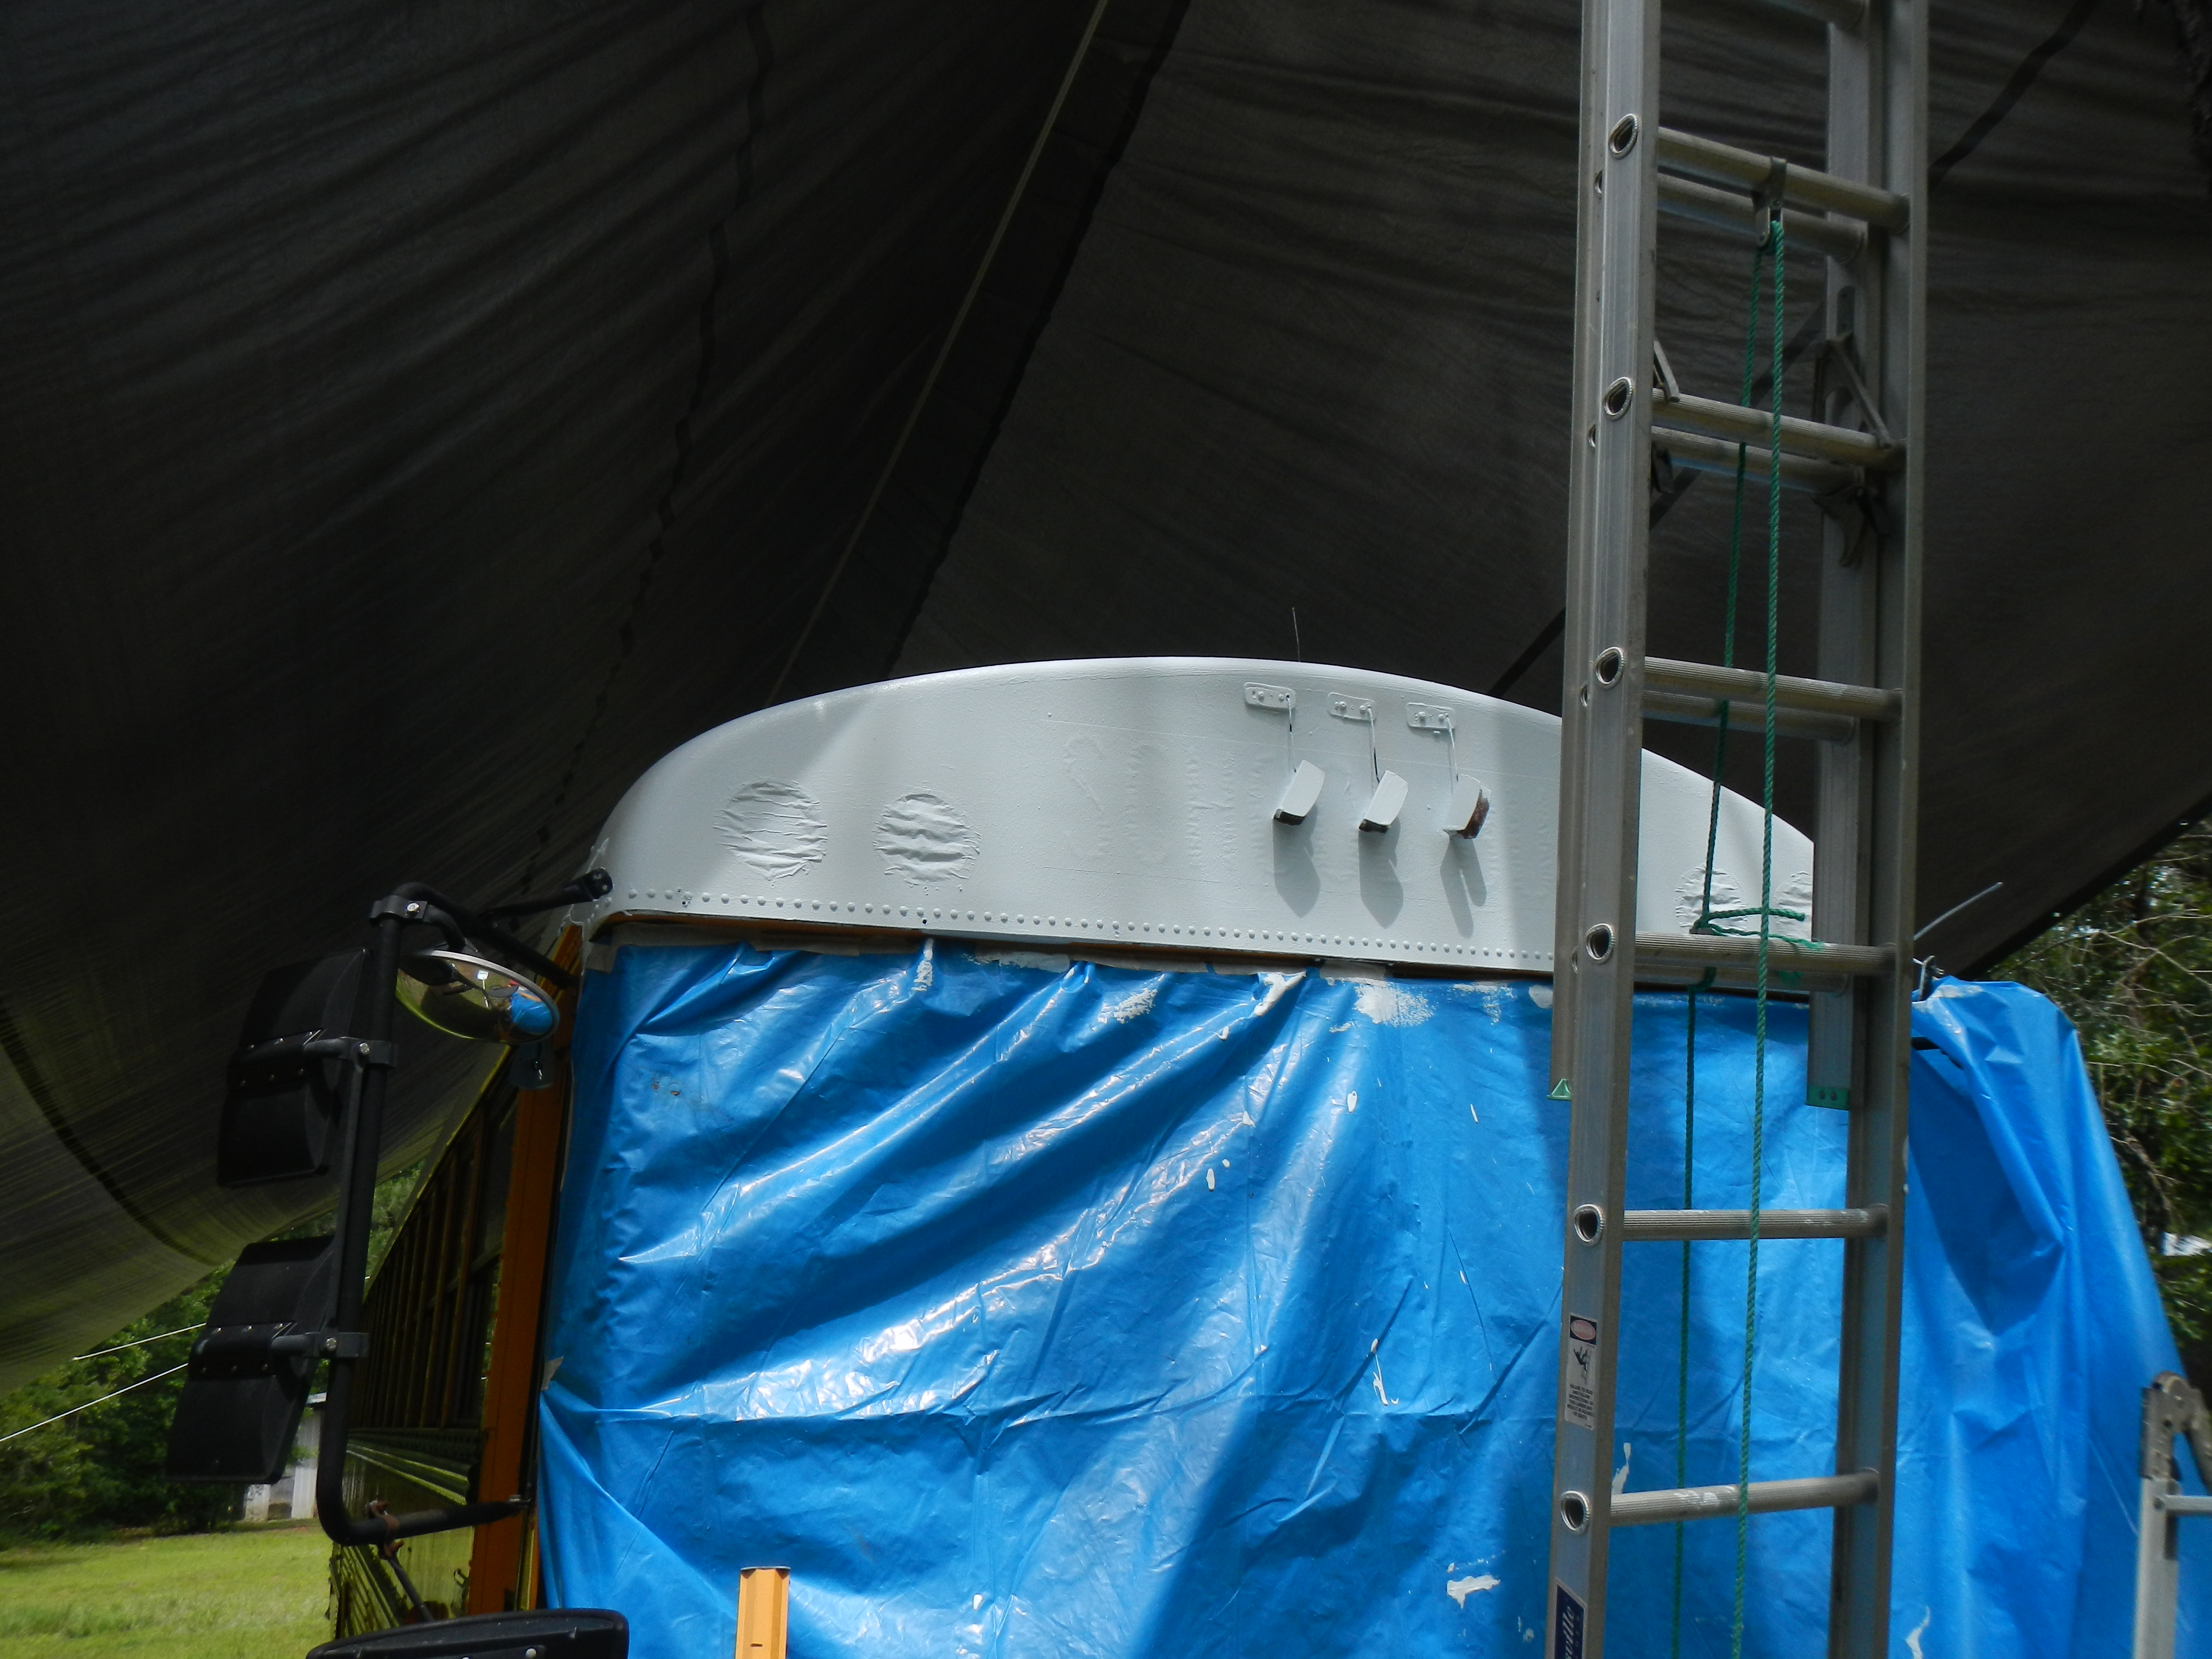
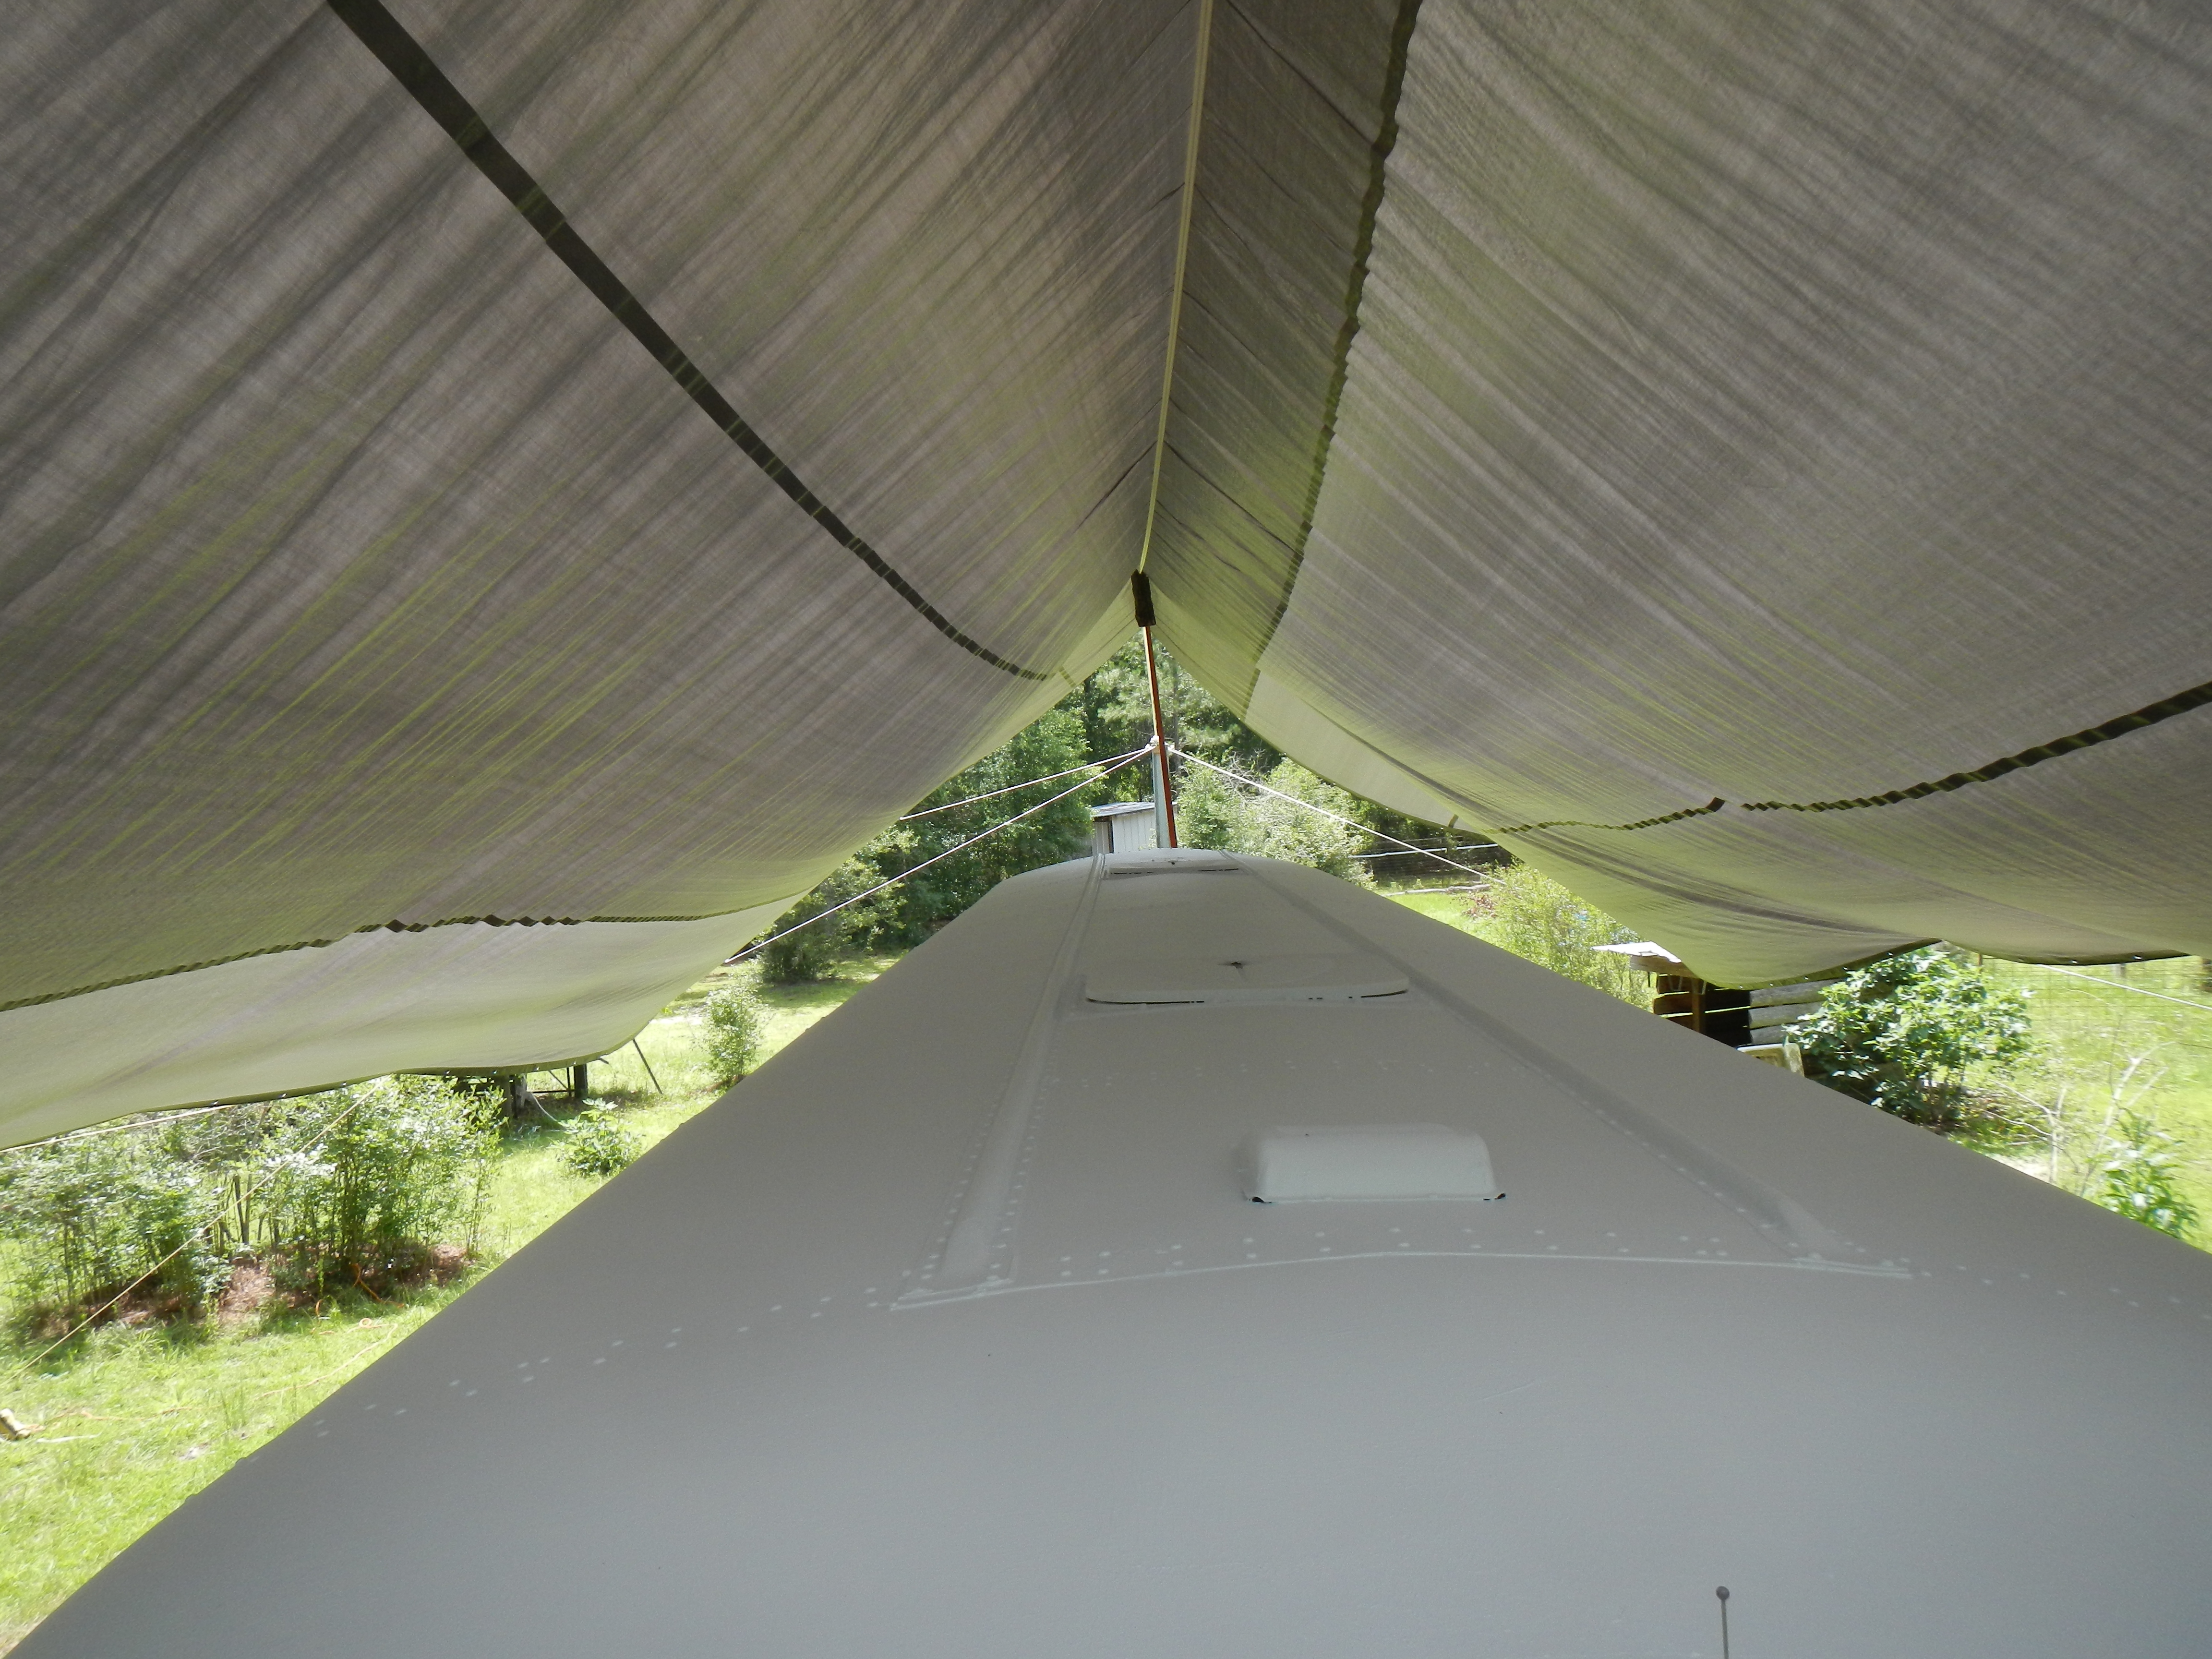
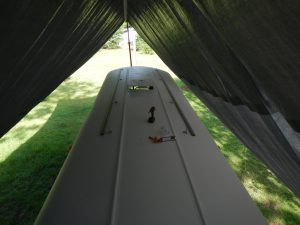
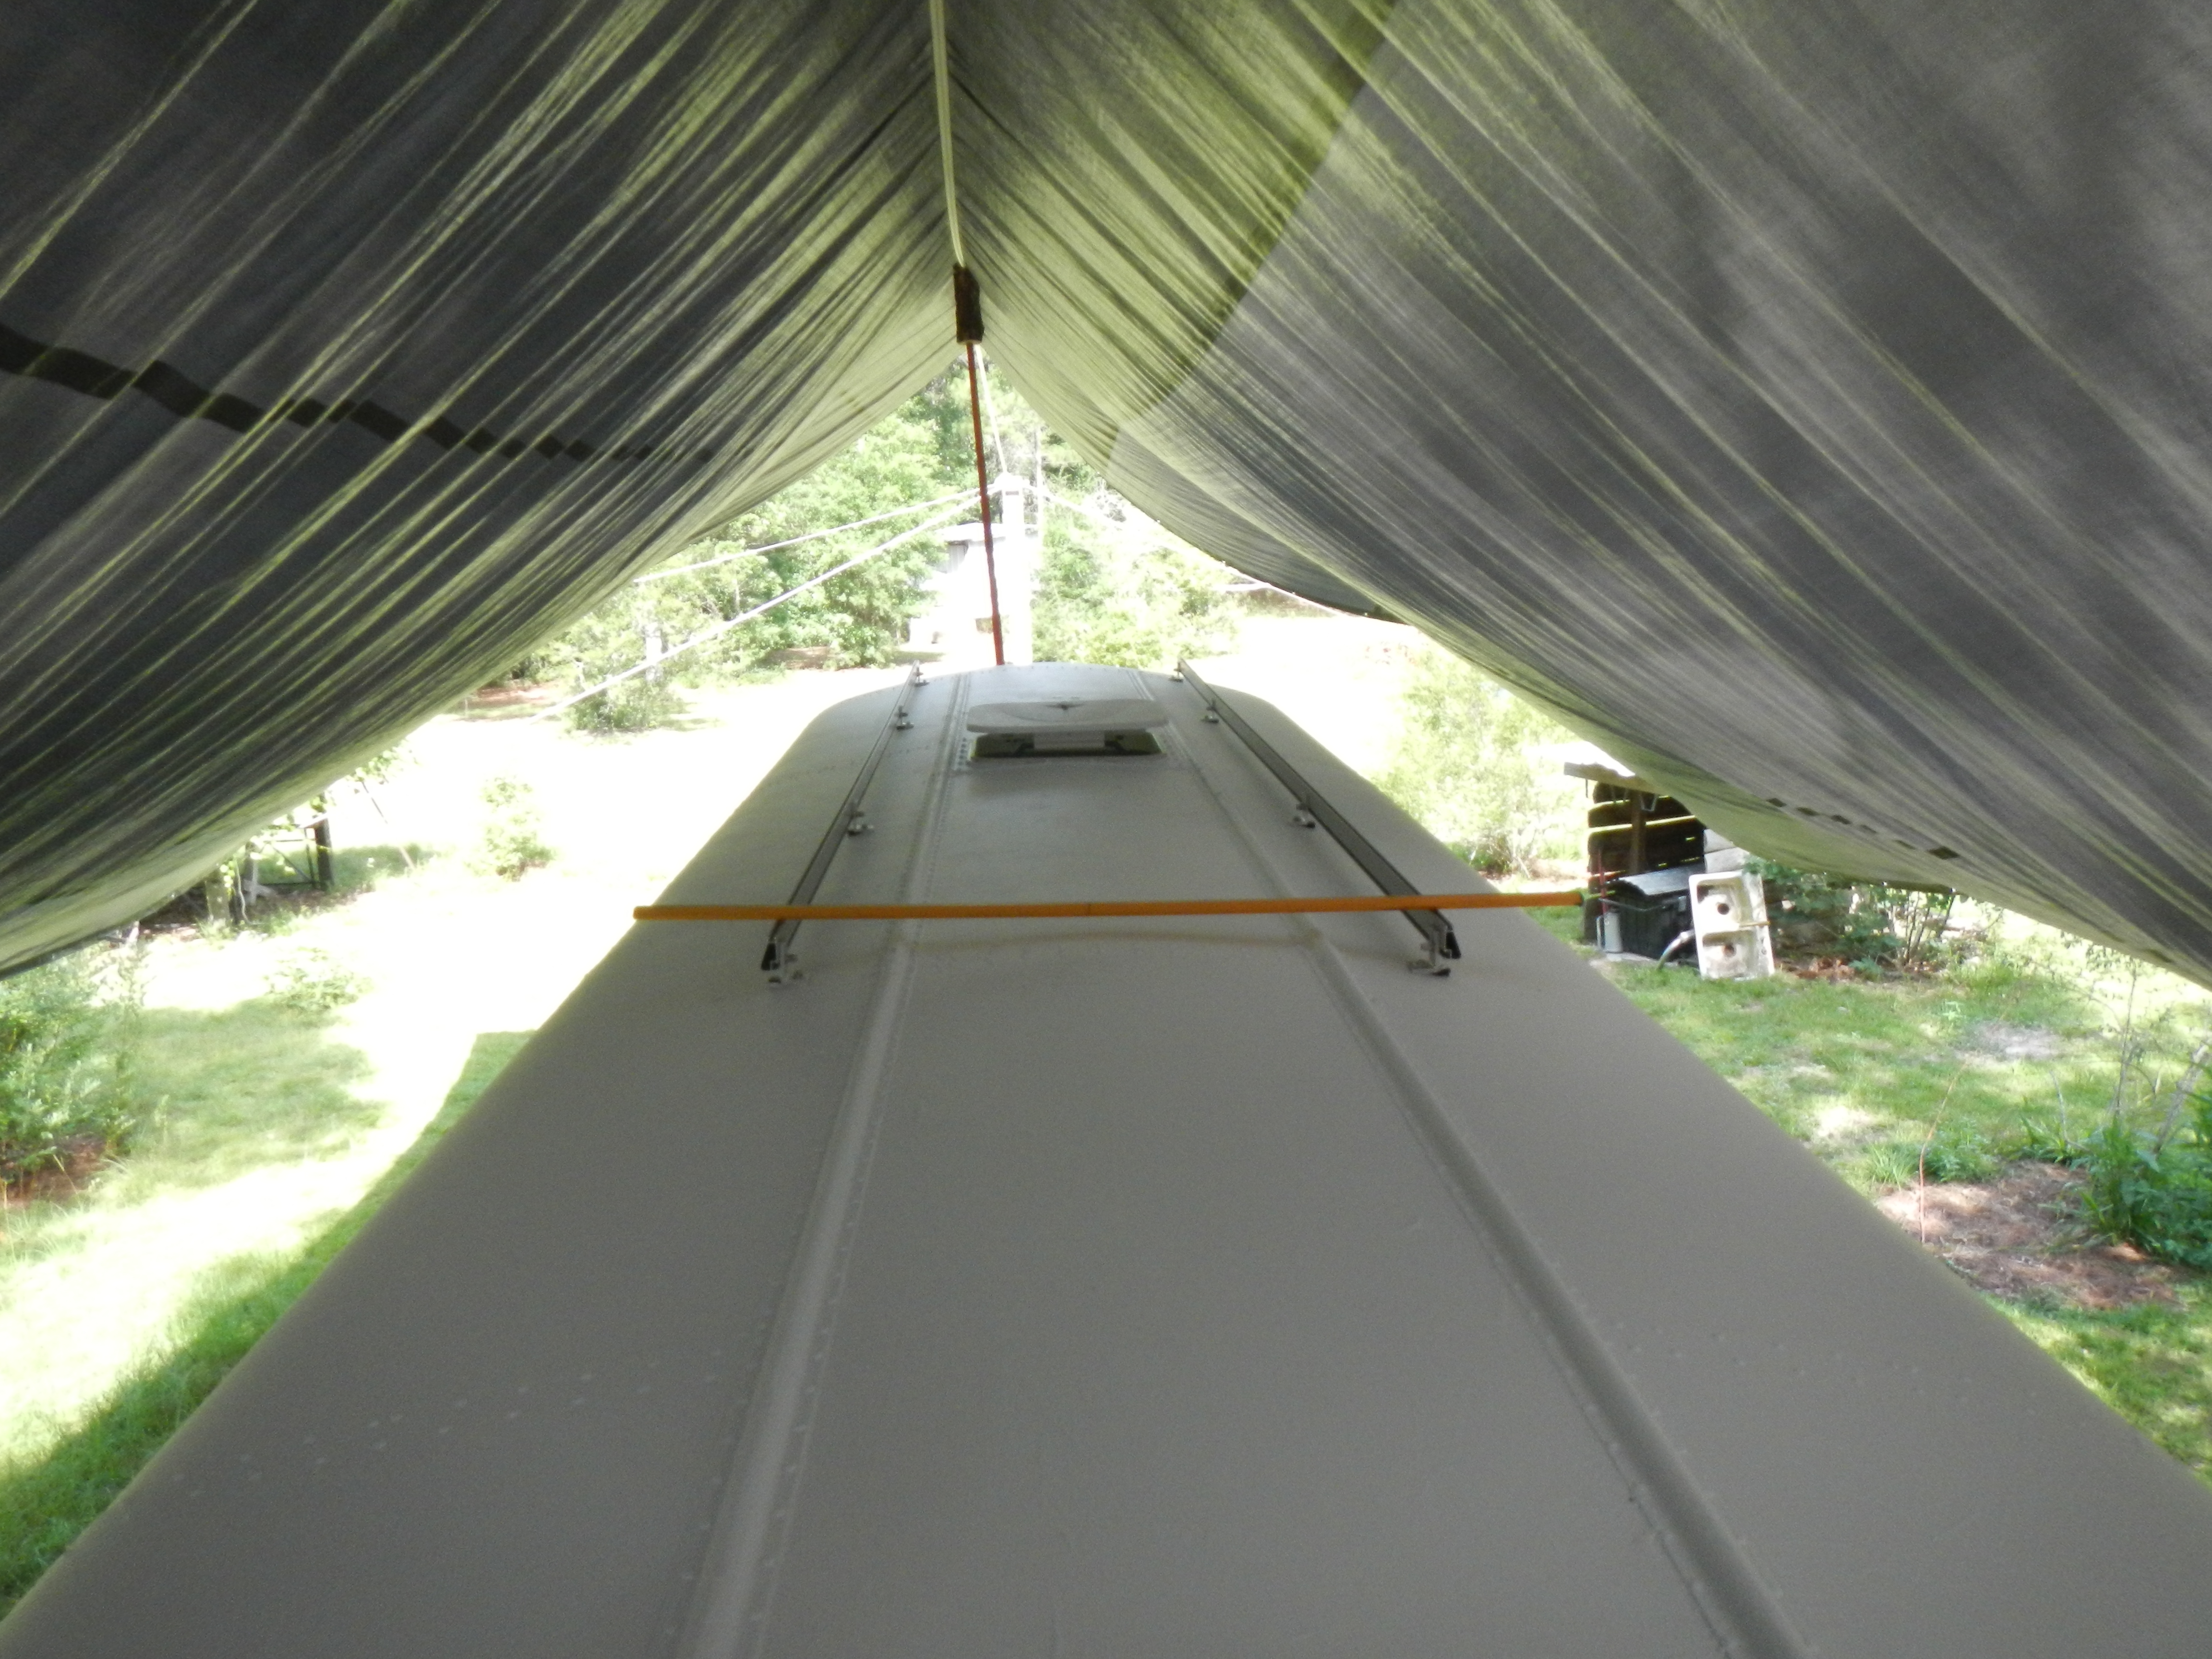
Once the tarp tent was in place, I spent two very sweaty days coating and re-coating the roof with elastomeric sealant.
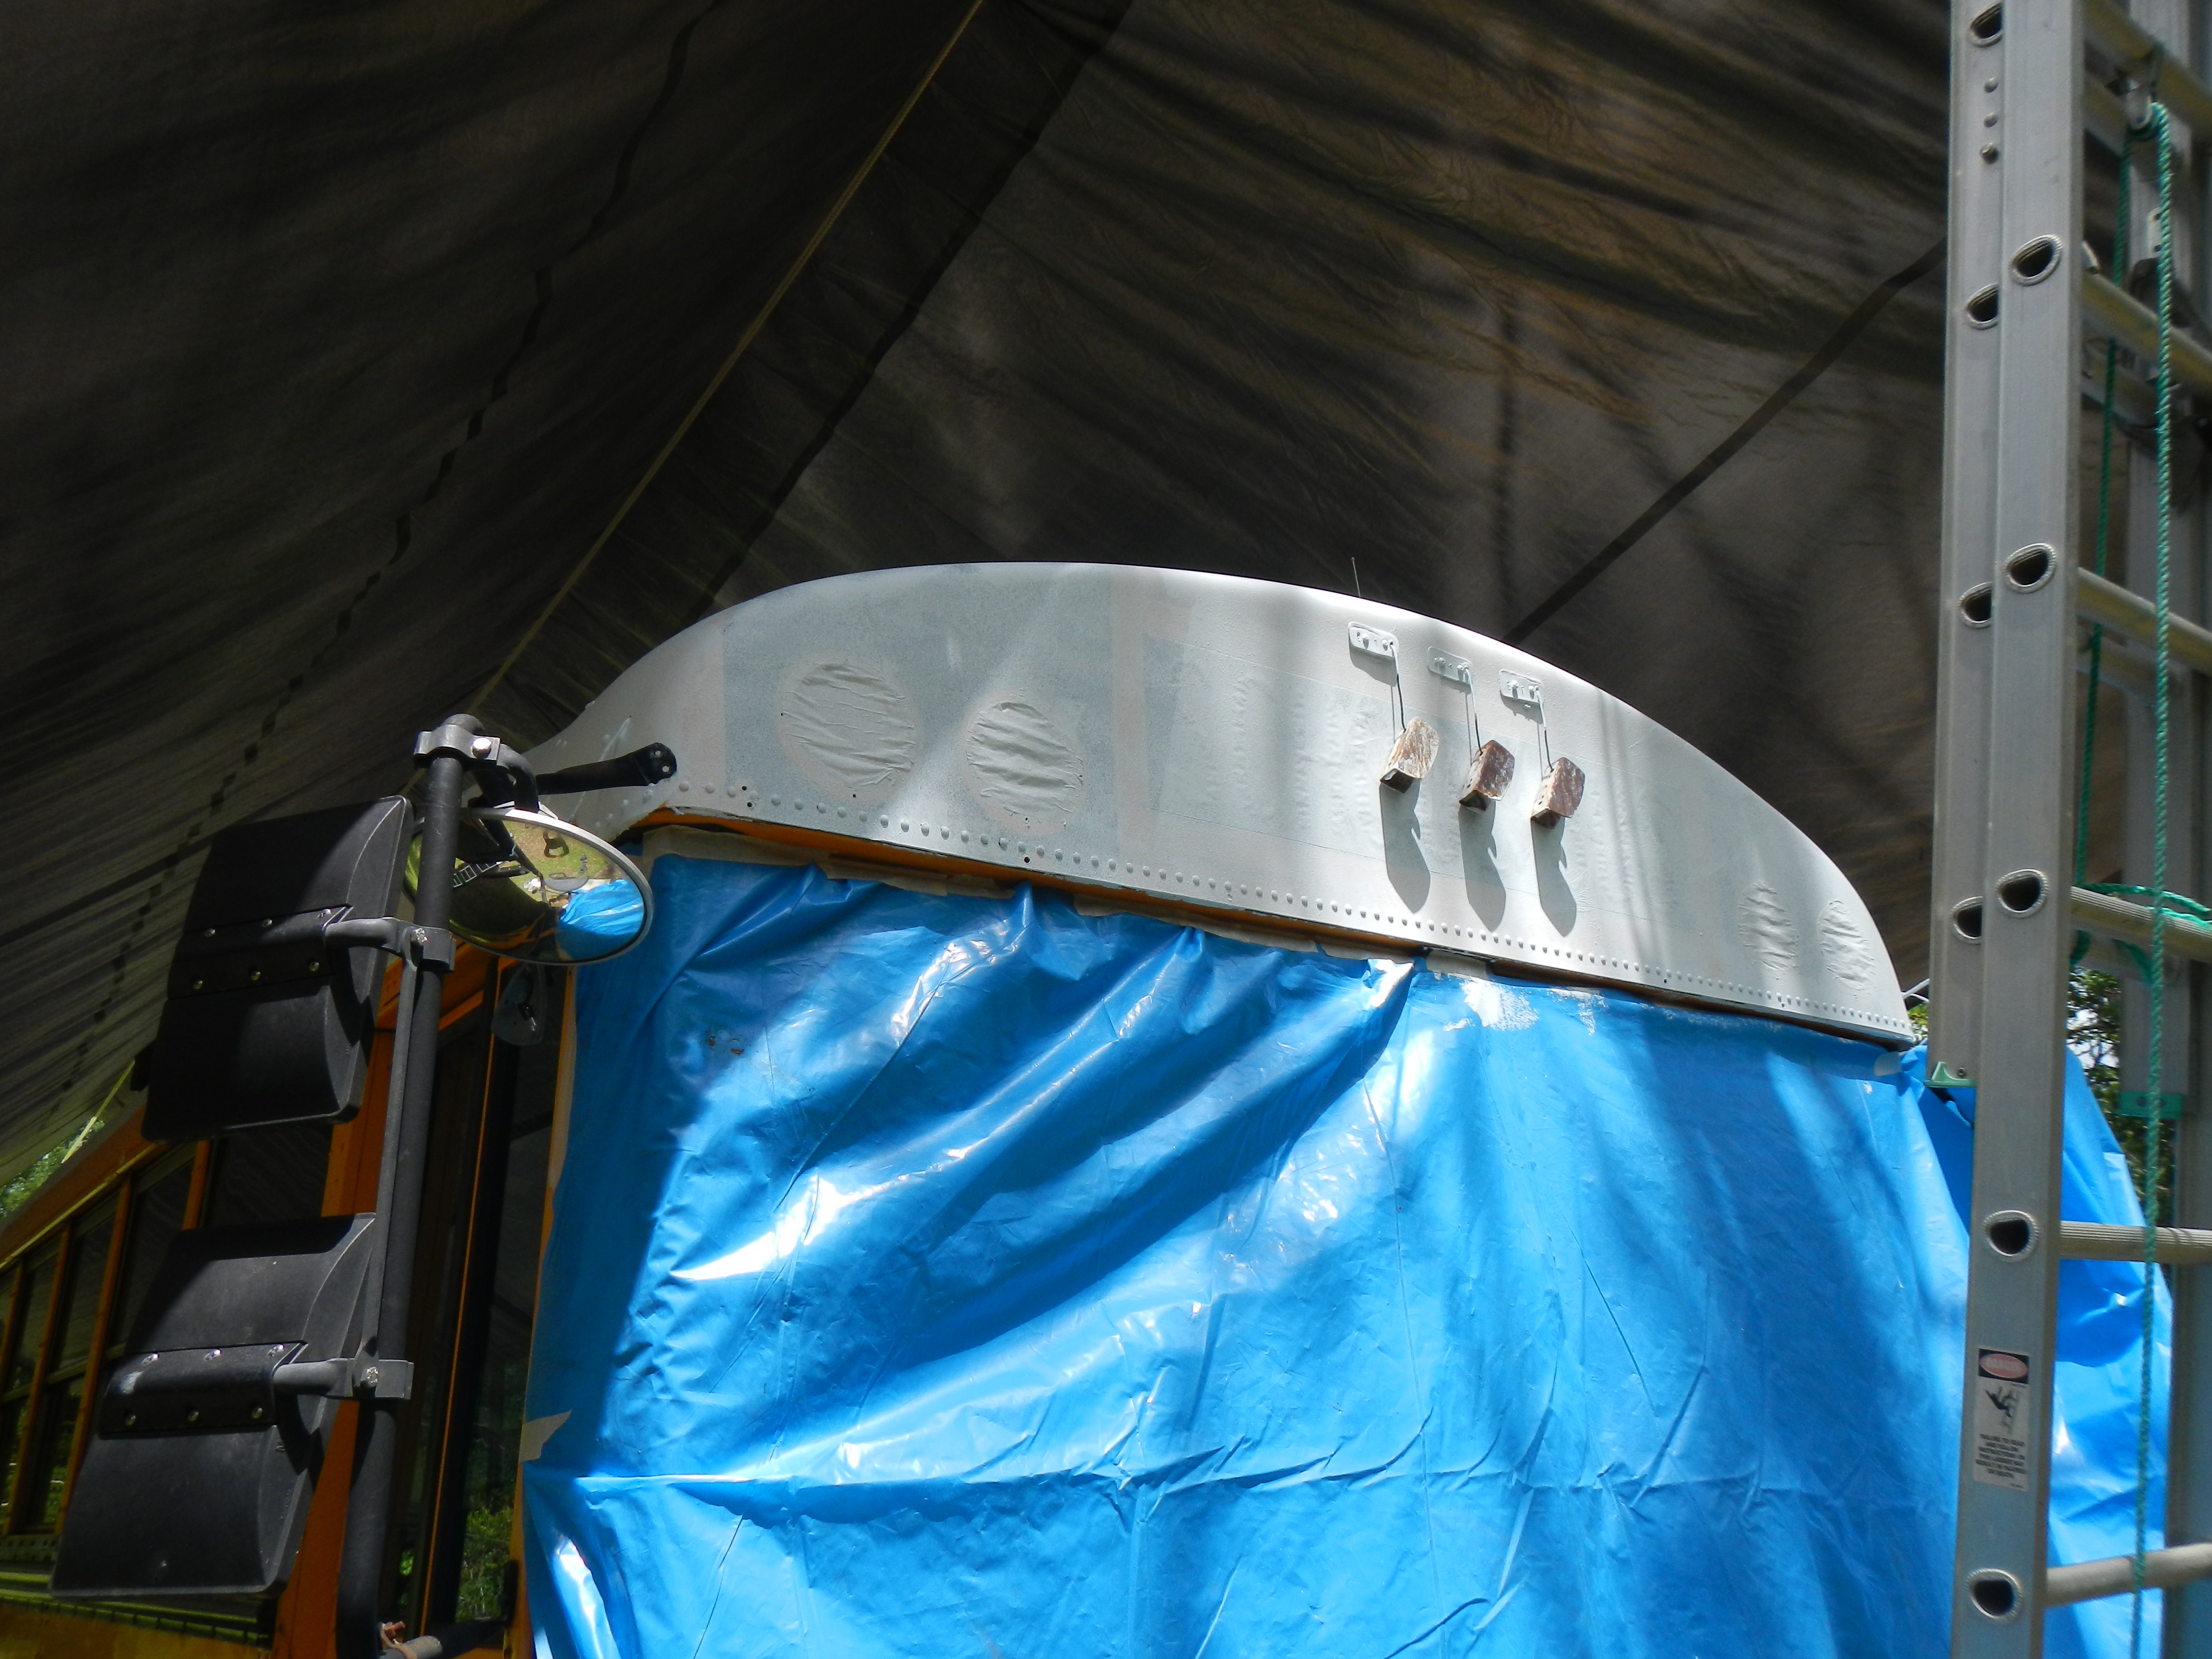
In retrospect I now wish that I had scraped off the lettering on the front before coating- I originally did not realize that the letters were vinyl stickers which had been painted over, but its pretty obvious when you have a uniform coat of white over the whole thing and inspect it closely. Oh well, projects for the future!
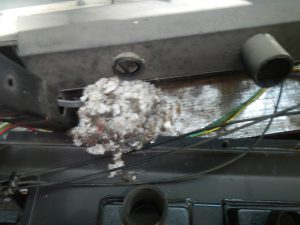
While waiting for coats to dry, I disassembled the dash in order to get at the heater core and clean up the vents. To say it was filthy is an understatement- I found a literal rat’s nest at the end of one of the ducts, which points towards a likely culprit for some of the stranger electrical gremlins I’m encountering. Also explains the funky smell coming from the dash, as they had designated the top of the heater core as their toilet.
The heater core is in sorry shape. It’s easy to tell where they cut corners when building it, as they used the thinnest sheet metal they could possibly get away with, then bolted the motor and fan assemblies directly to the enclosure. No reinforcement and a lot of vibration meant that the fan assemblies ripped free some time ago and have been bashing around on top of the heater core ever since.
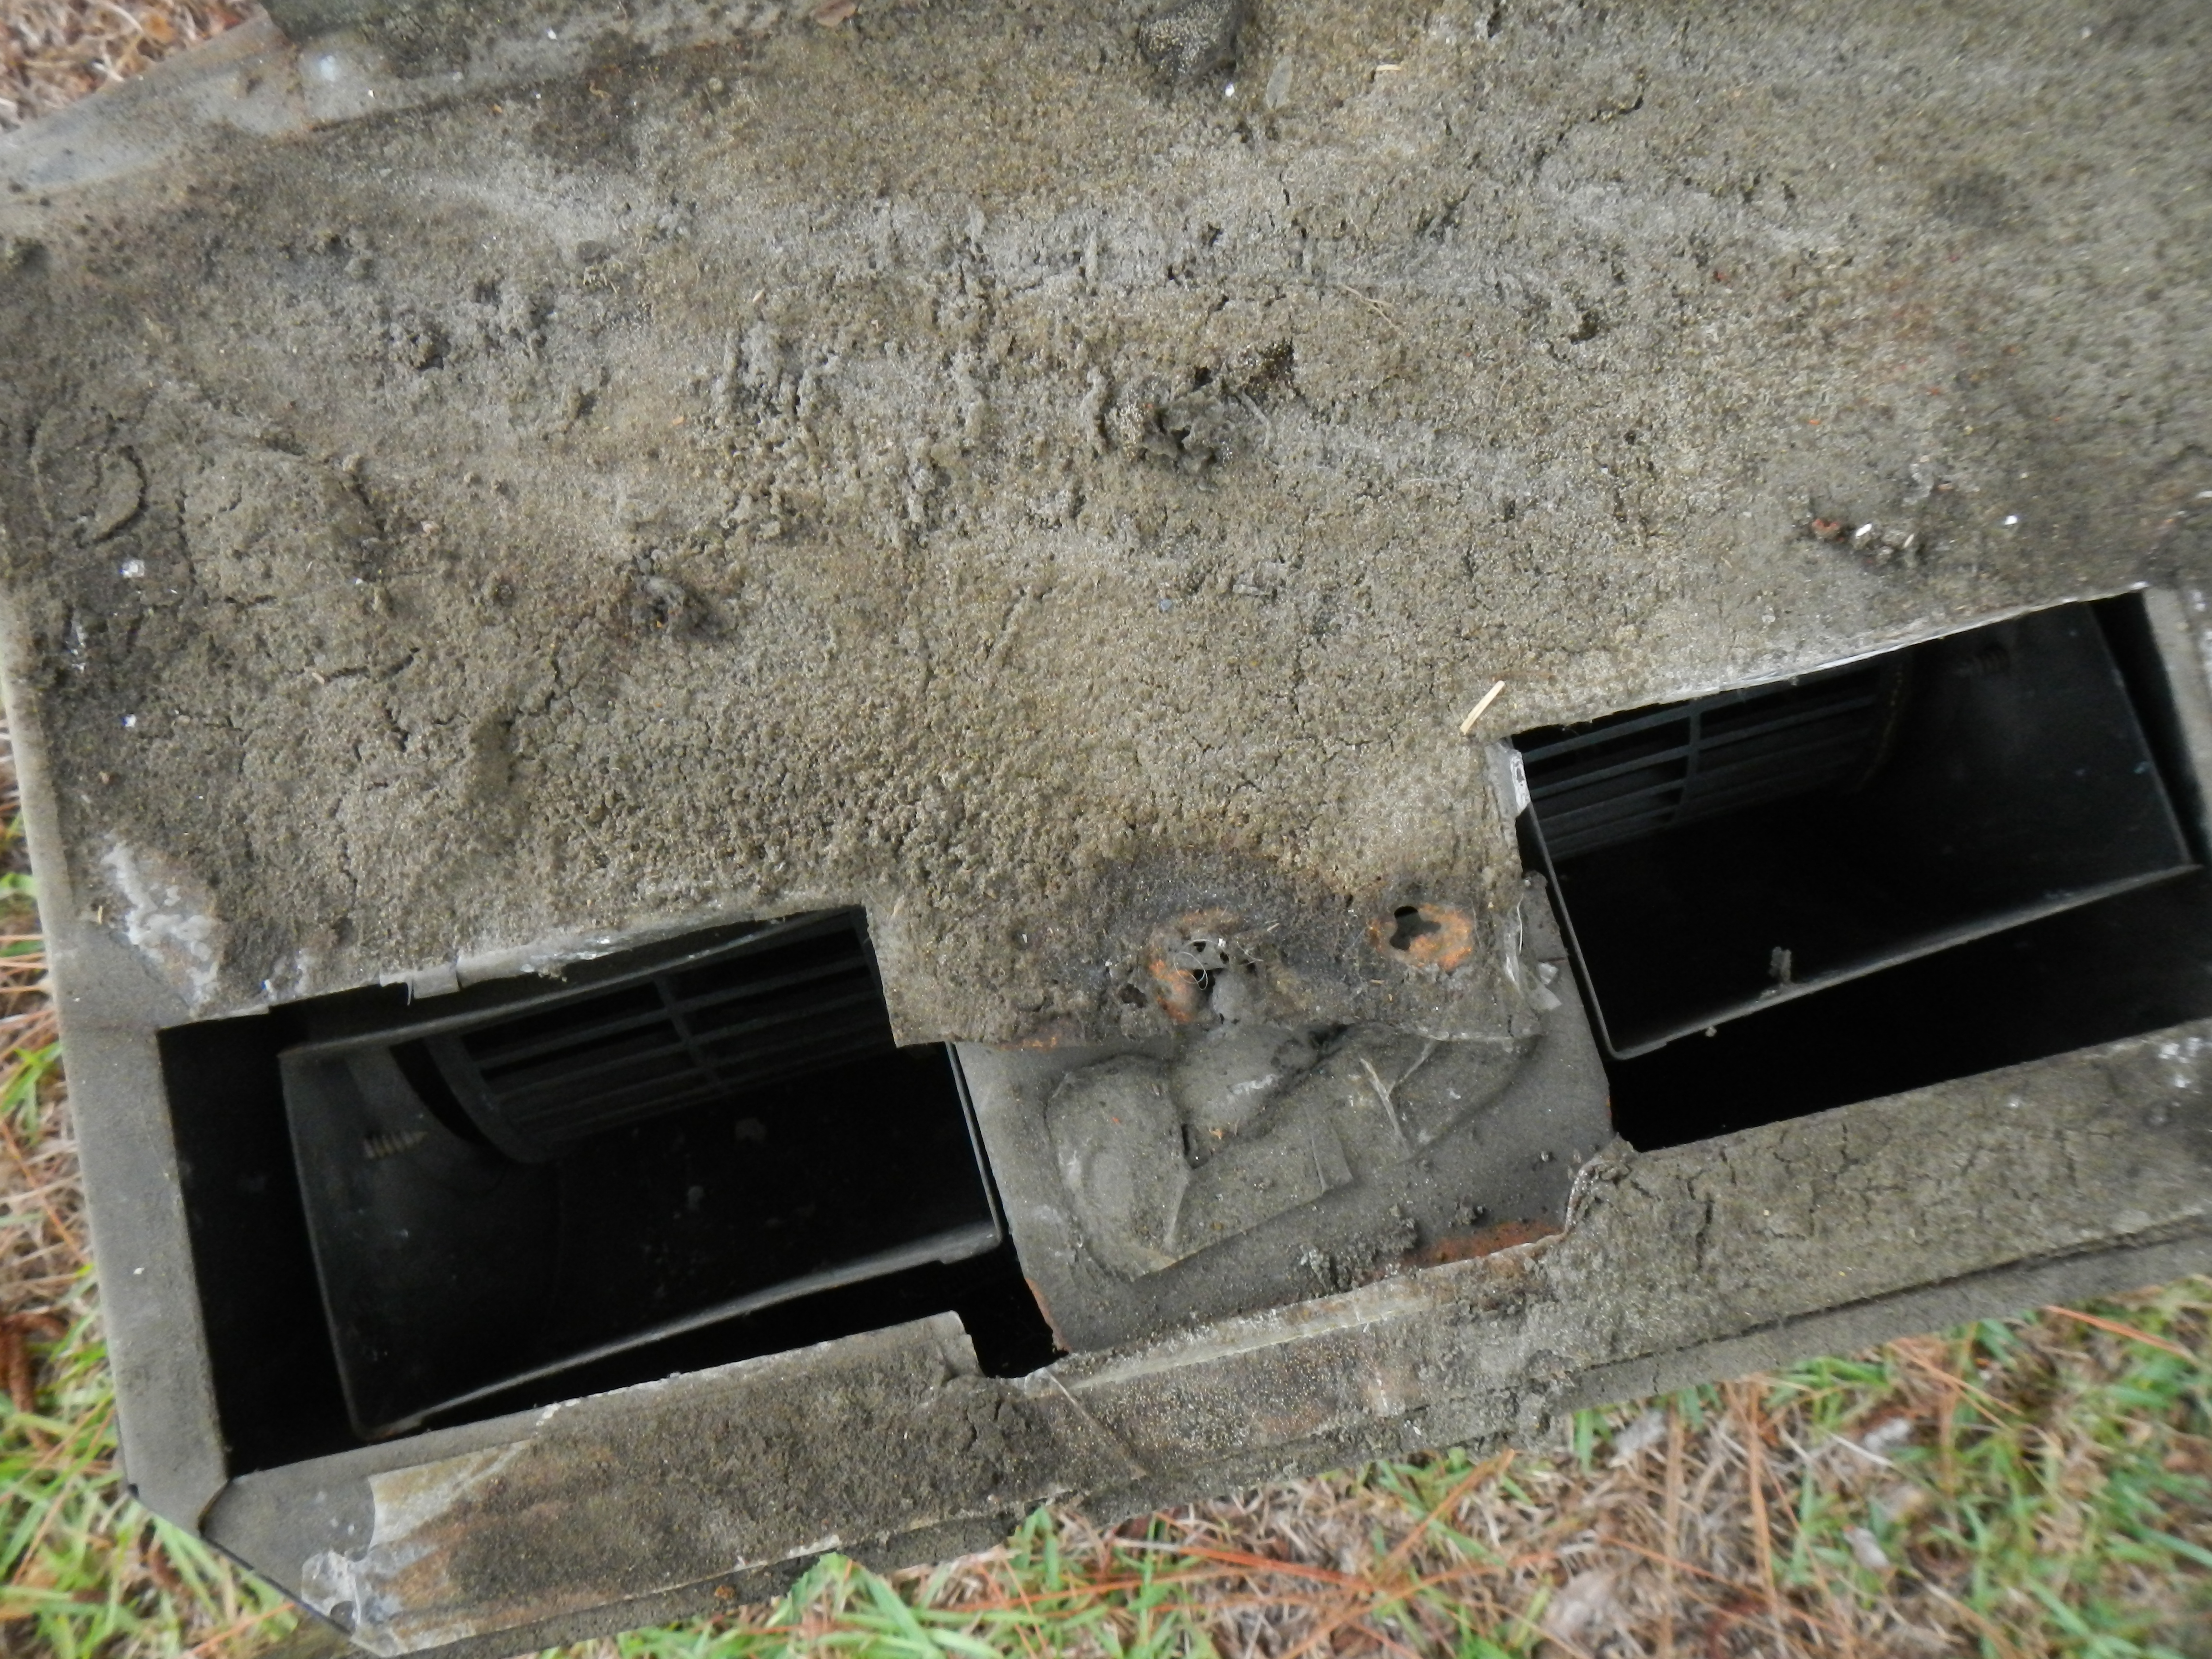
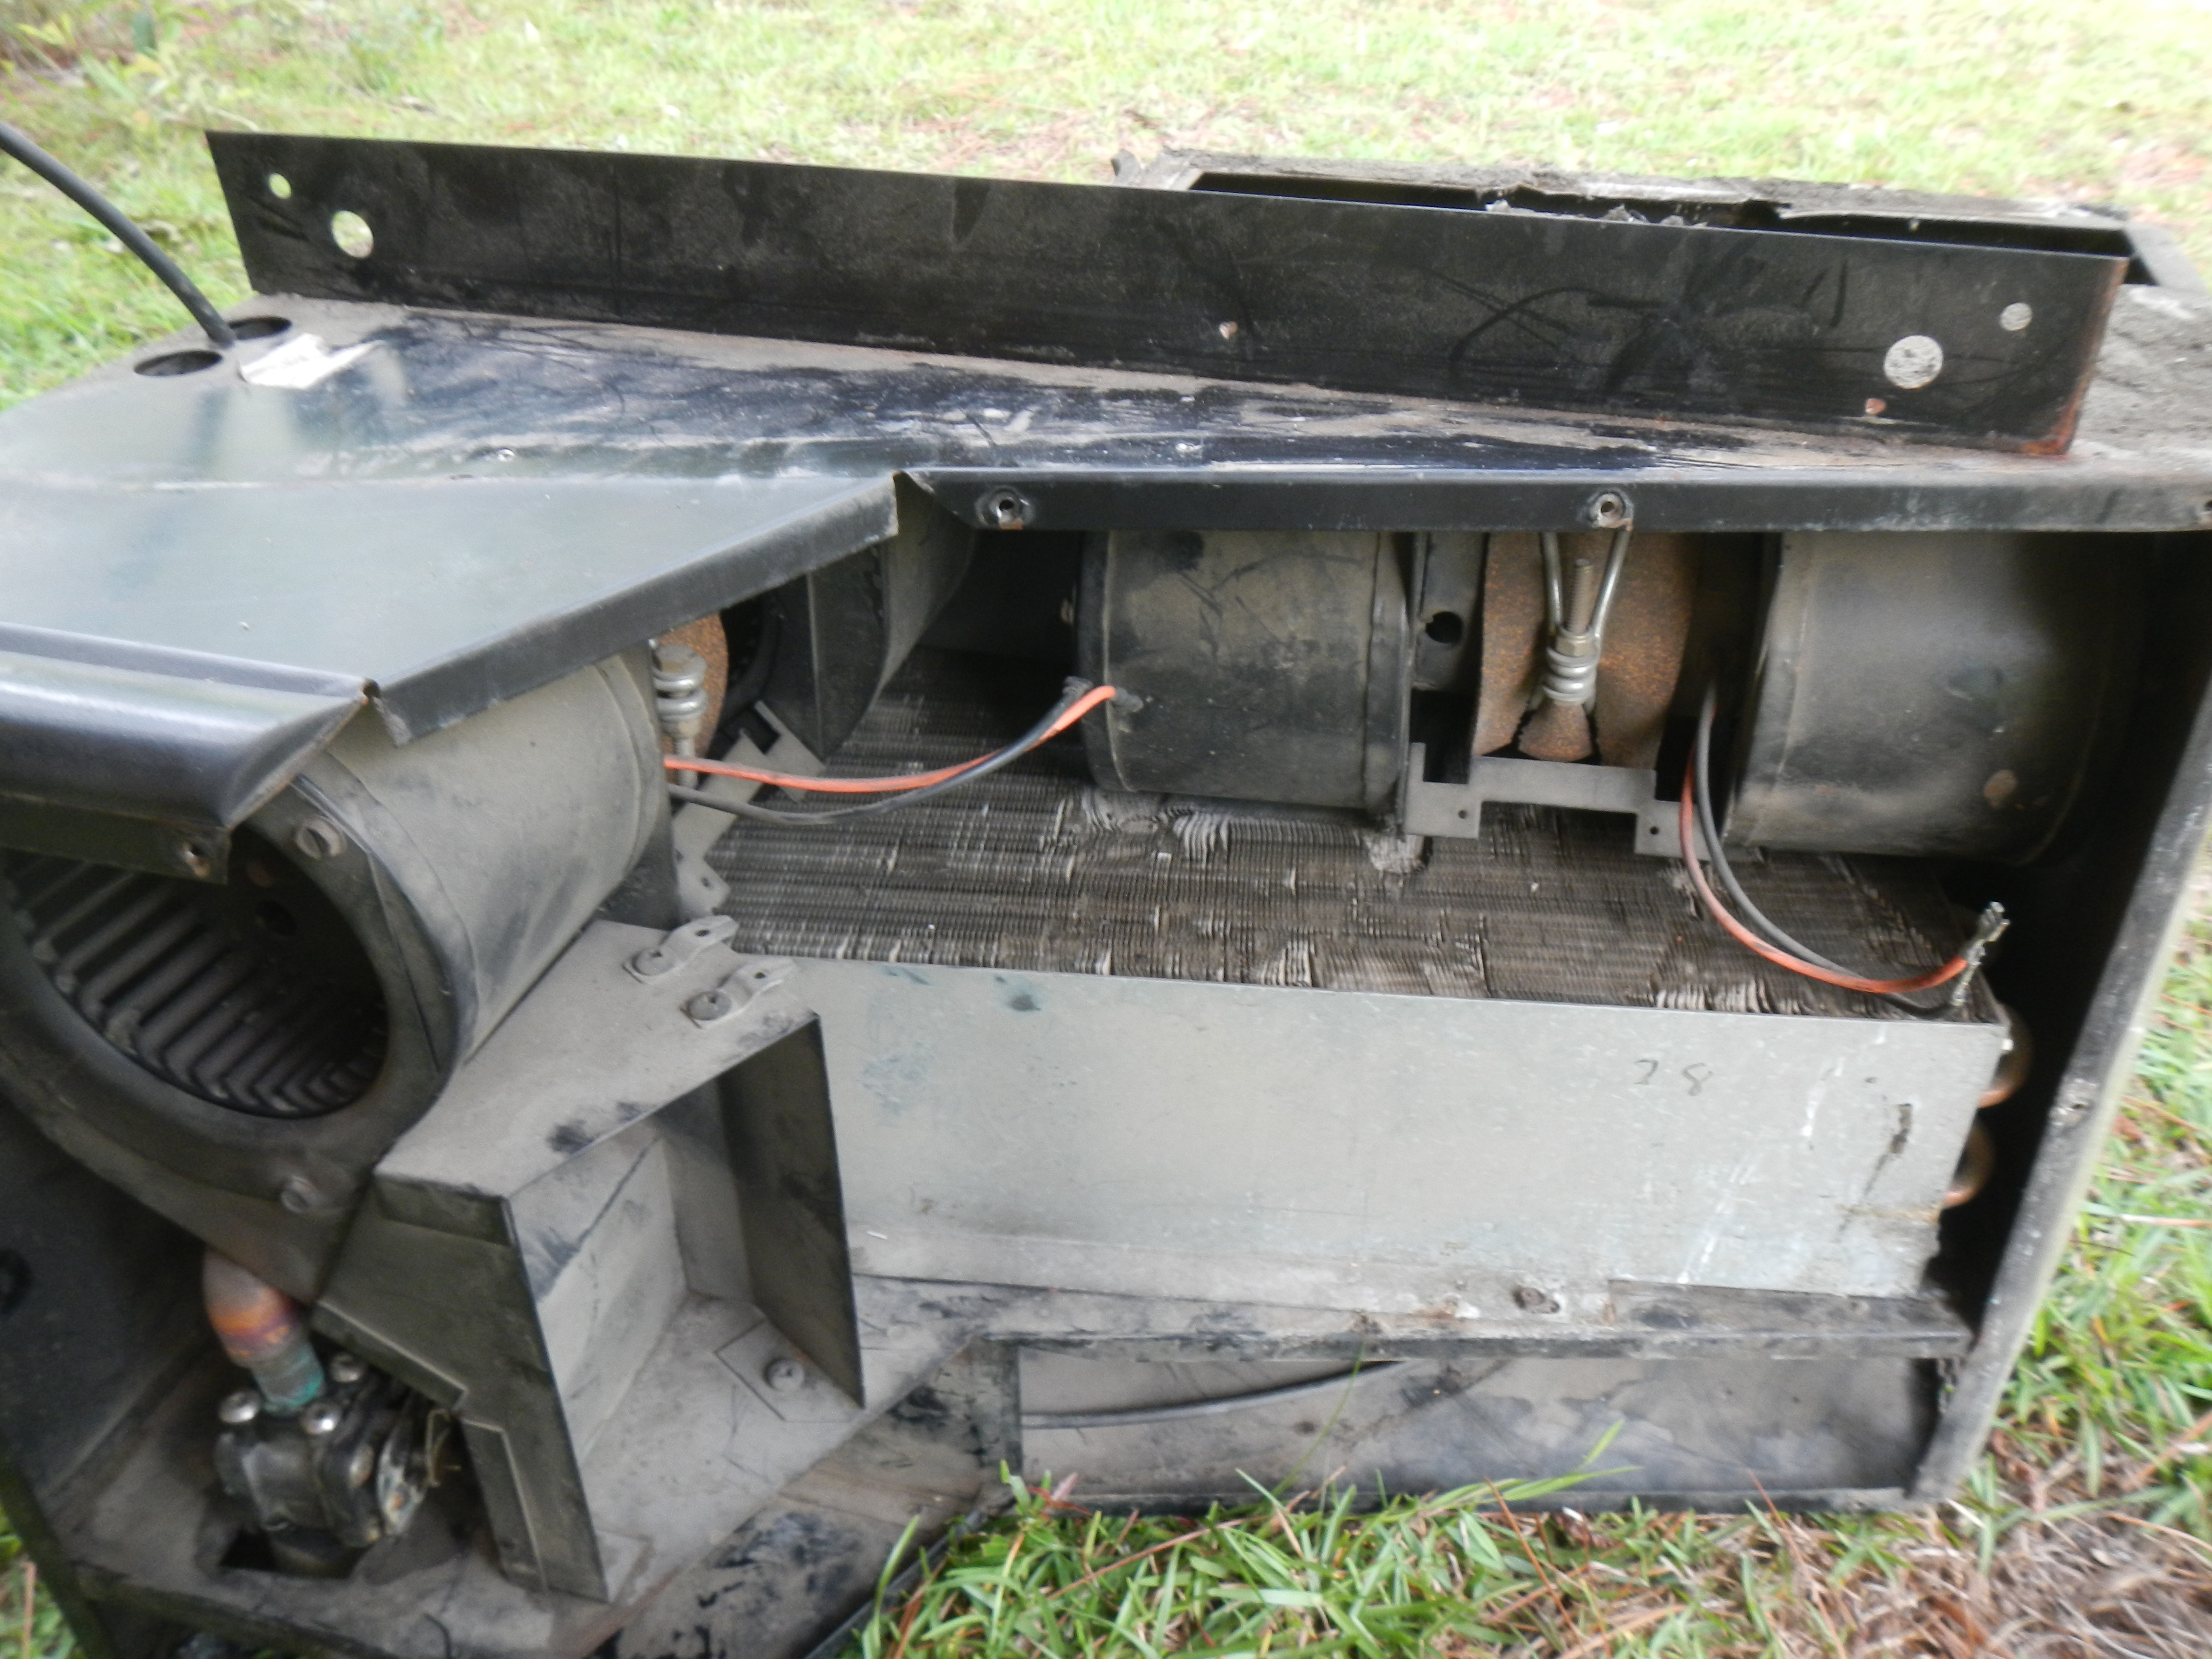
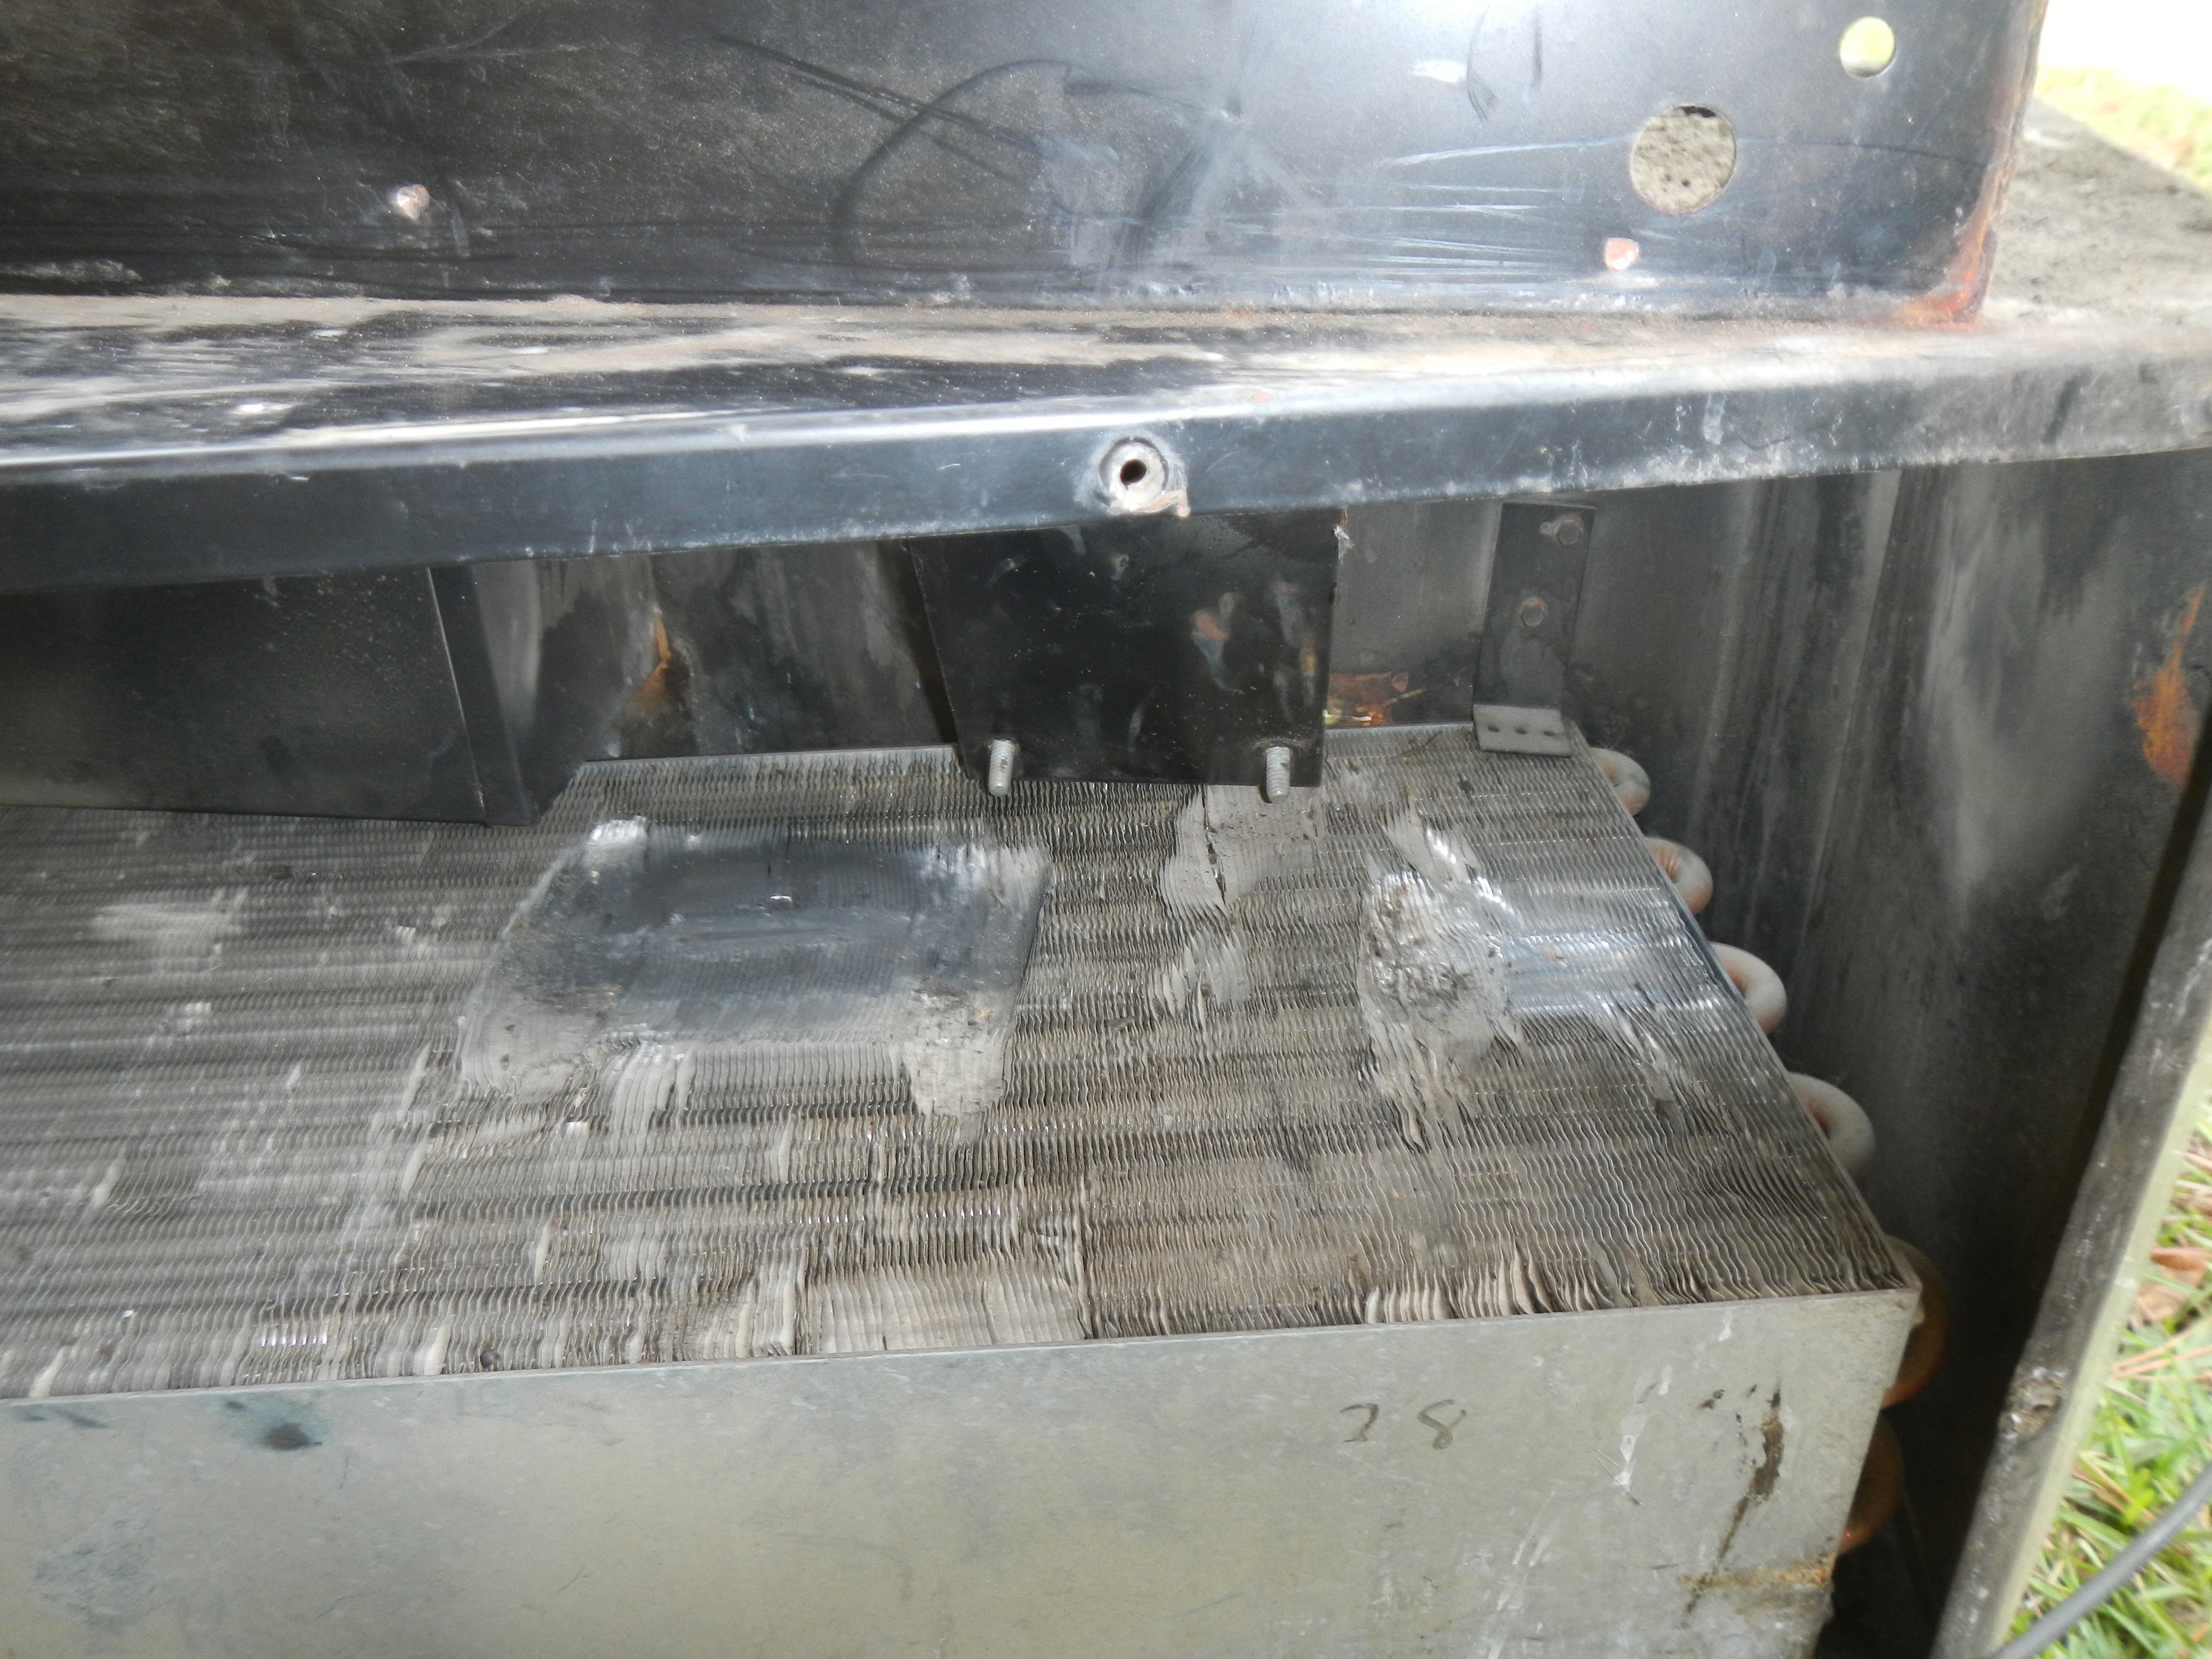
Absolutely shameful design and execution here. At least the fan enclosure did not abrade completely through the copper piping, though it would probably have done so given a few more seasons. I have now added “Repair heater enclosure by welding brackets back in and somehow adding reinforcement” to my long list of outstanding tasks.
Once the second coat of sealant was thoroughly dry, I secured L brackets to the roof. We are using 17 foot IronRidge rails to support an array of four 300 watt solar panels. I’d previously fabricated some 10 degree wedges to compensate for the slope of the roof and level the L brackets, and installed these between the roof and the L brackets.
I still have yet to install the solar panels, as I don’t want them up there until they can be wired to the combiner box and charge controller and this cannot happen until I get the floor in and the electrical cabinet in place. But that is a separate project area and will be detailed in another post.