Countertops and interior LED lighting have been done for a while at this point, but its only now I am over in the UK that I am getting around to sorting through hundreds of pictures and marshaling the appropriate sort of descriptive words.
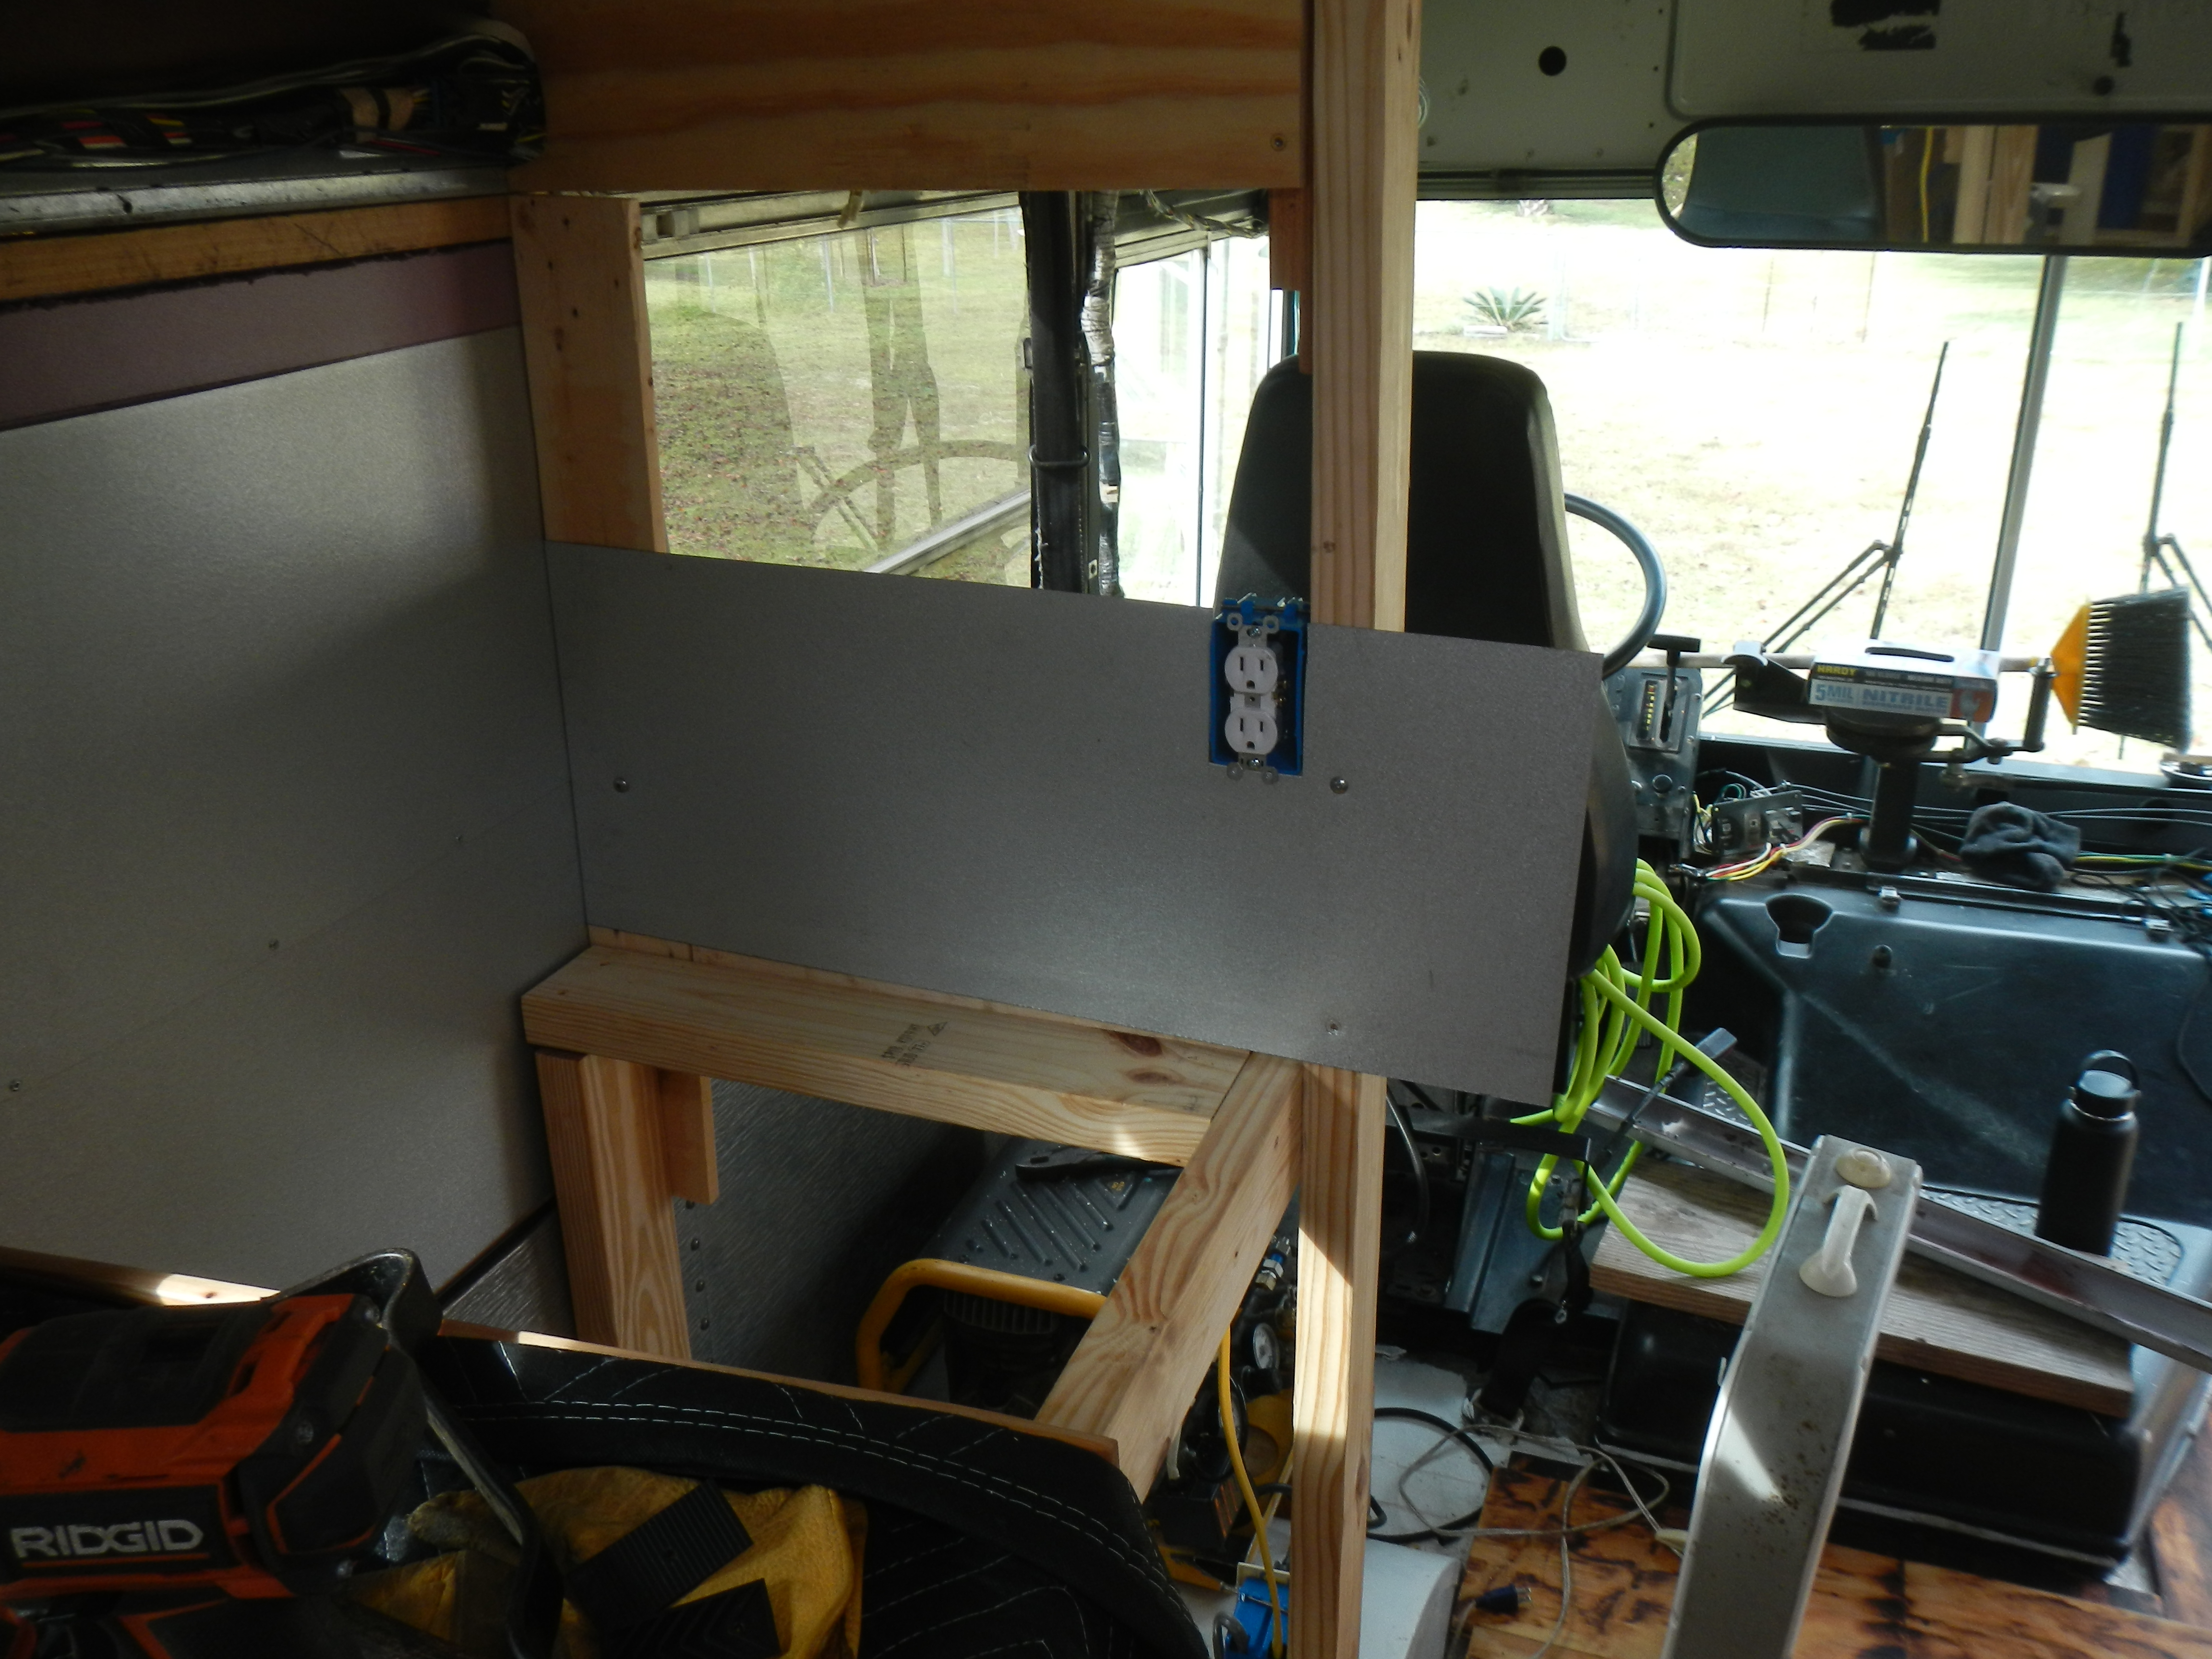
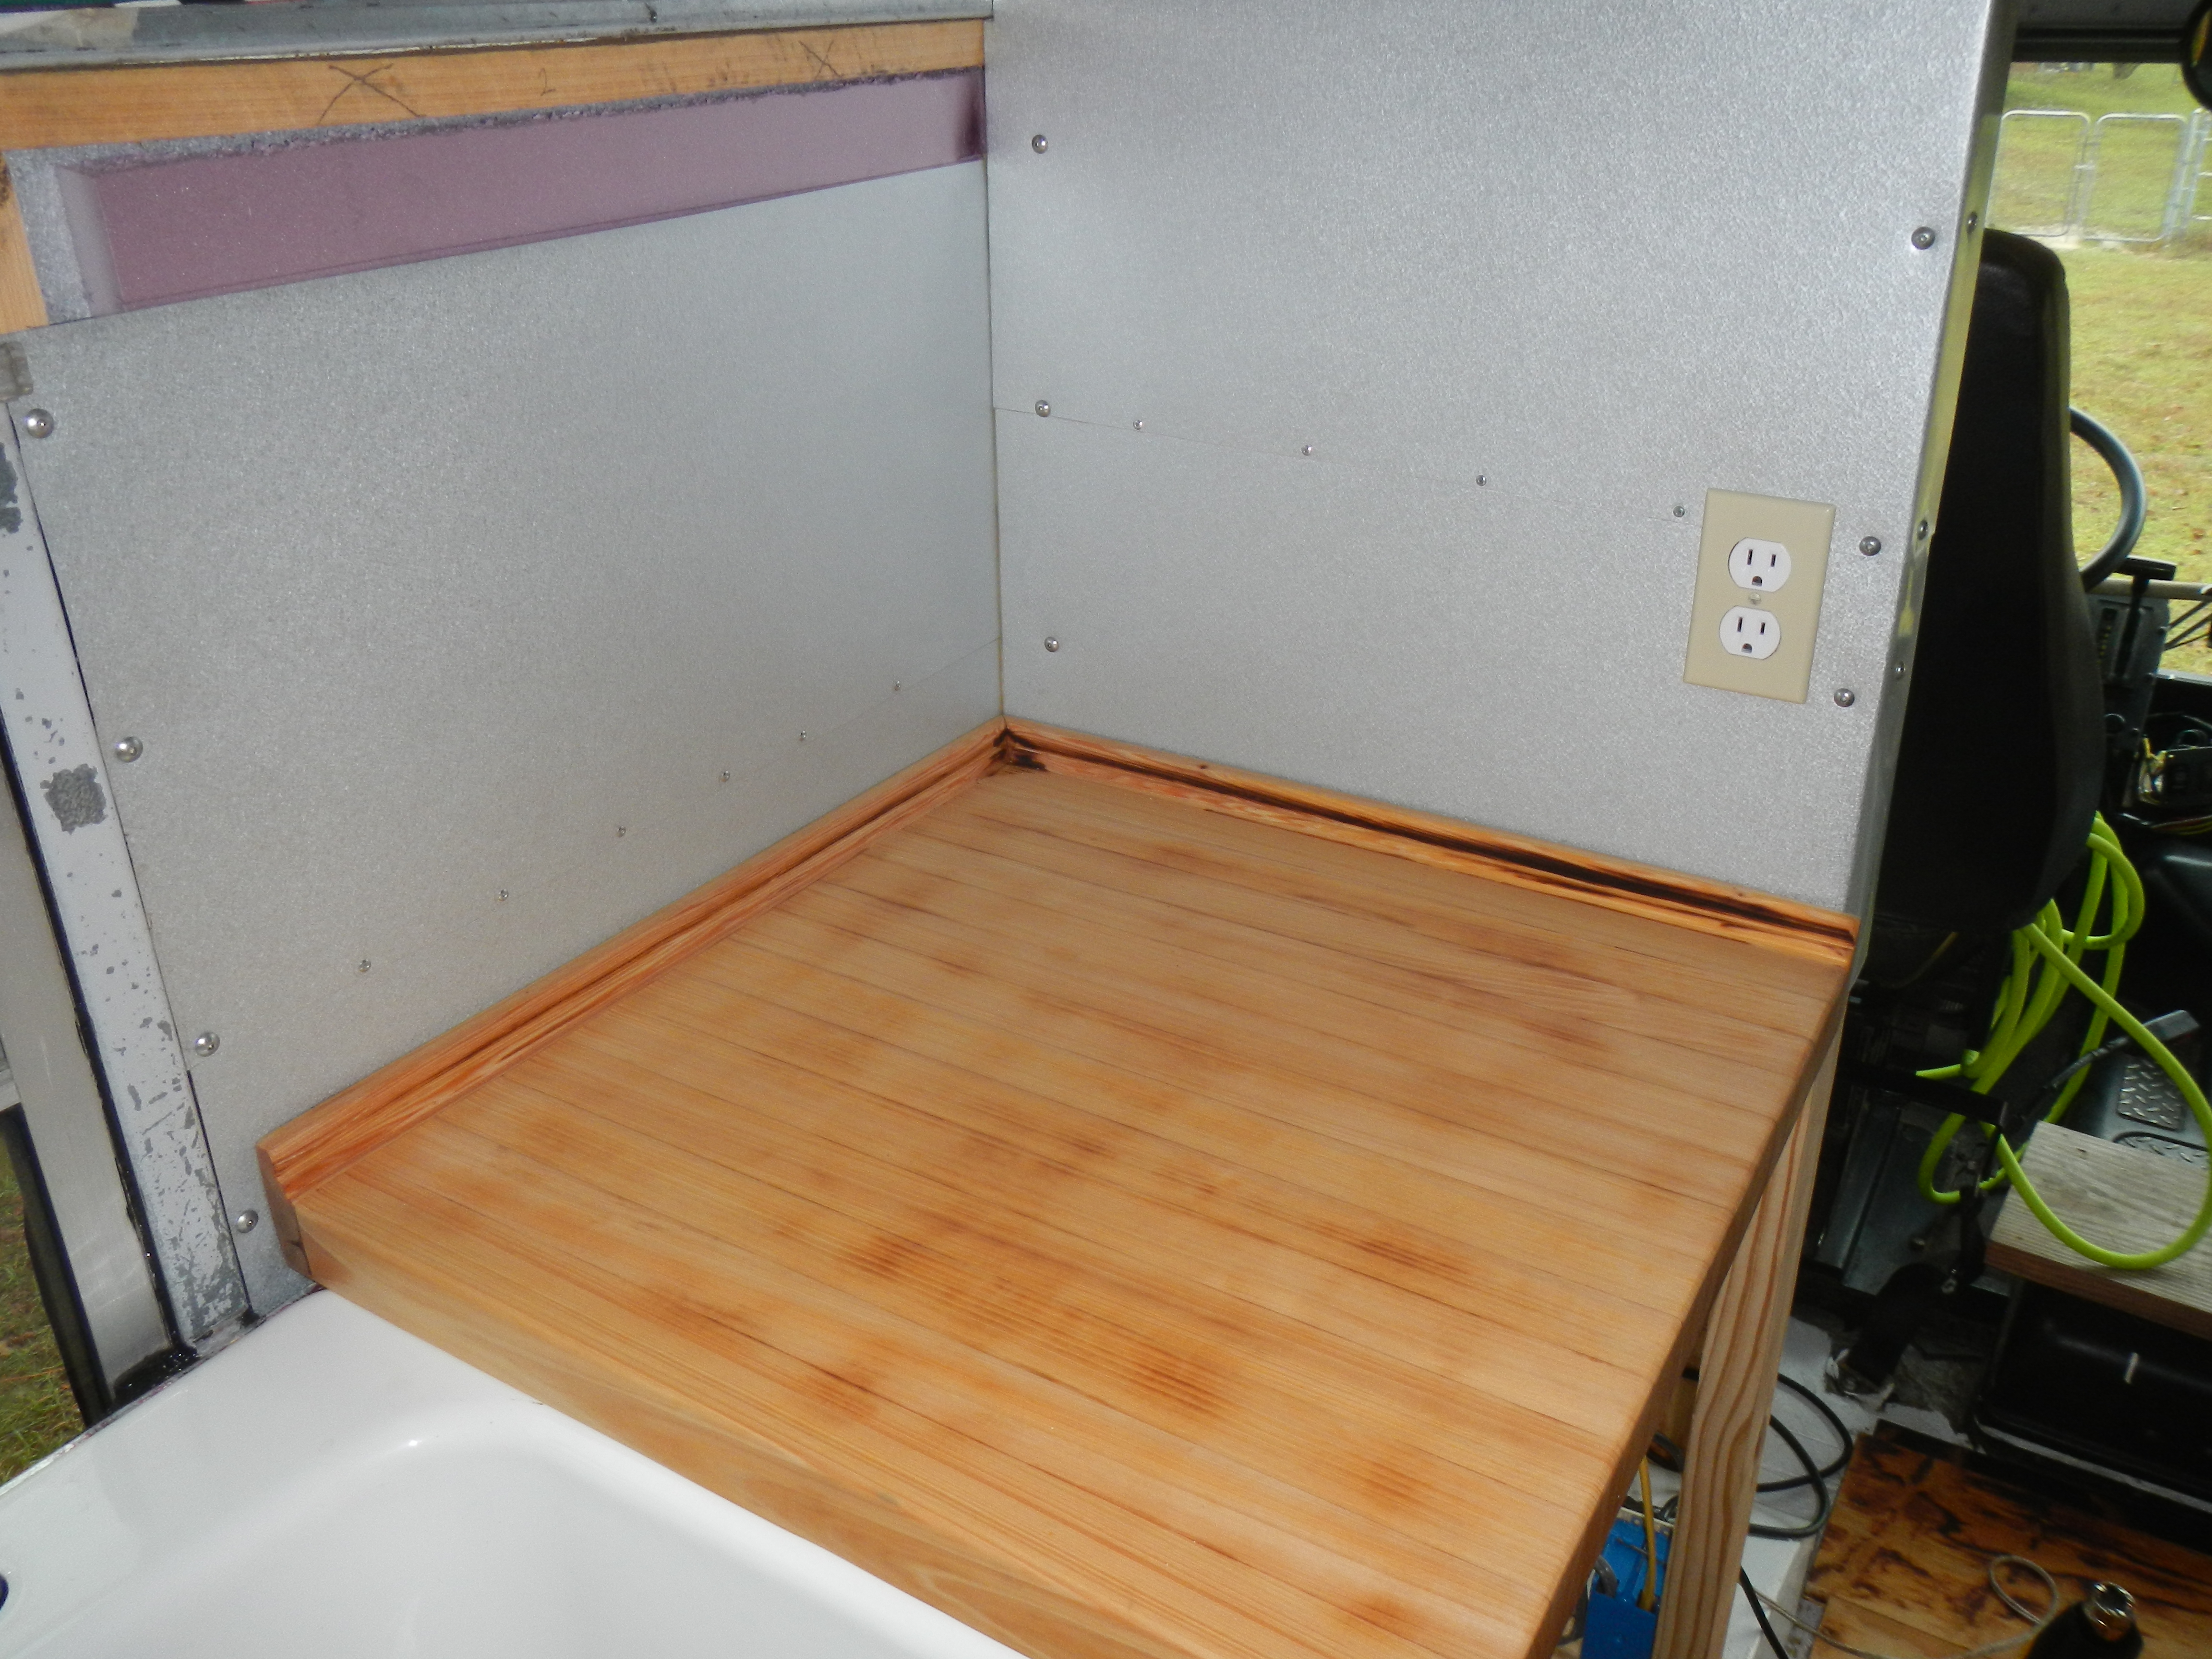
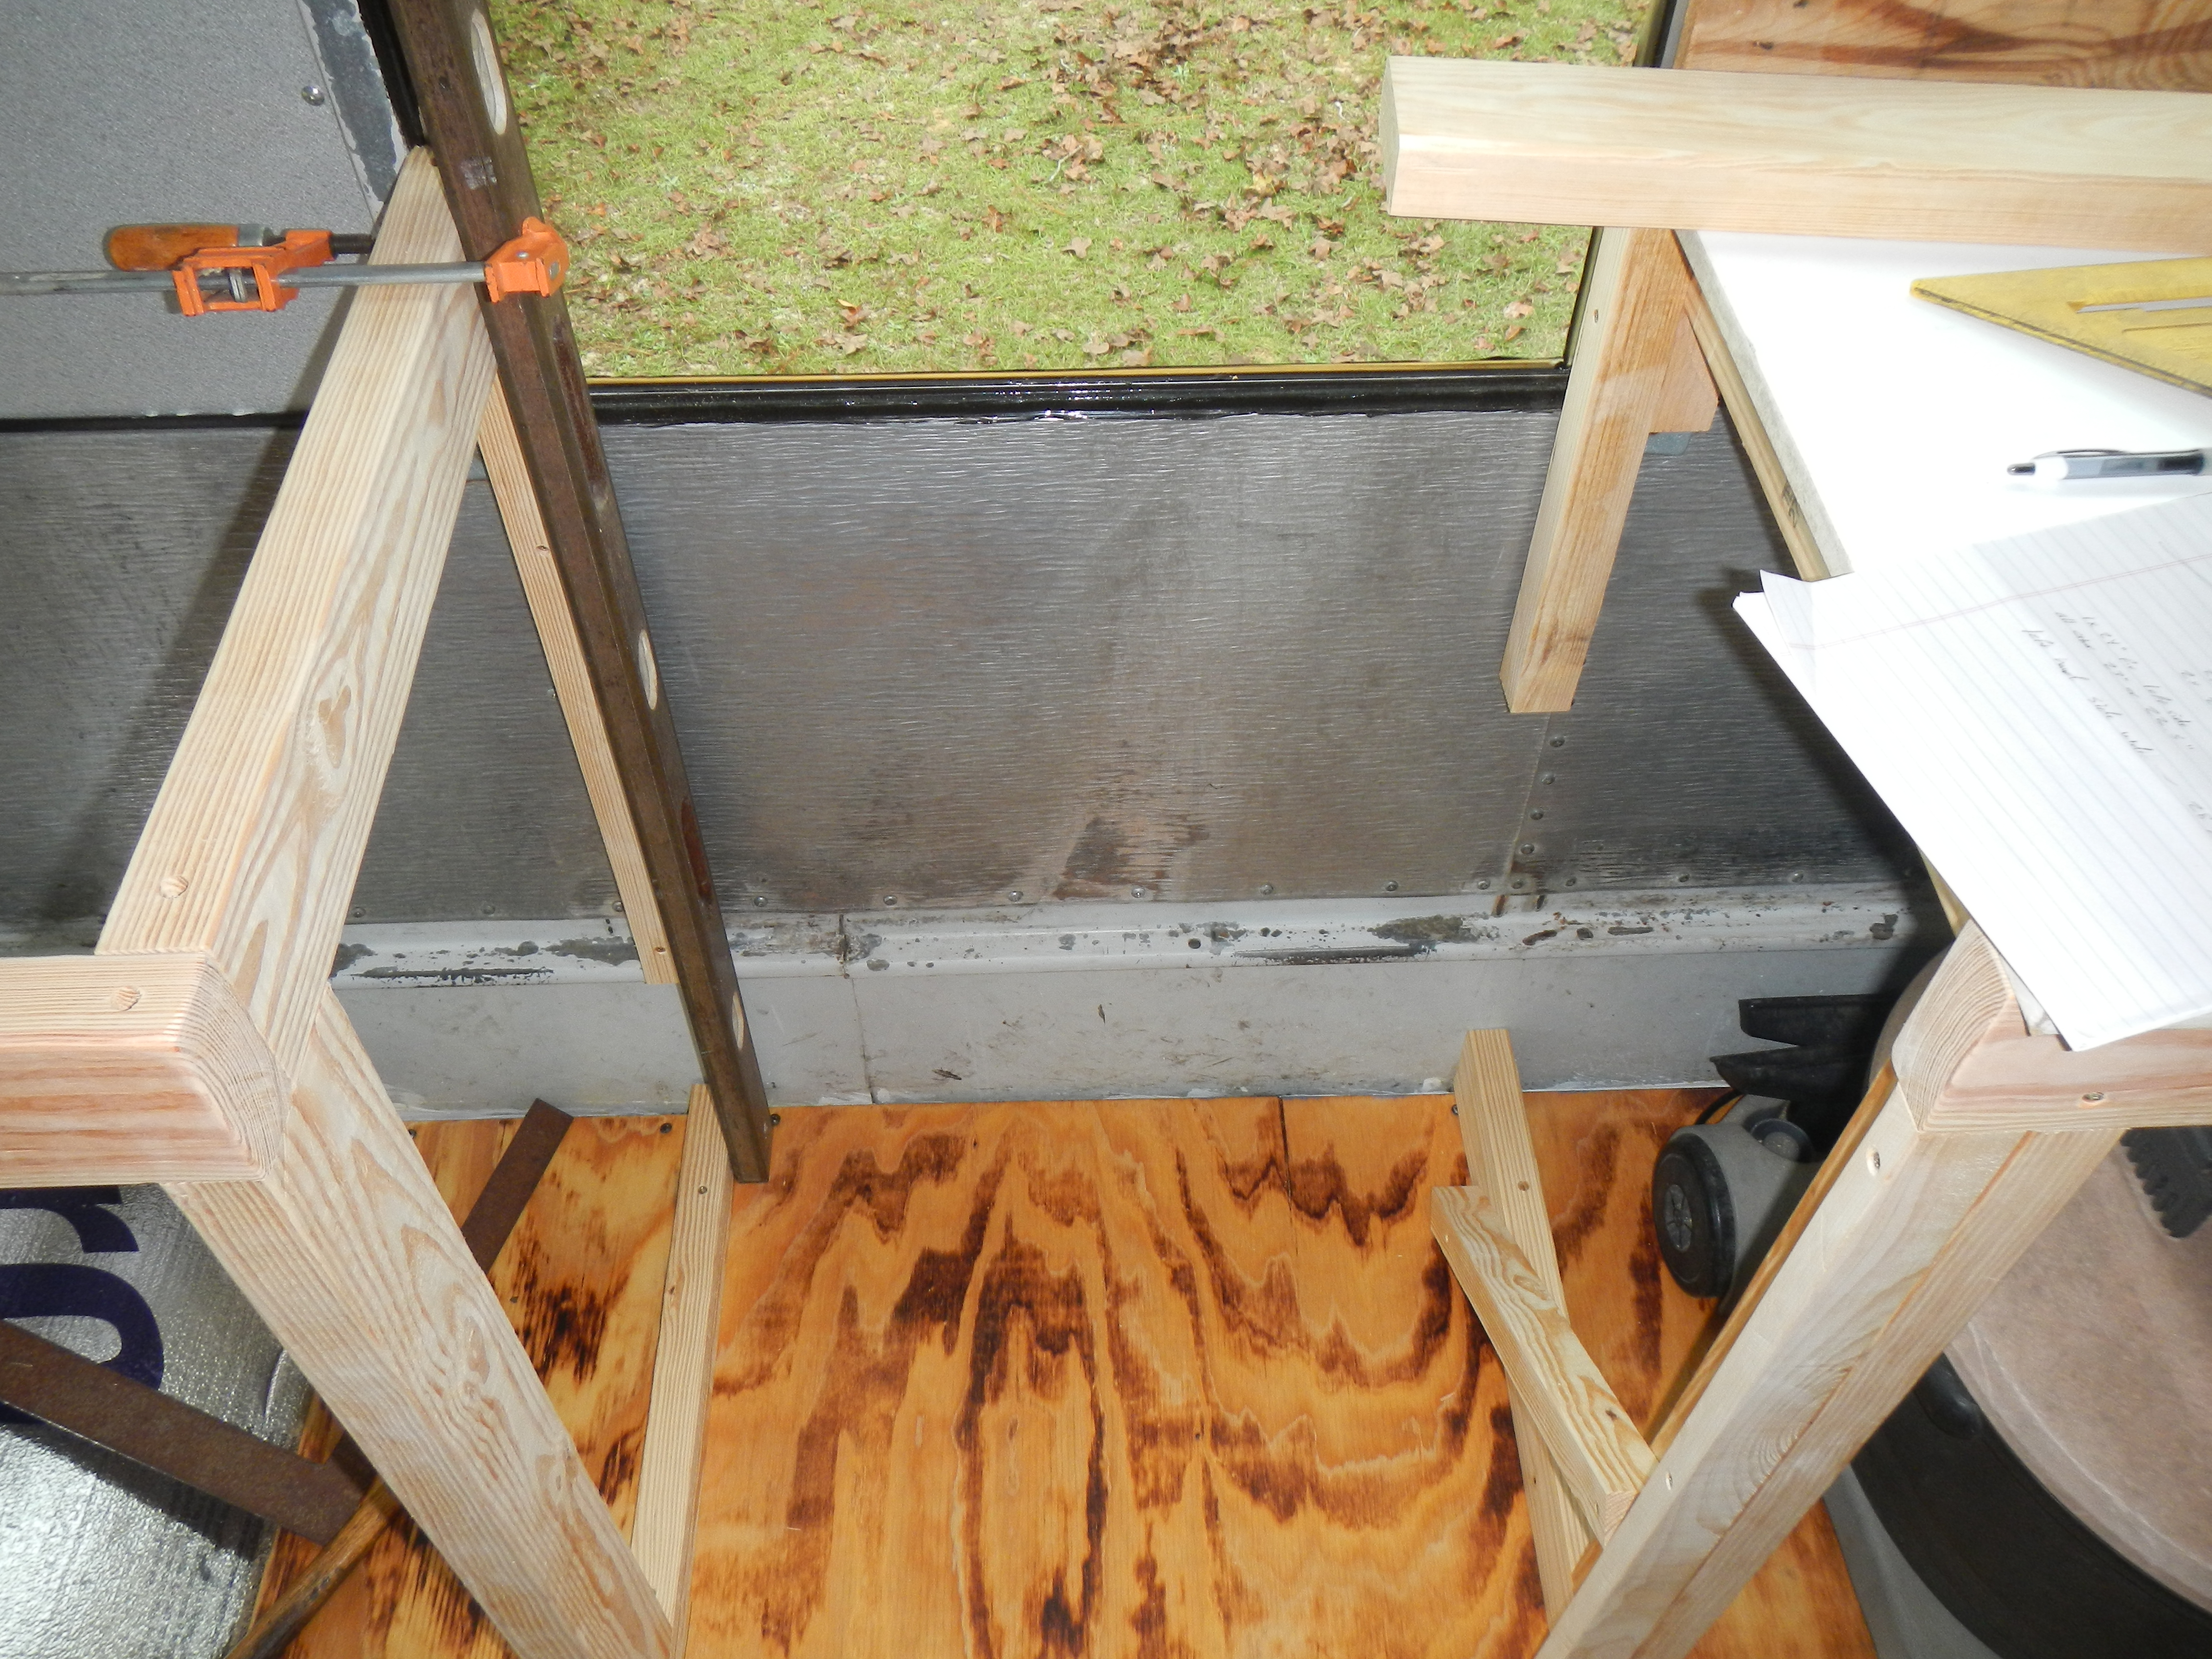
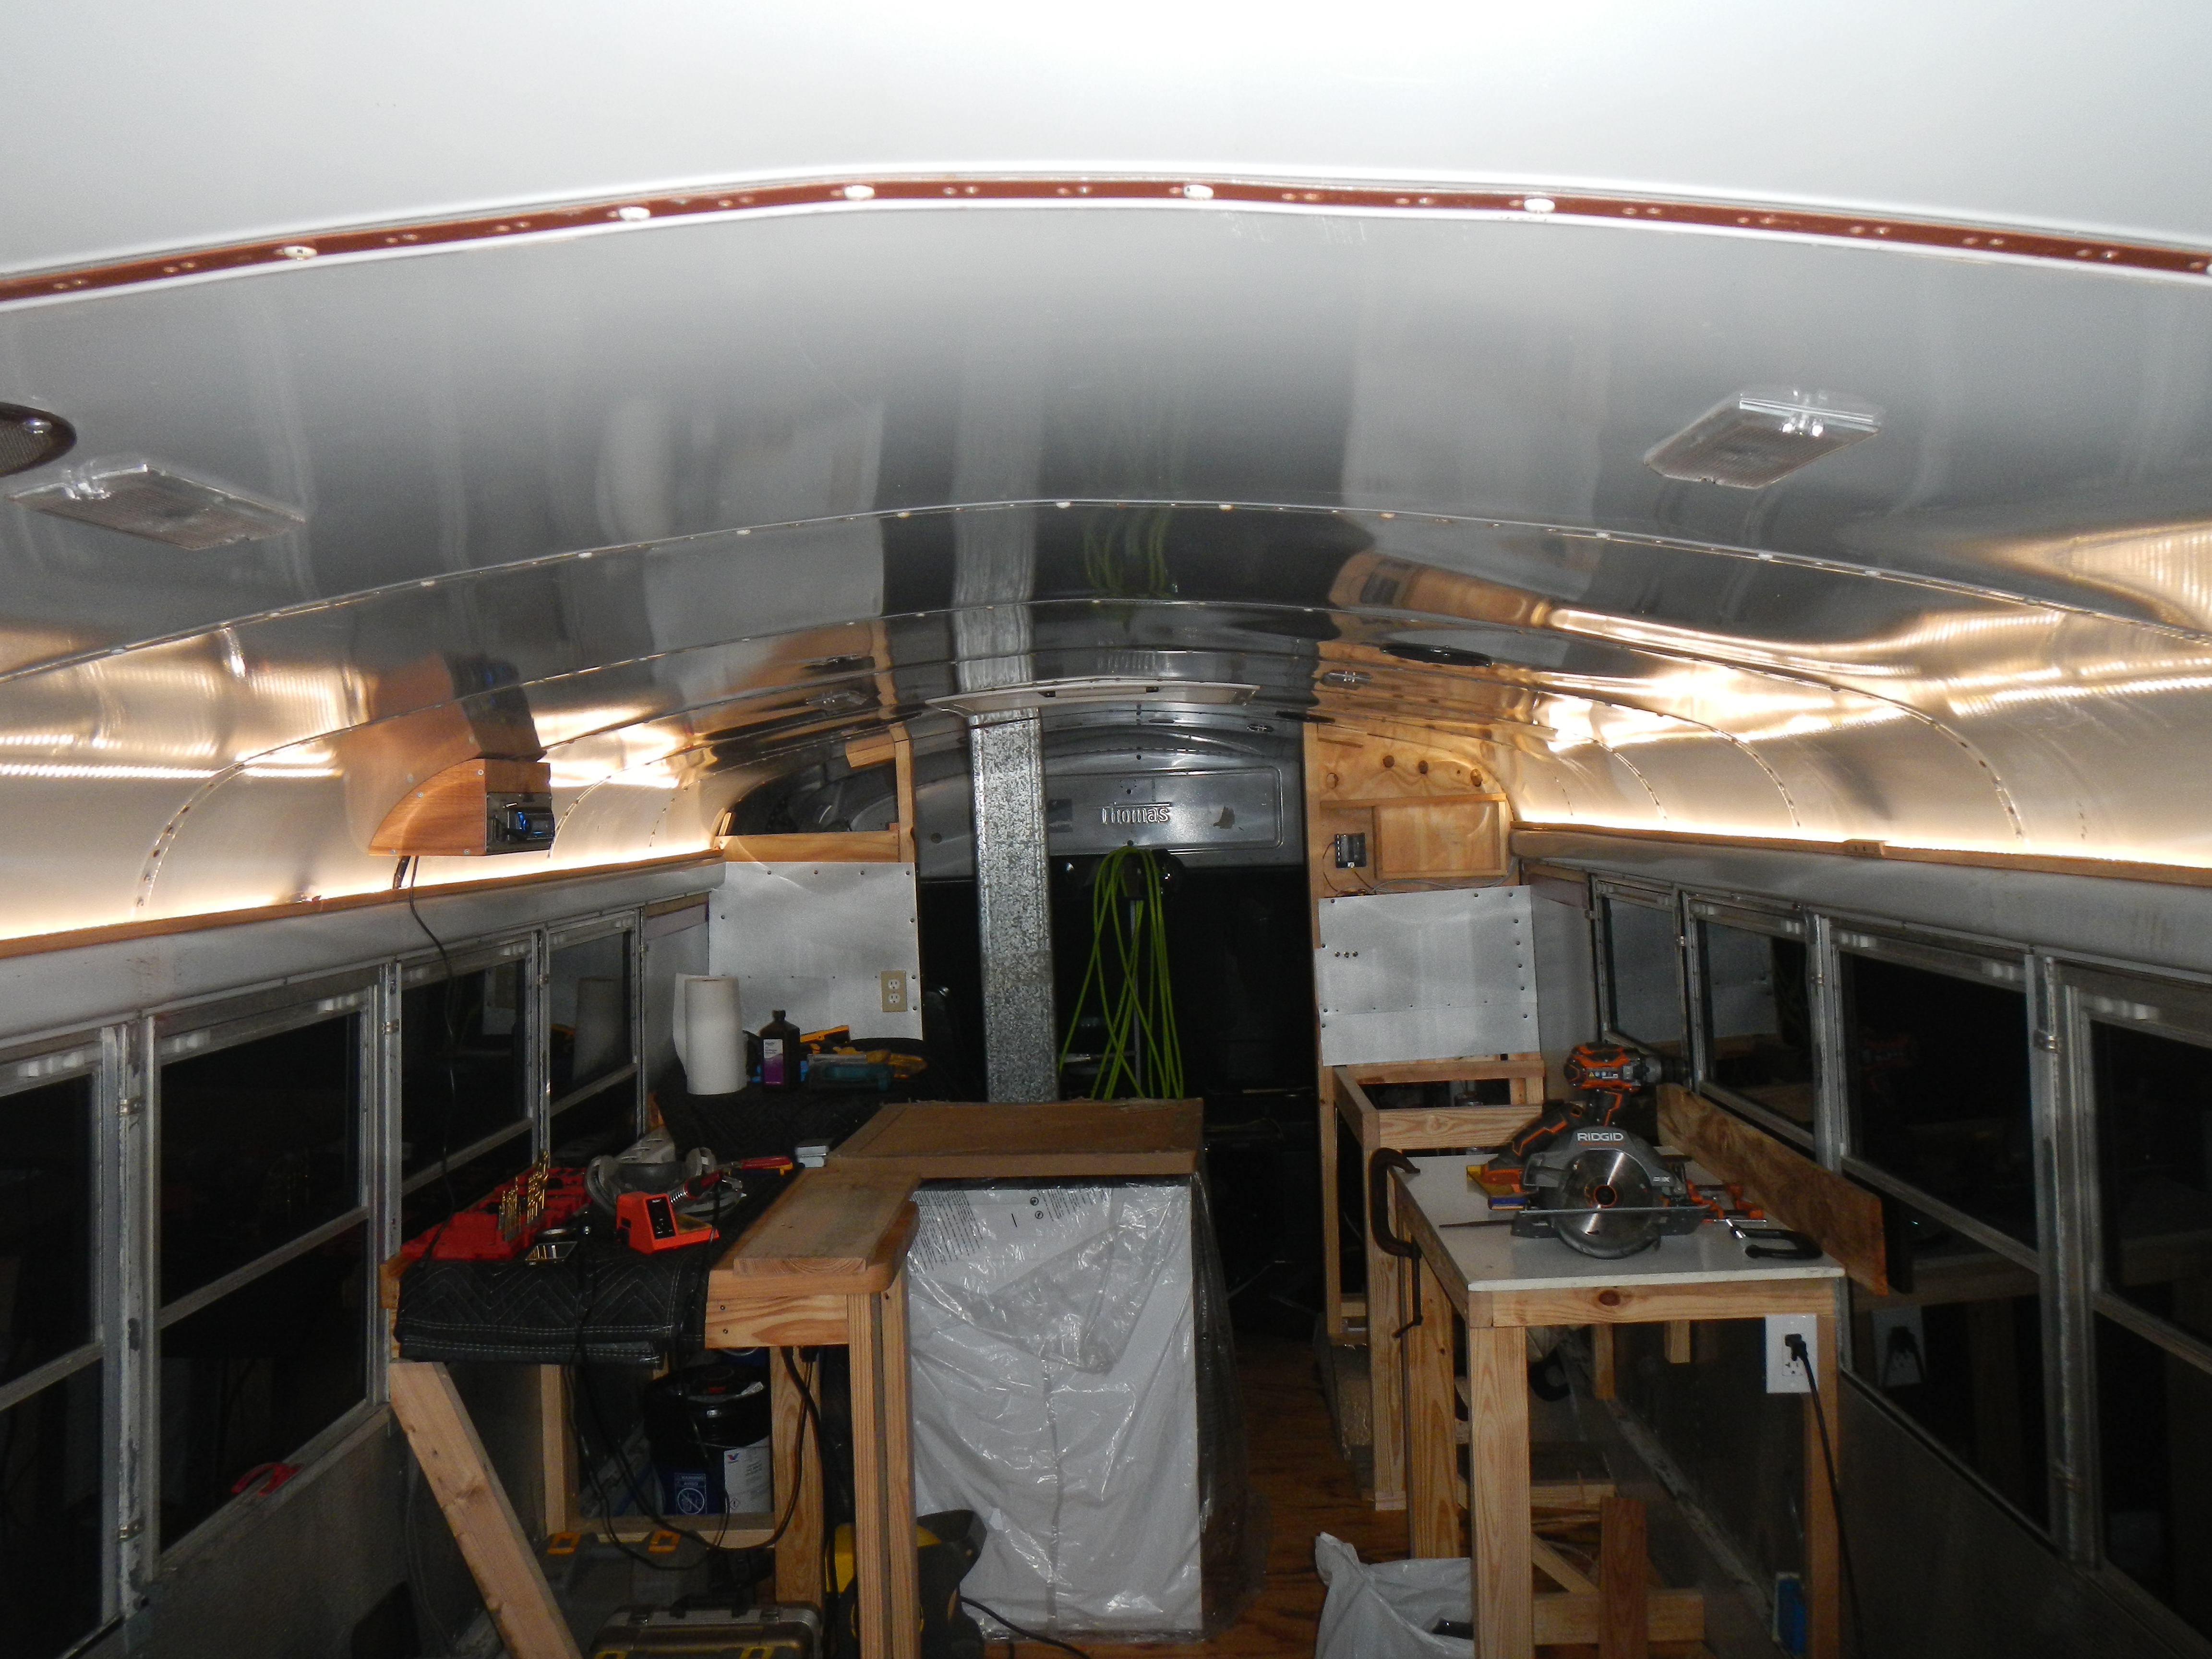
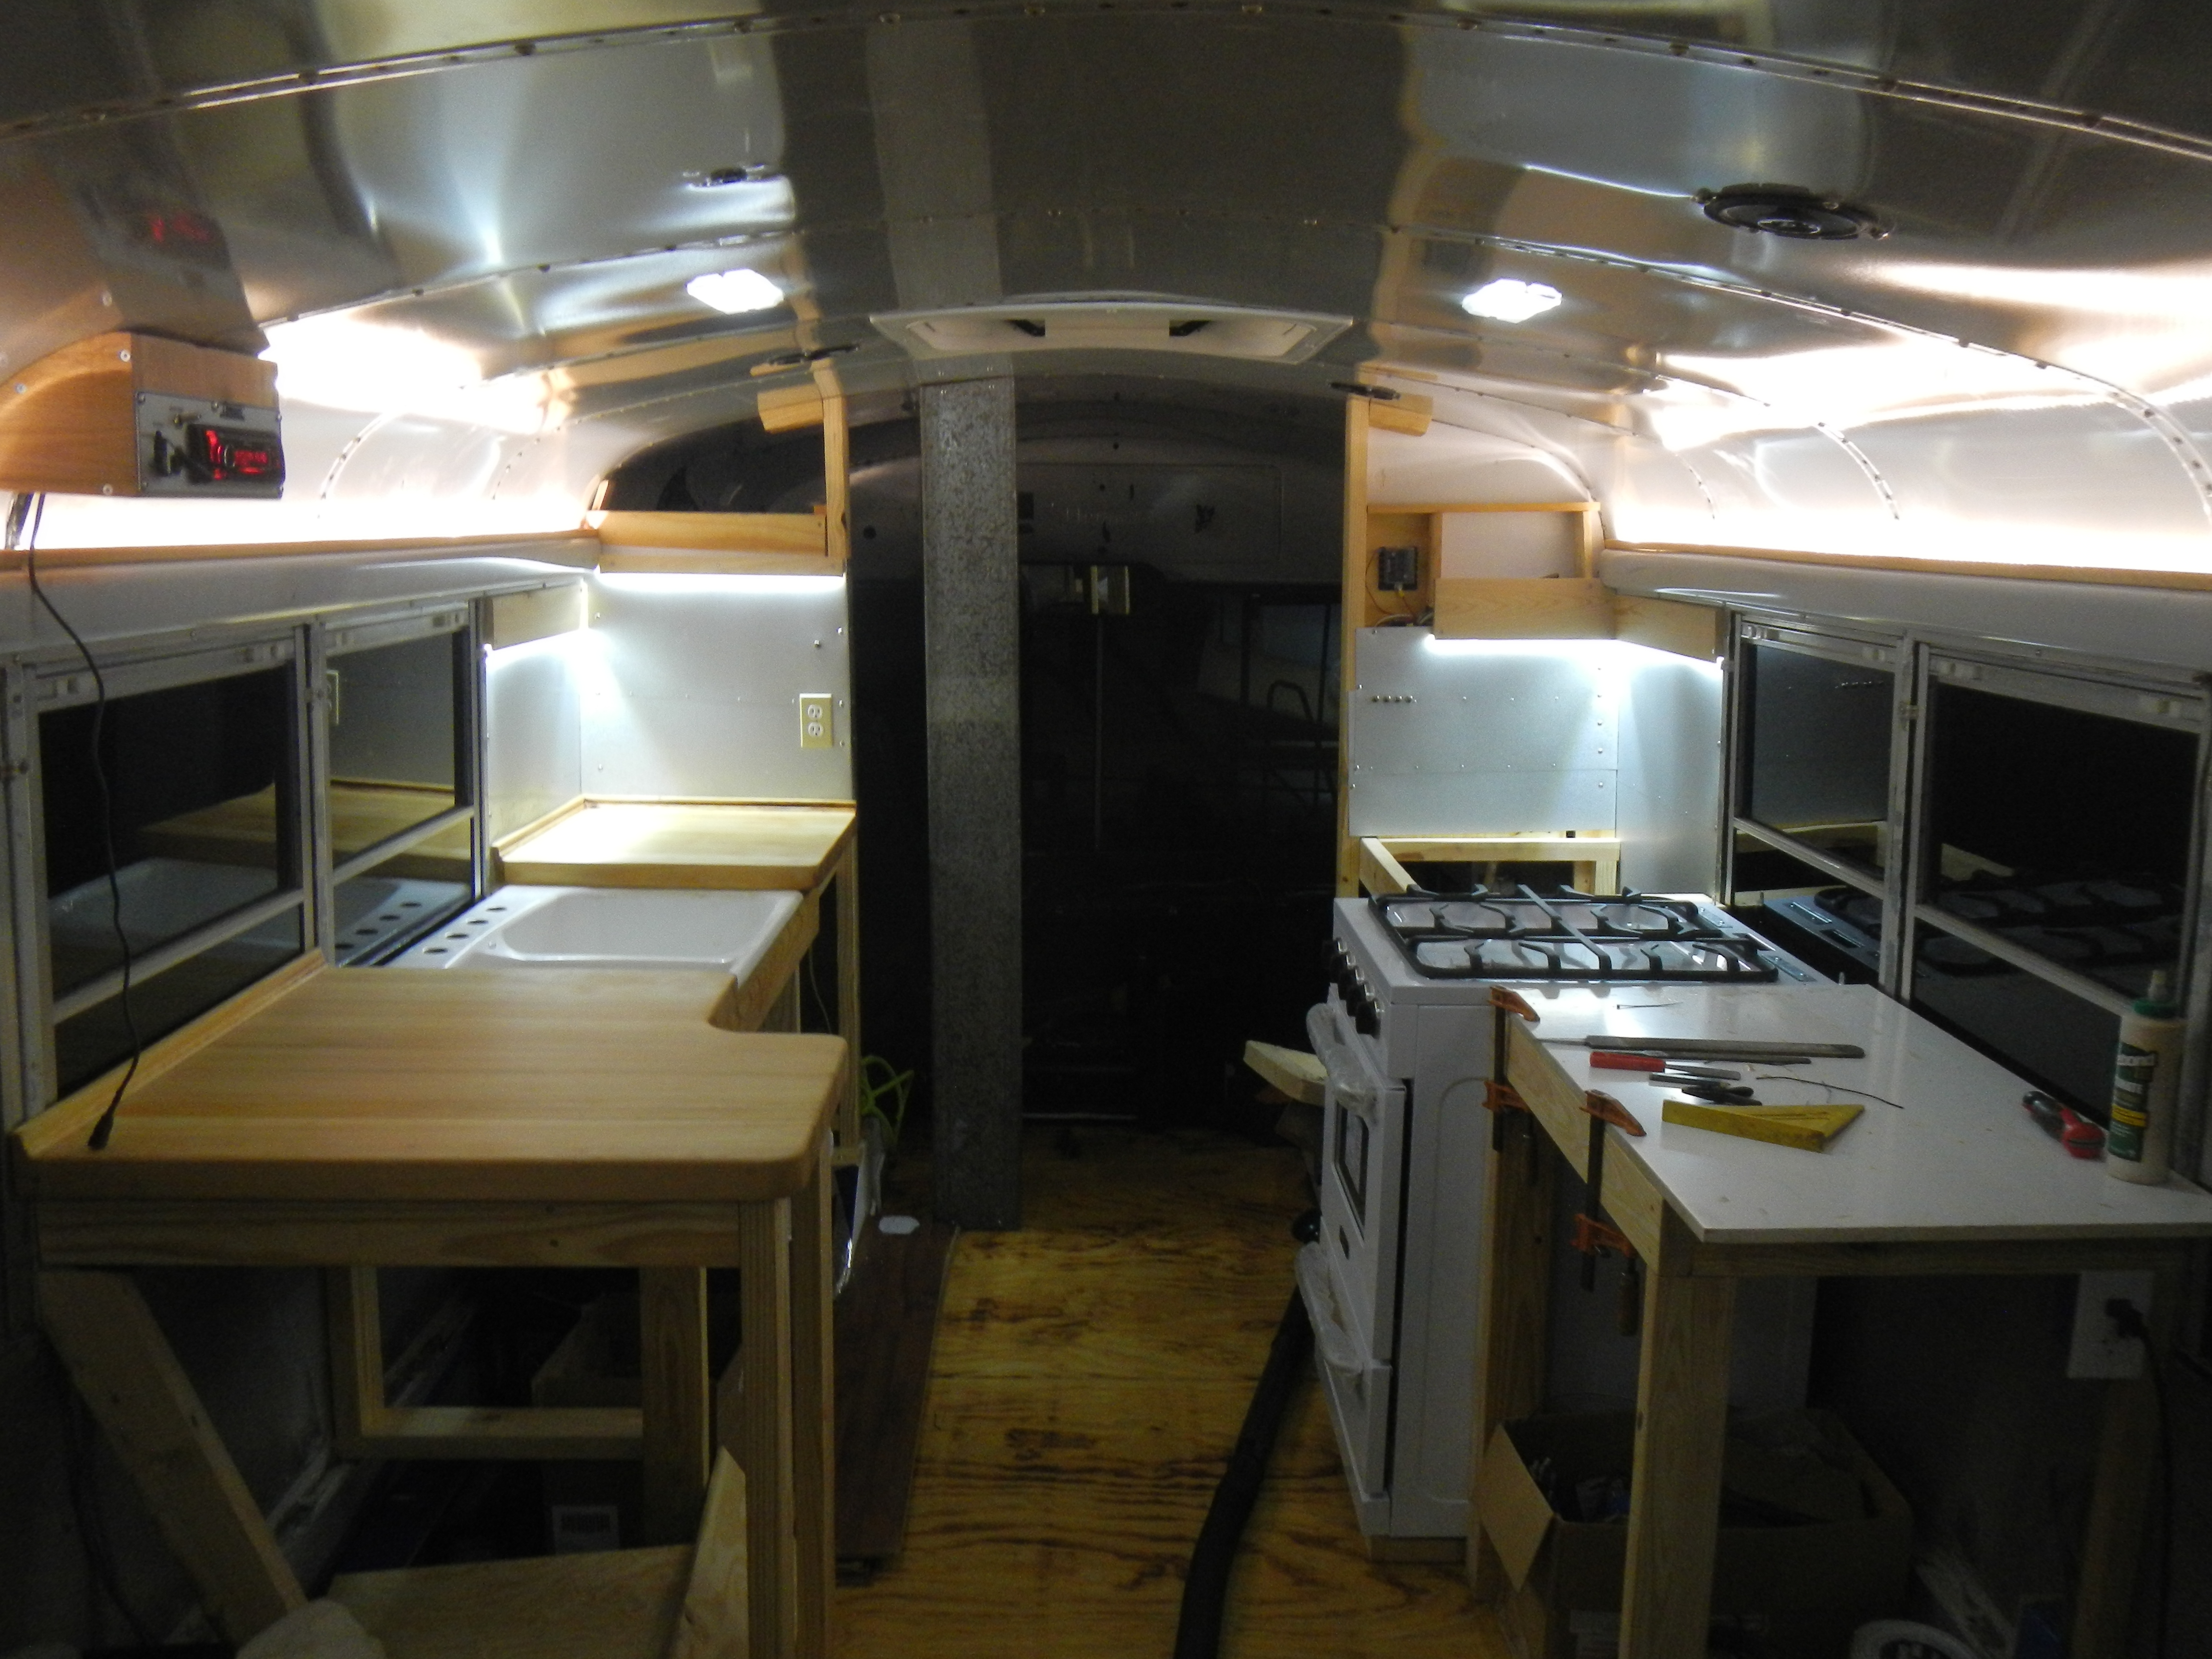
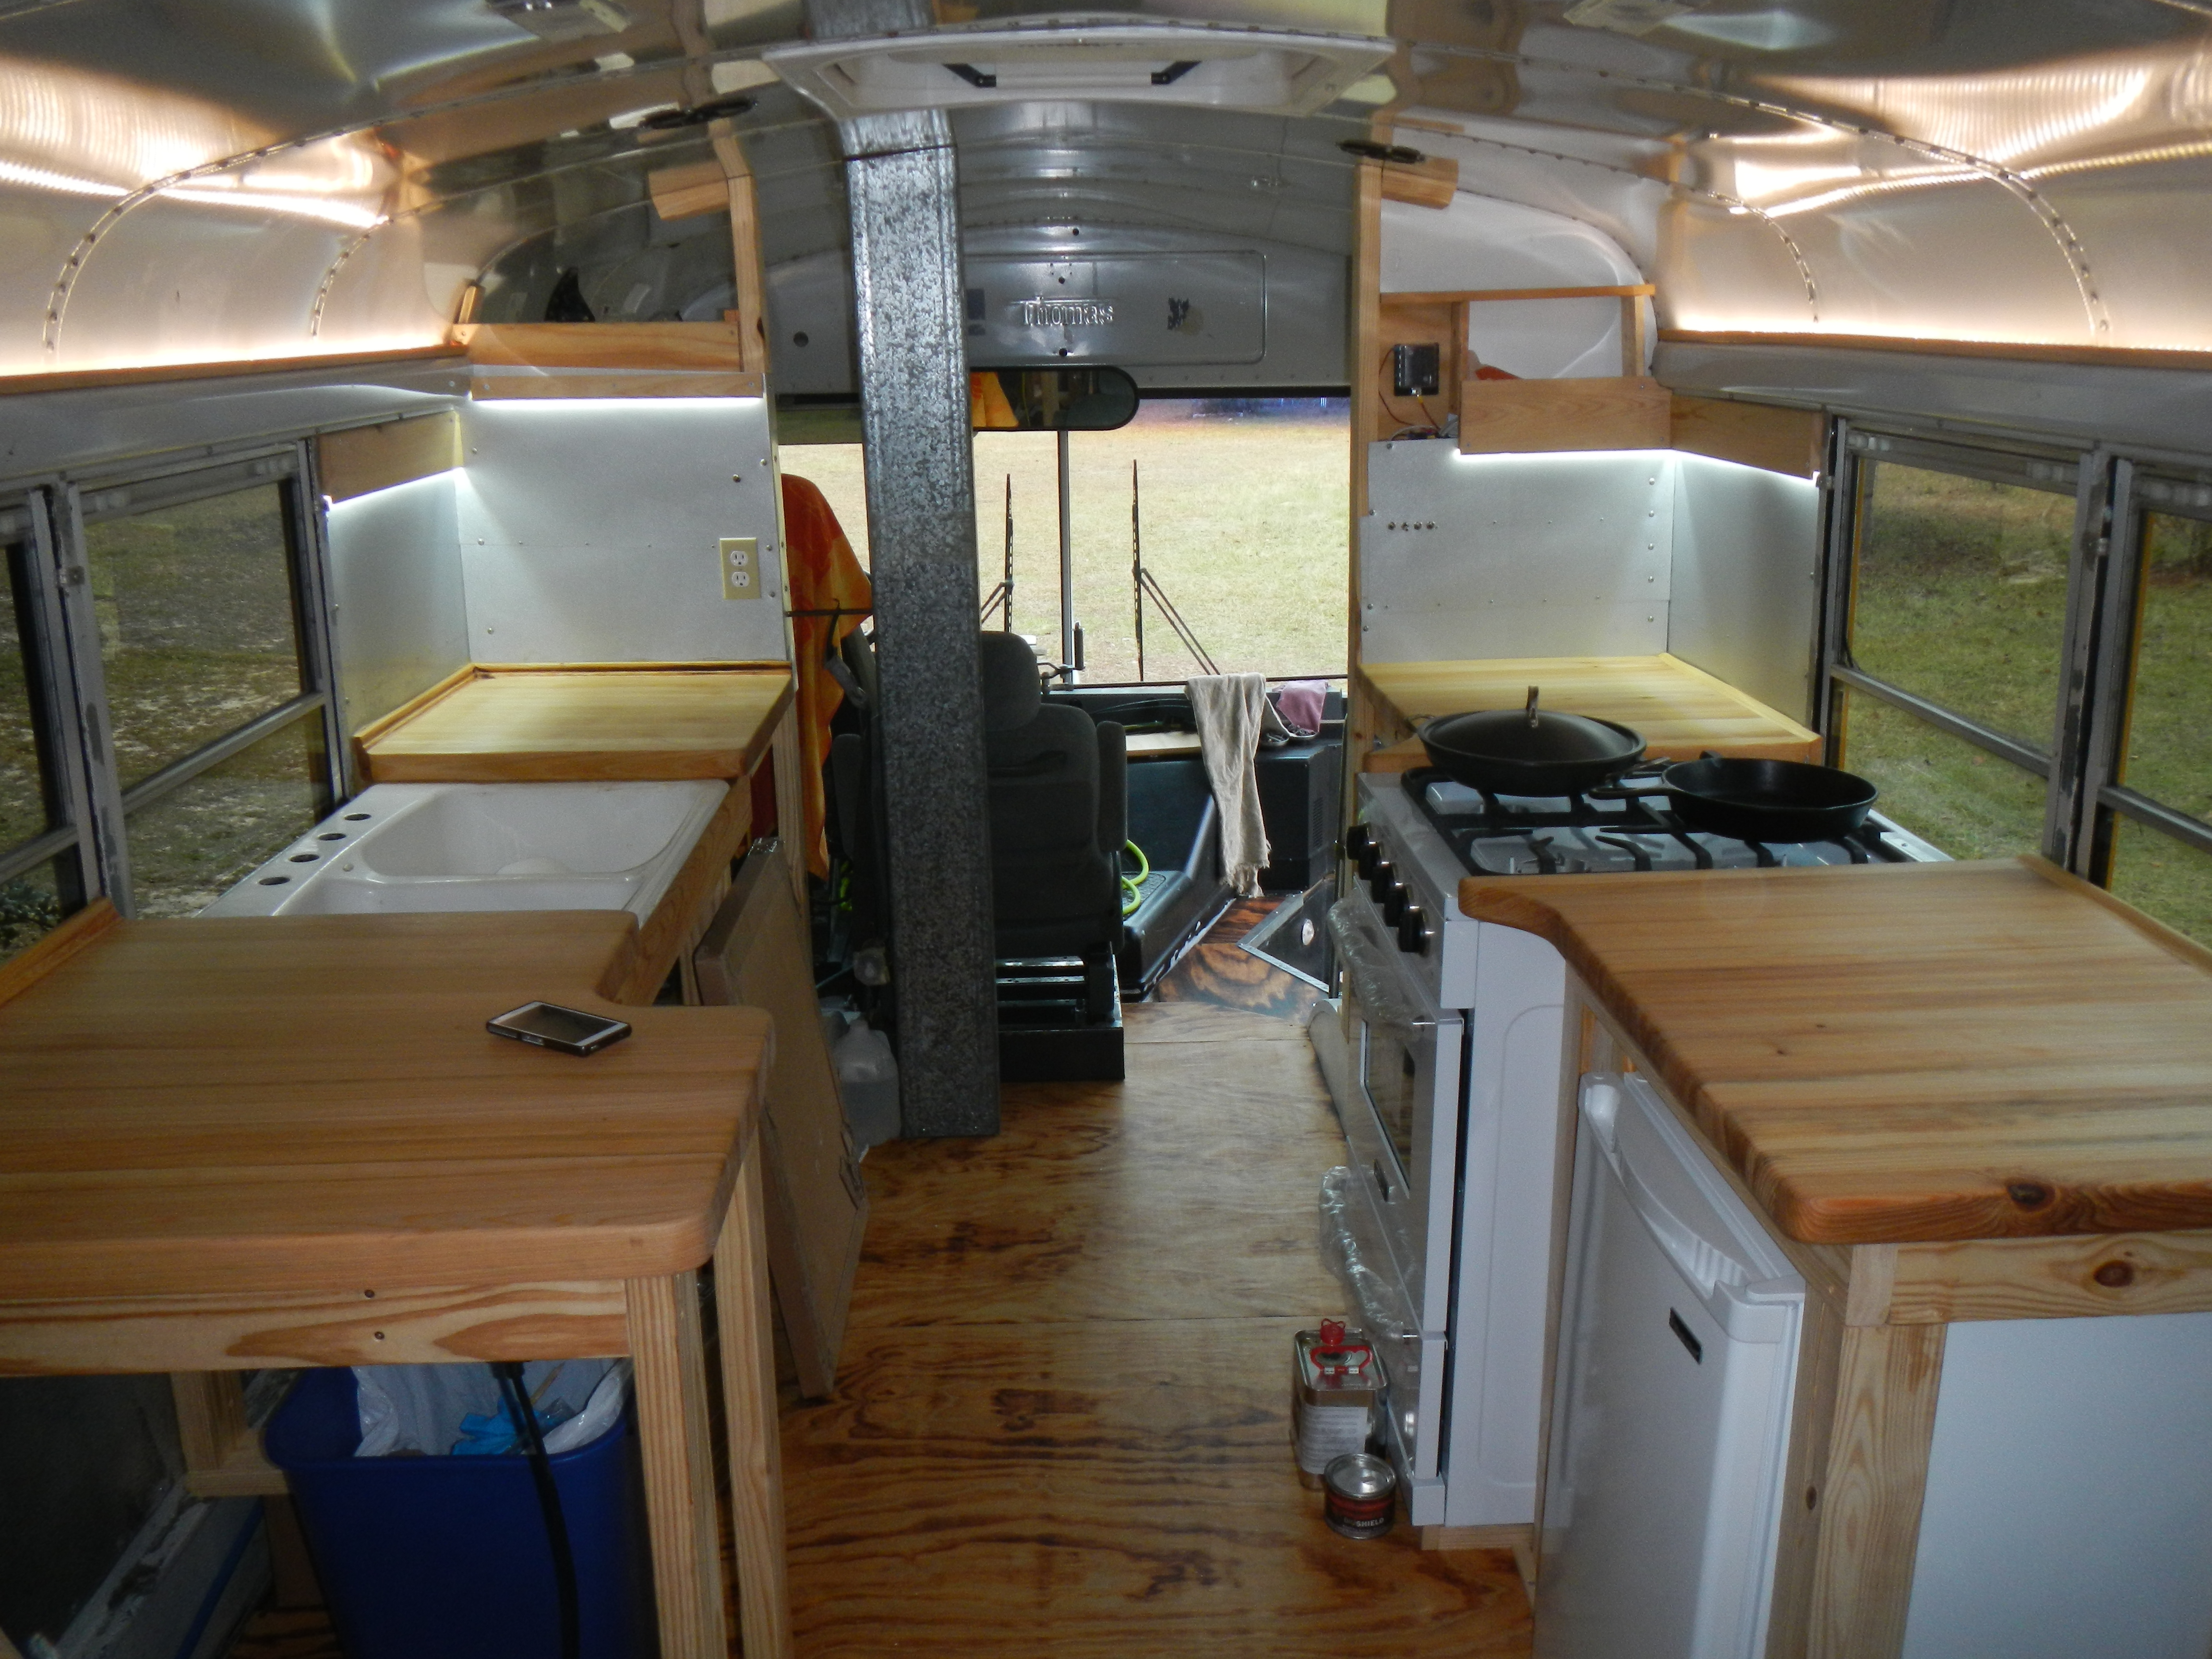
We’ll go in a roughly chronological order, and start with the walls around the forward countertops and back of the bulkhead. As this is going to be a food prep area, I wanted a durable surface that was easy to clean and low maintenance. Fortunately I had some galvalum left over from the window replacement panels so this is what I used.
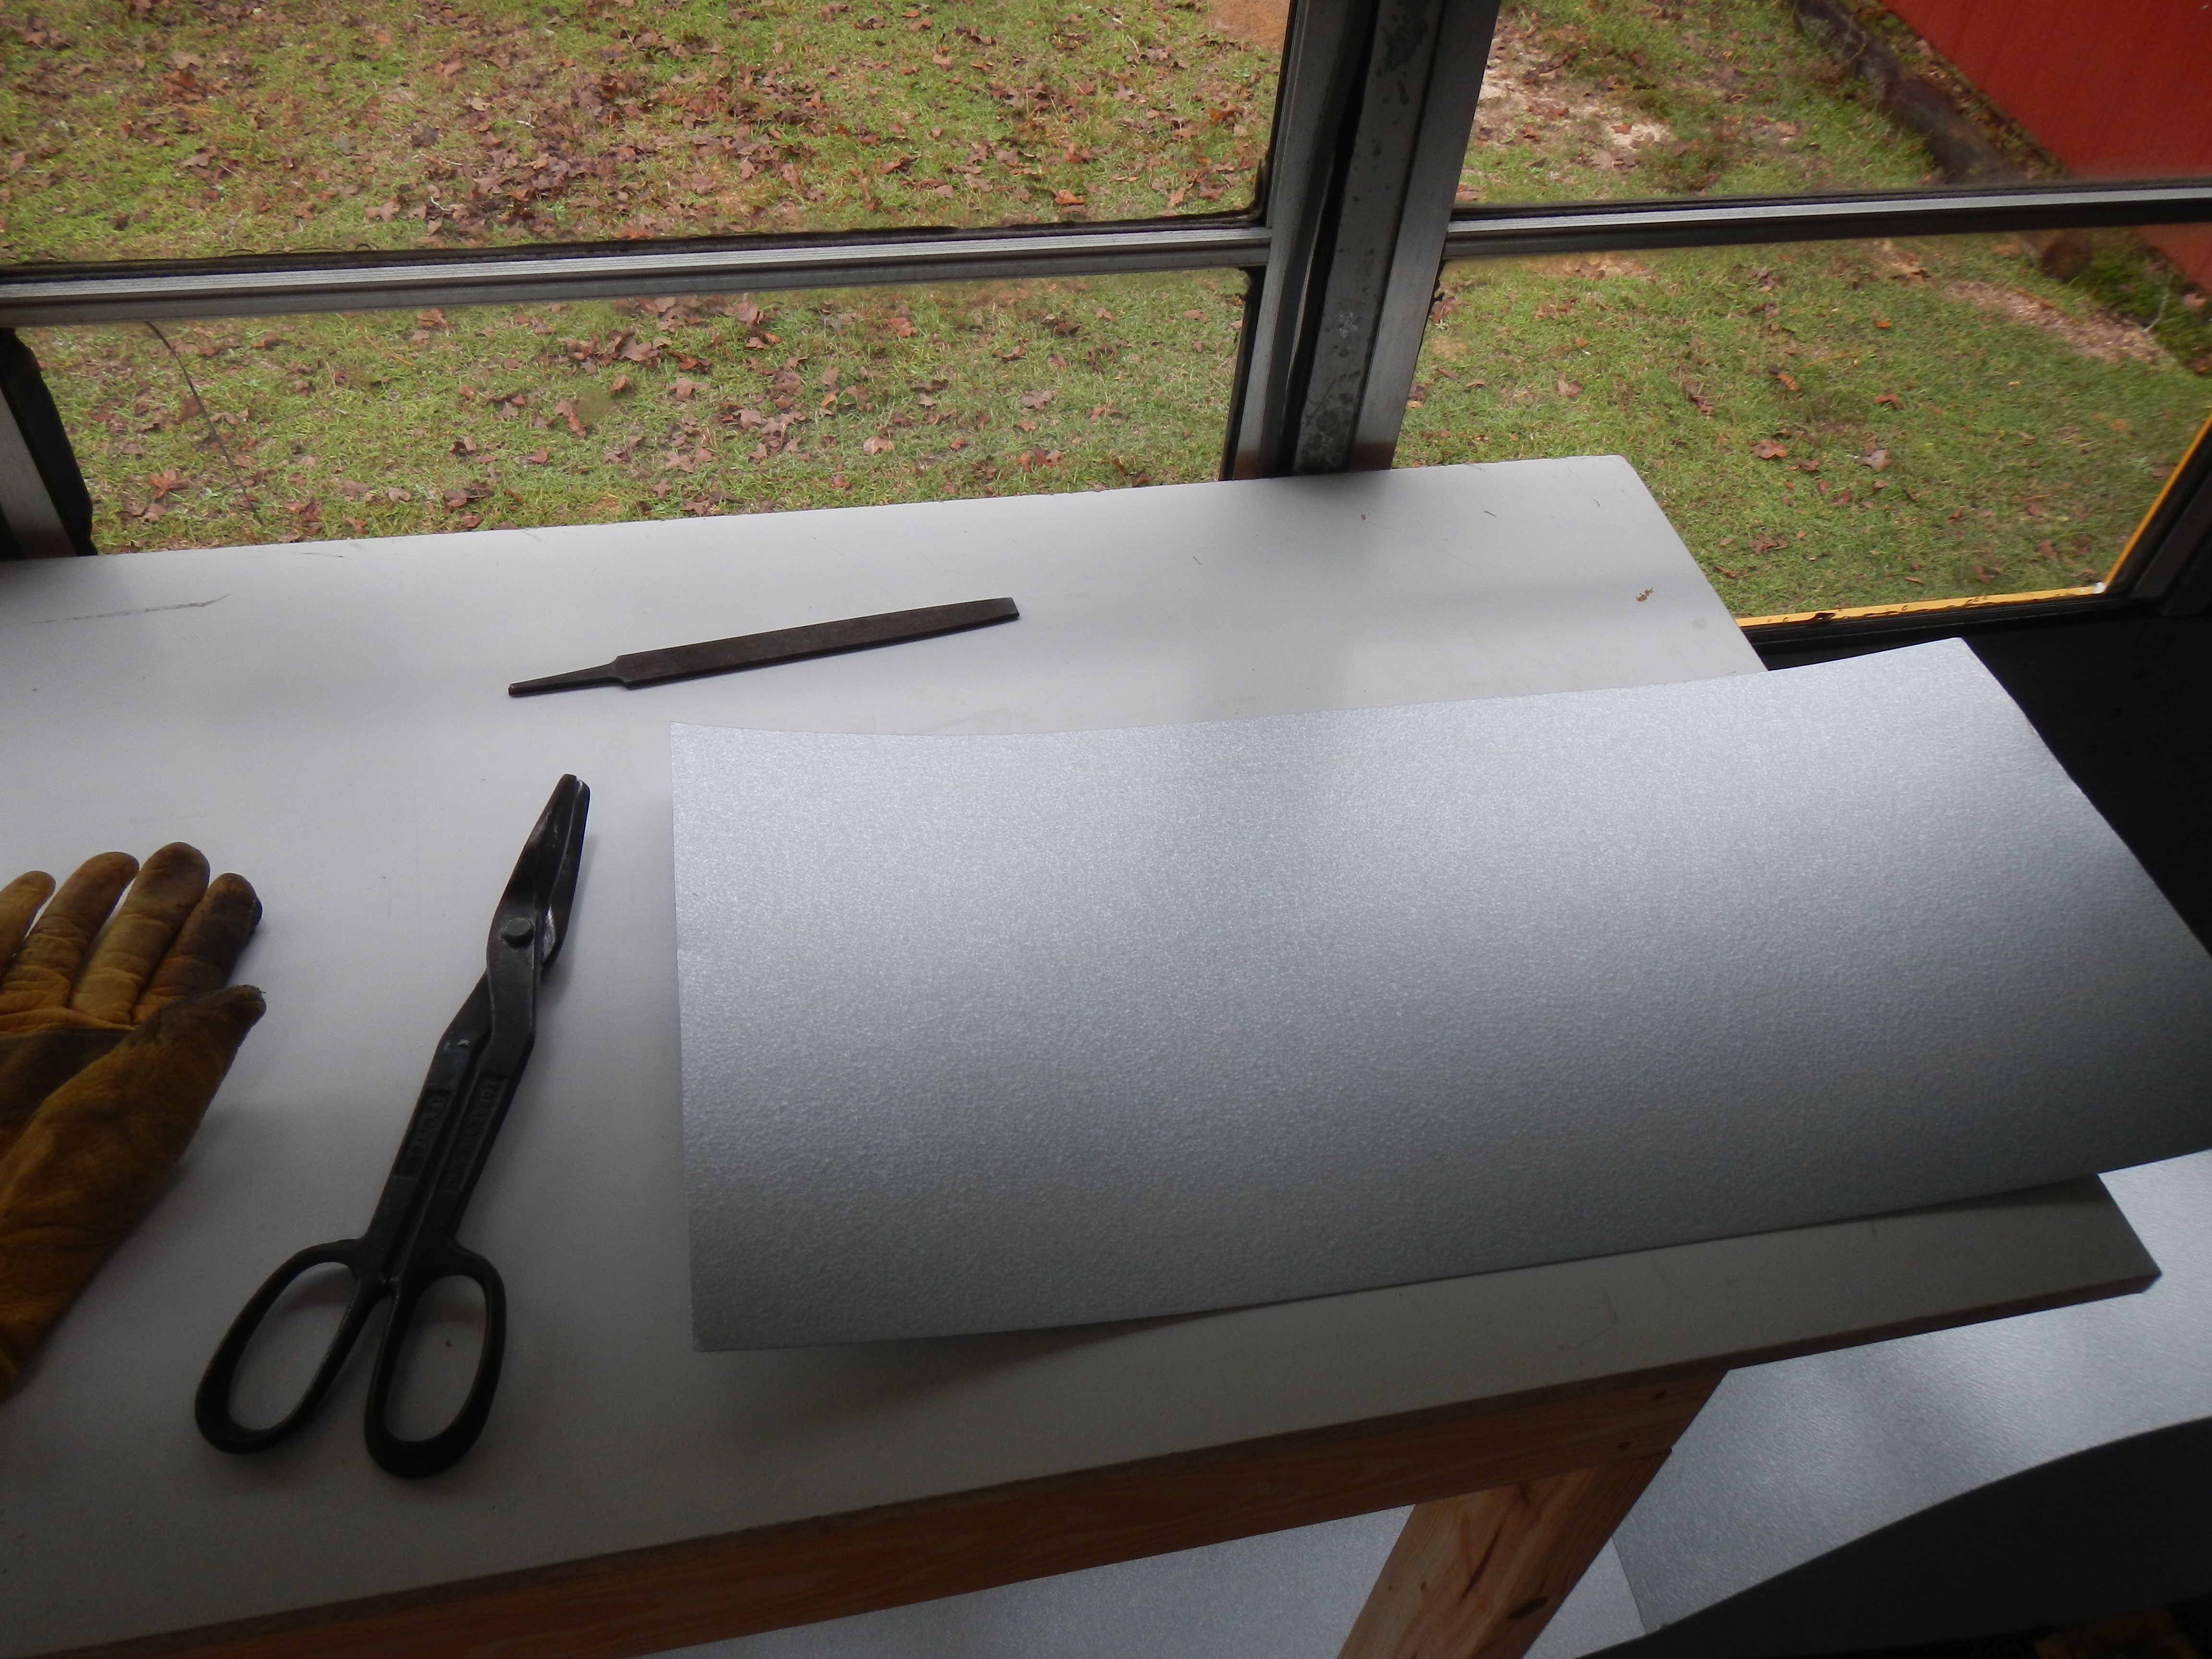
Strips of galvalum were cut to size for the walls
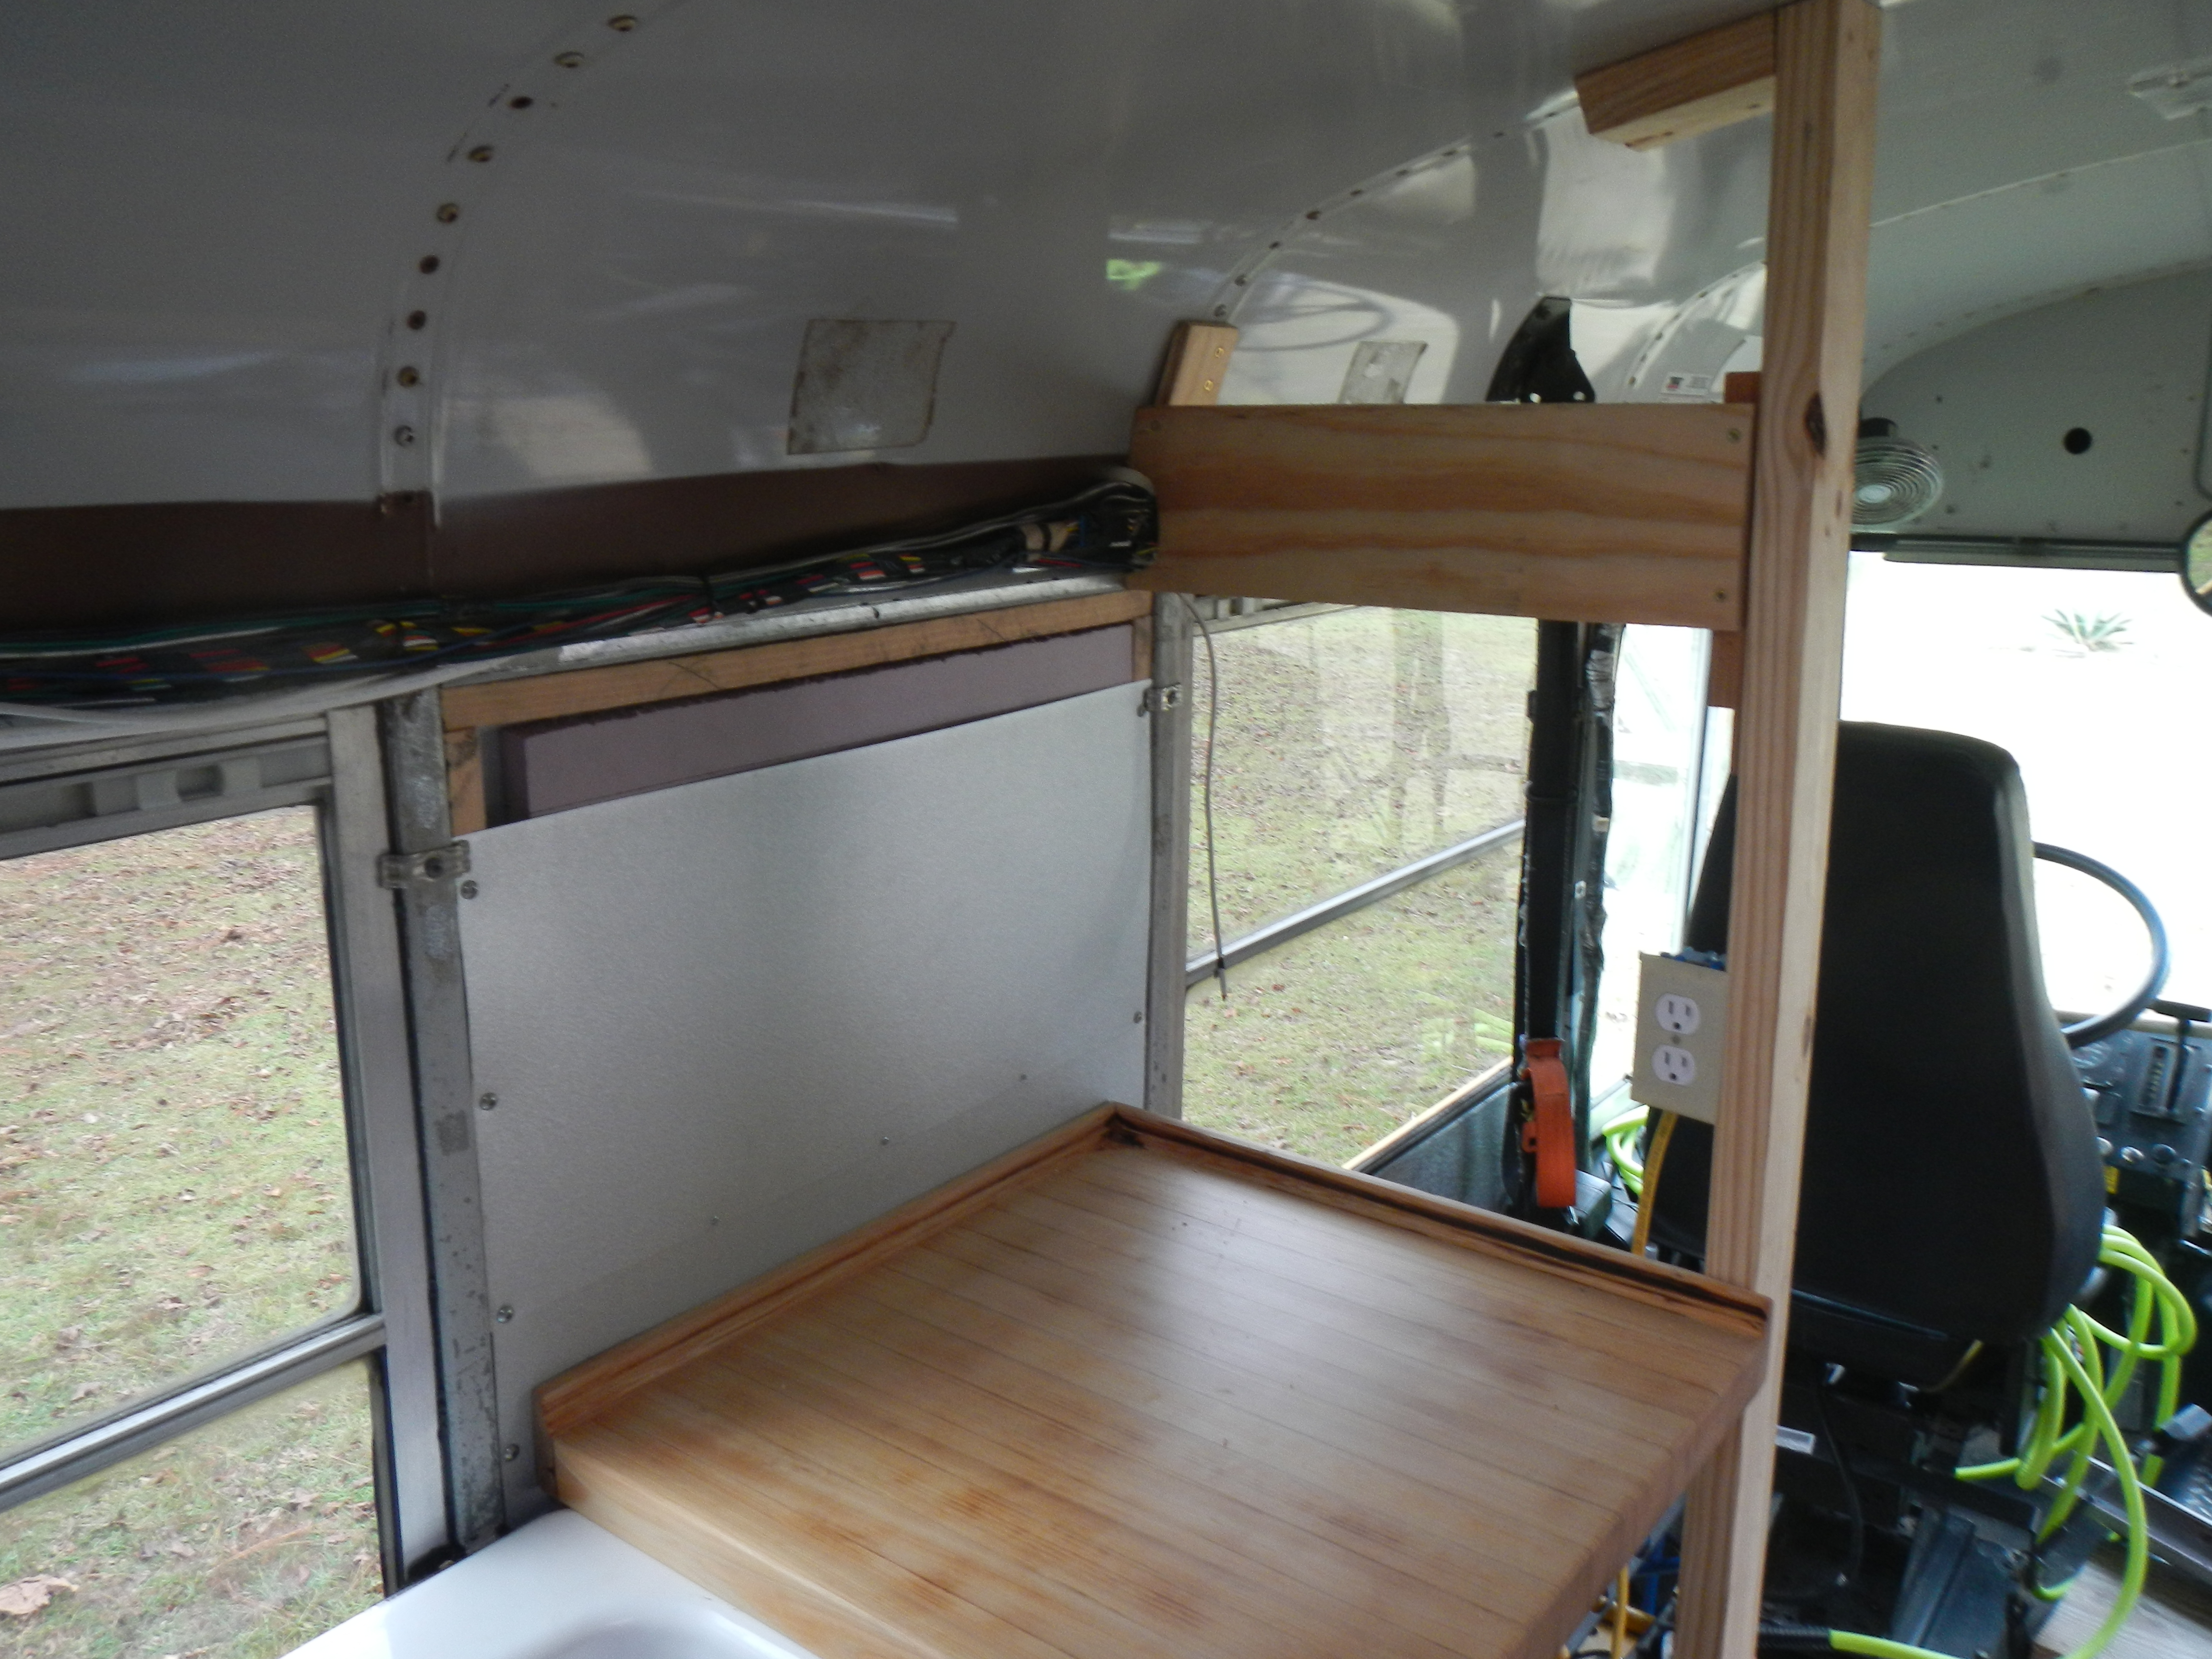
… As well as open space in the bulkhead
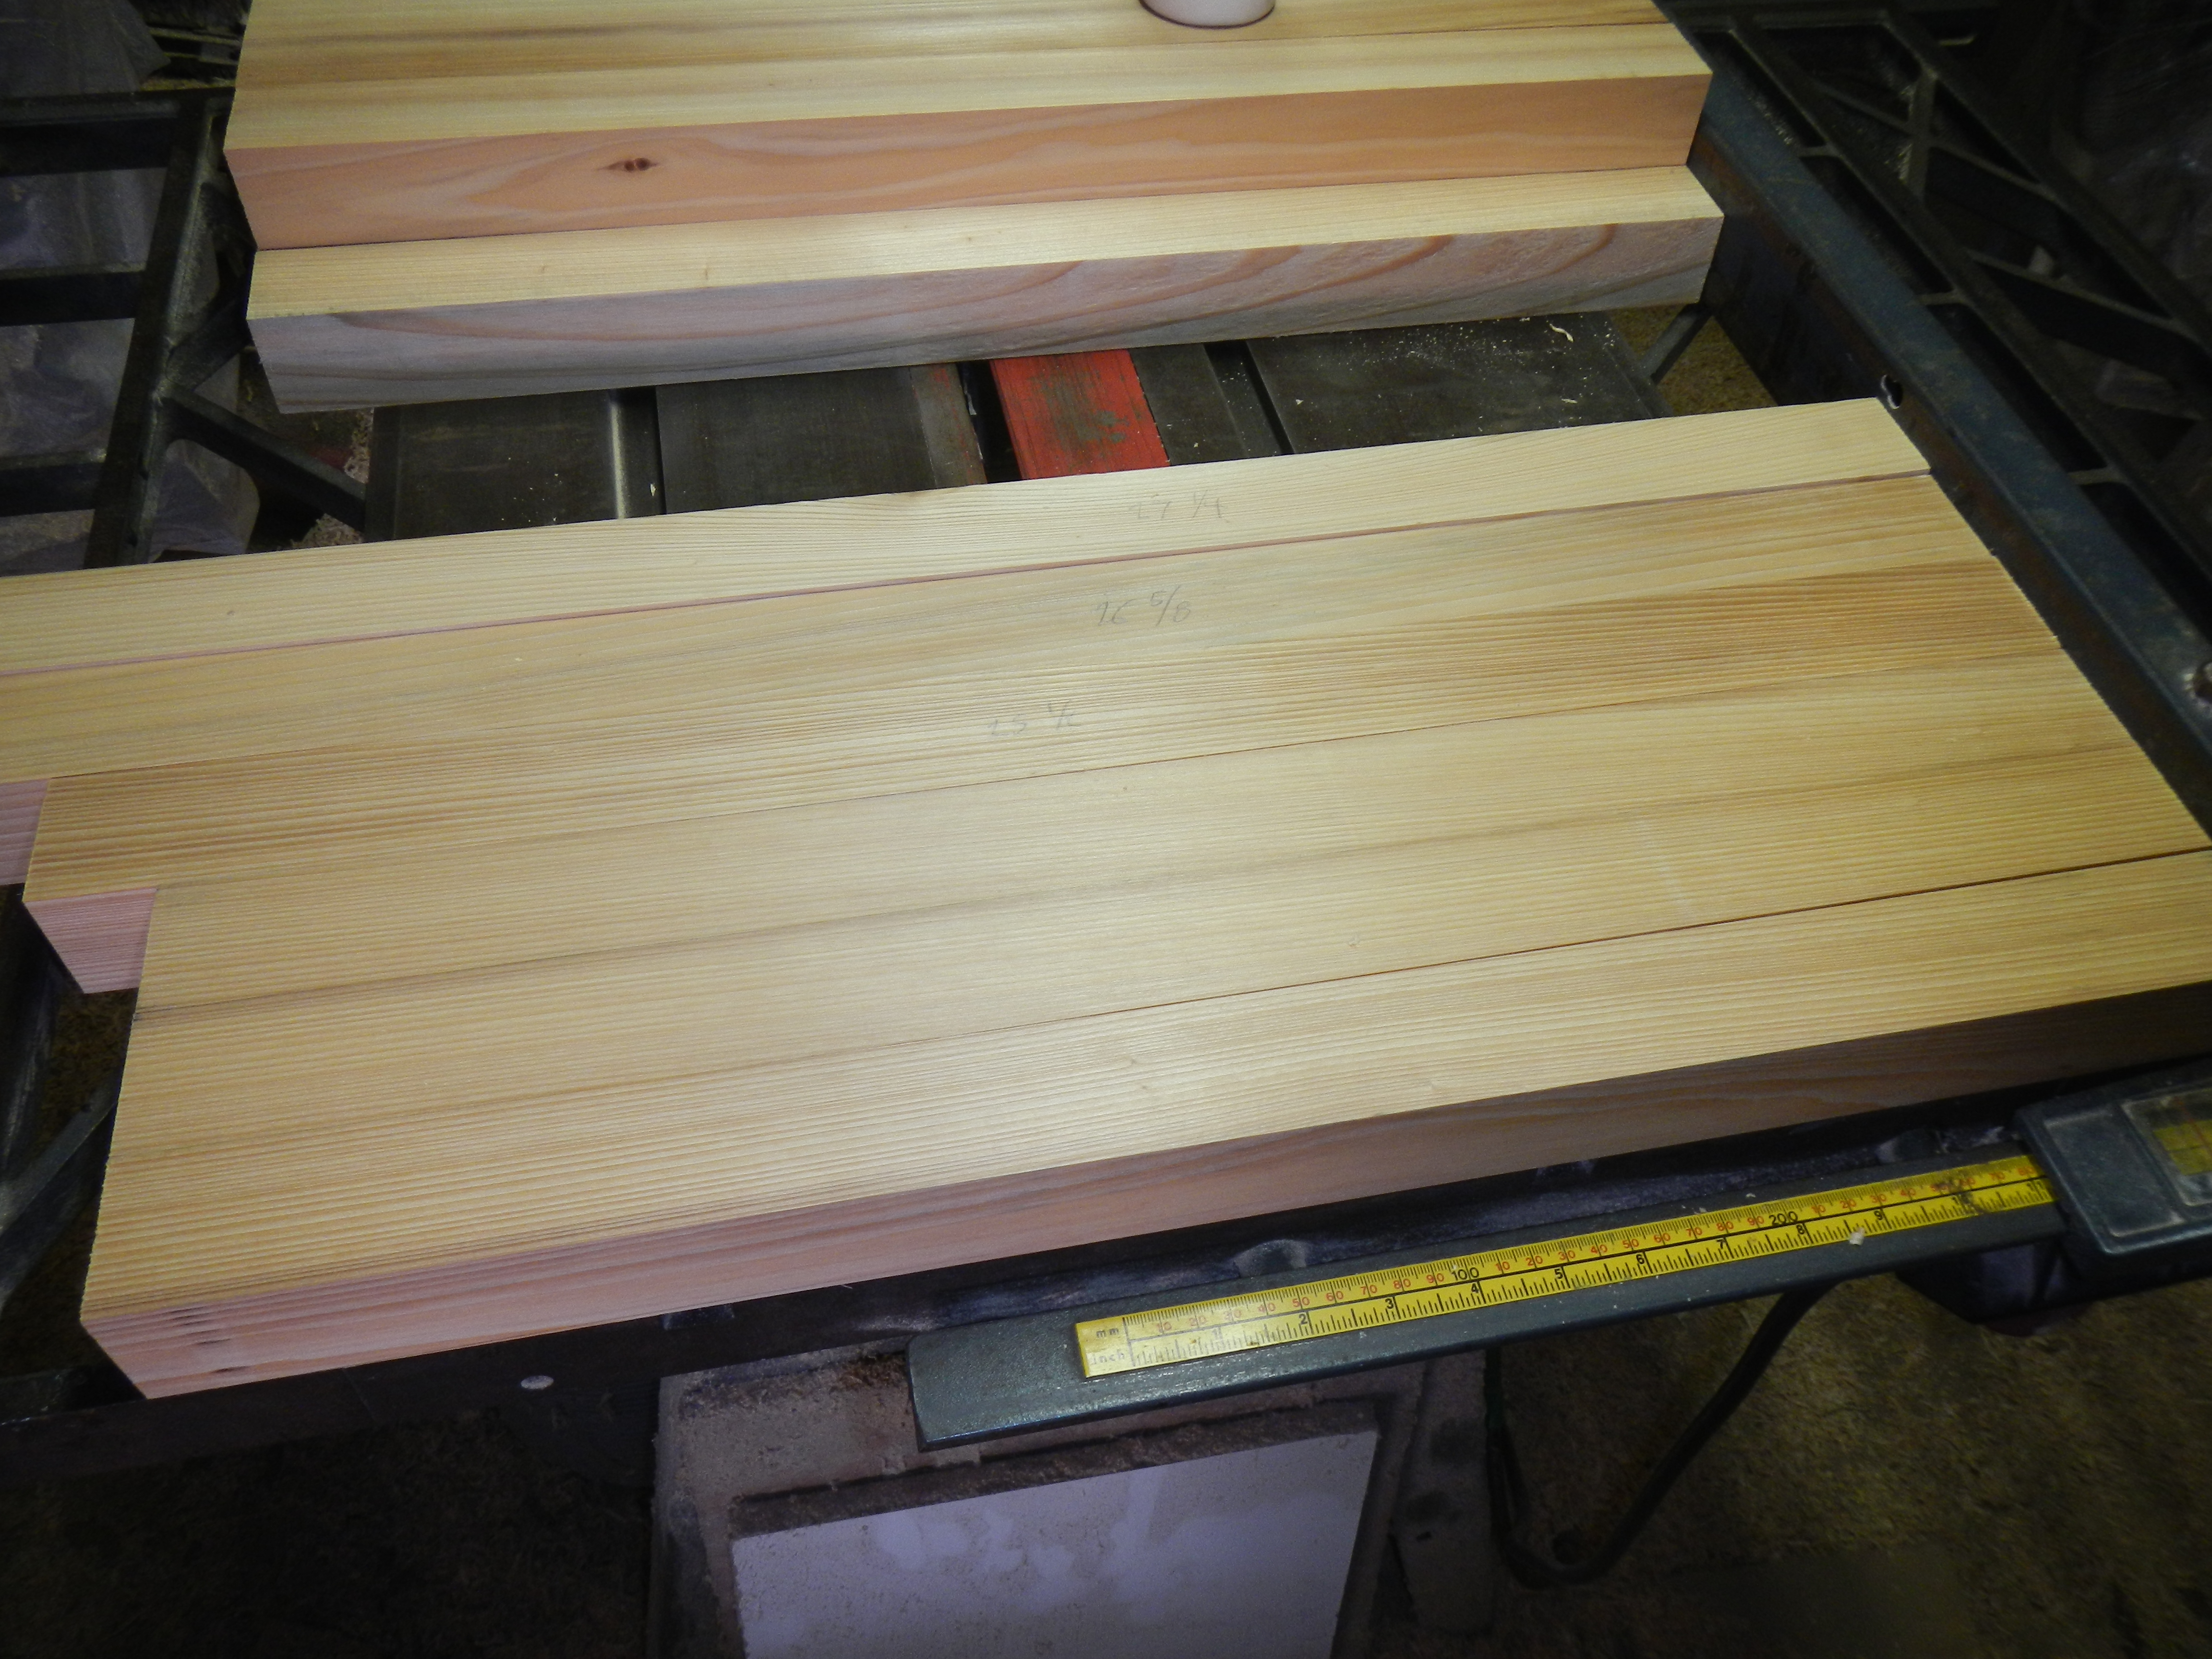
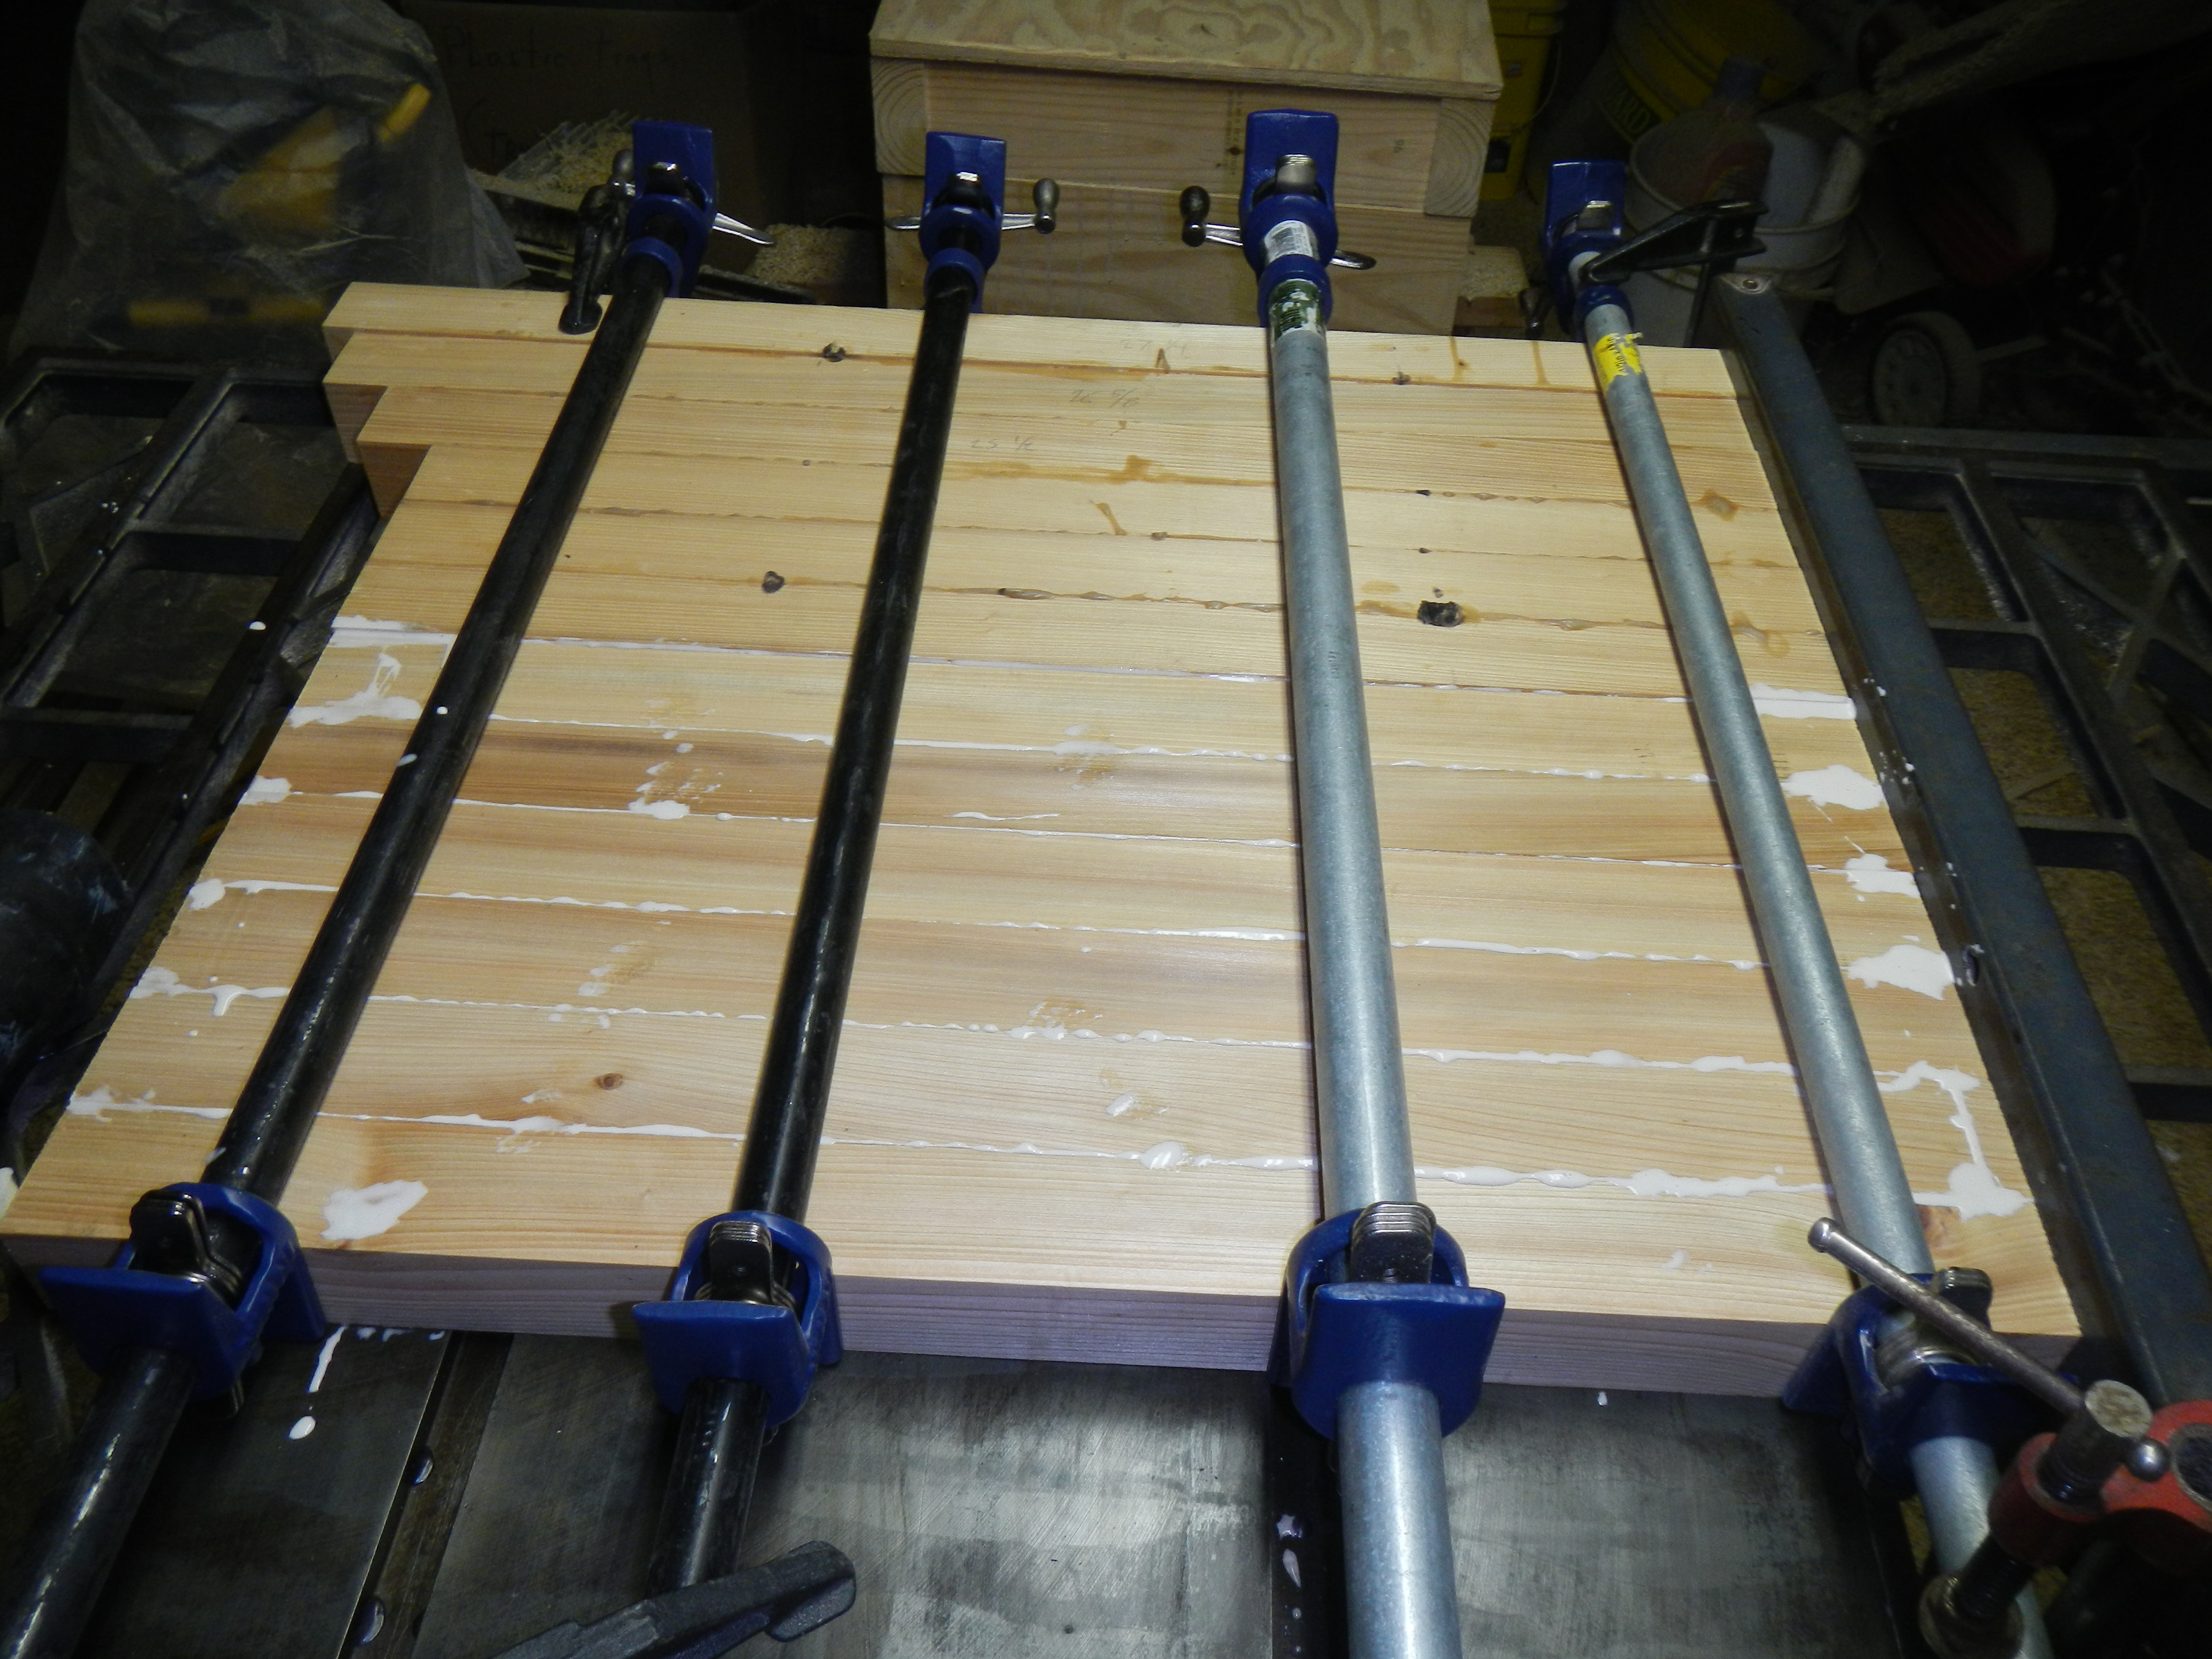
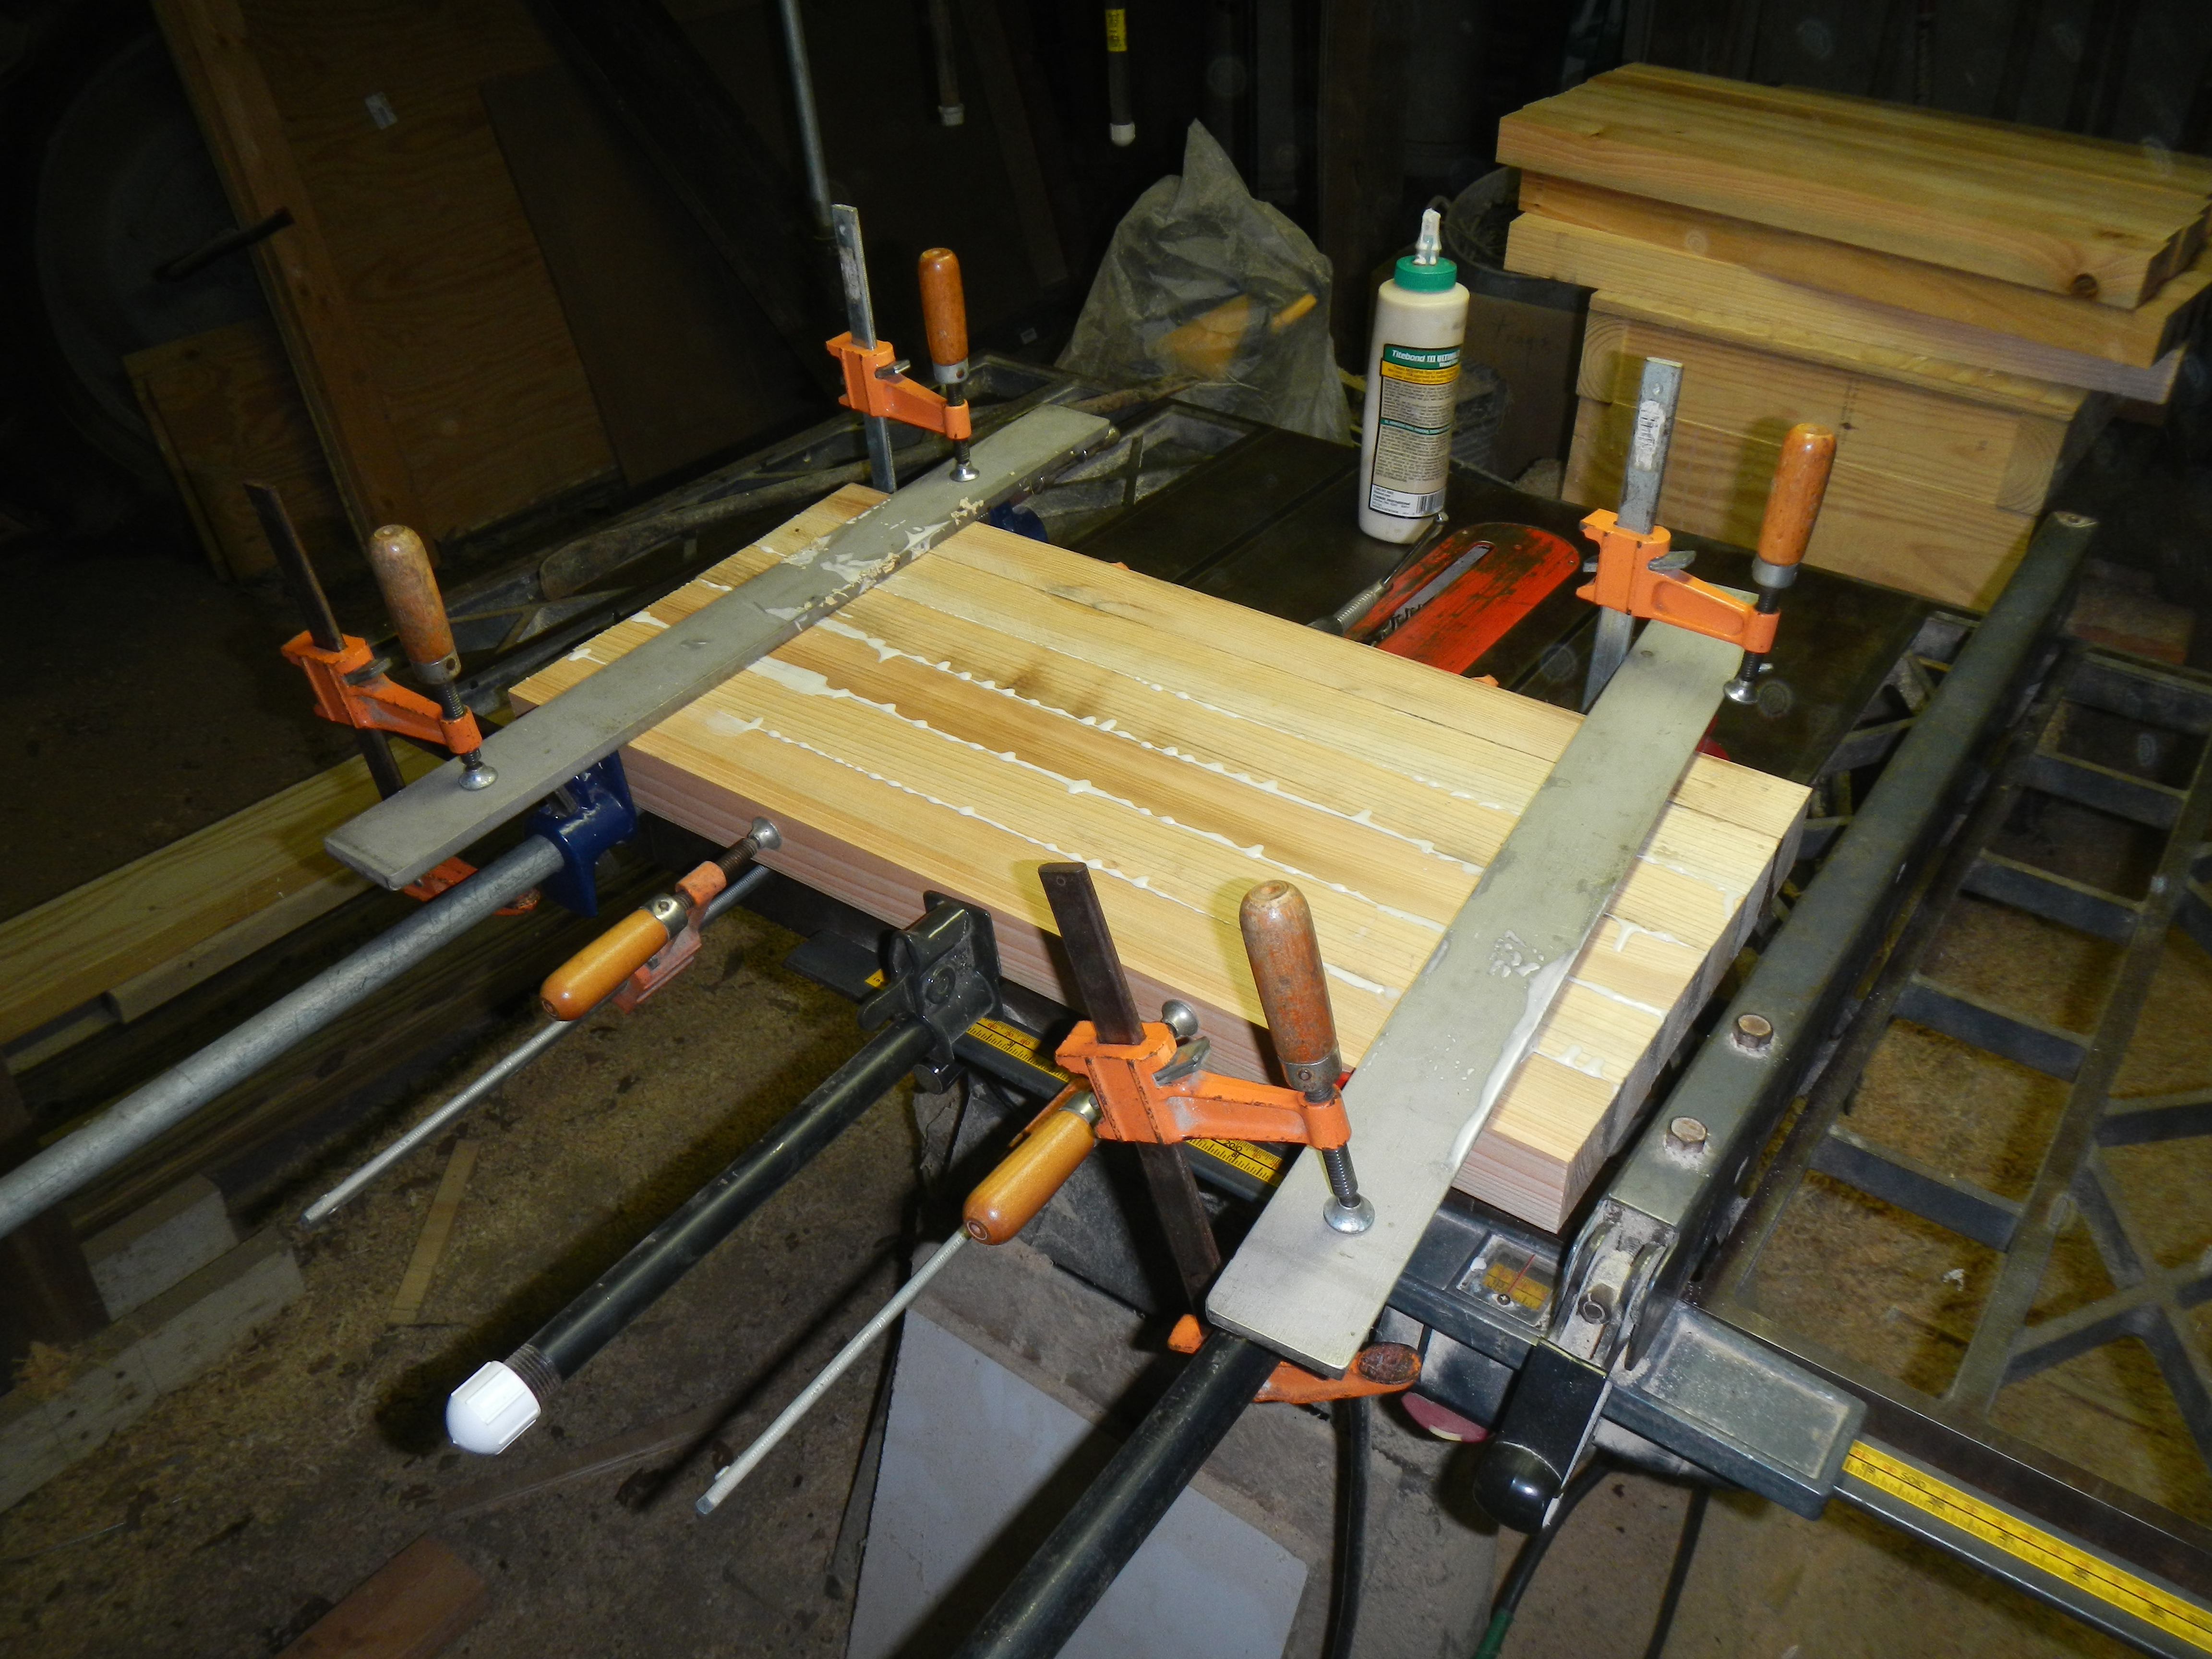
One (or in this case one’s neighbor) can never have too many clamps (huge thanks to David Maryott for allowing me to use his barn and woodworking tools)
Midway through gluing and clamping the countertops, I got a stereo unit in the mail, so I took a few hours to fabricate an enclosure out of red oak scraps and wire it up.
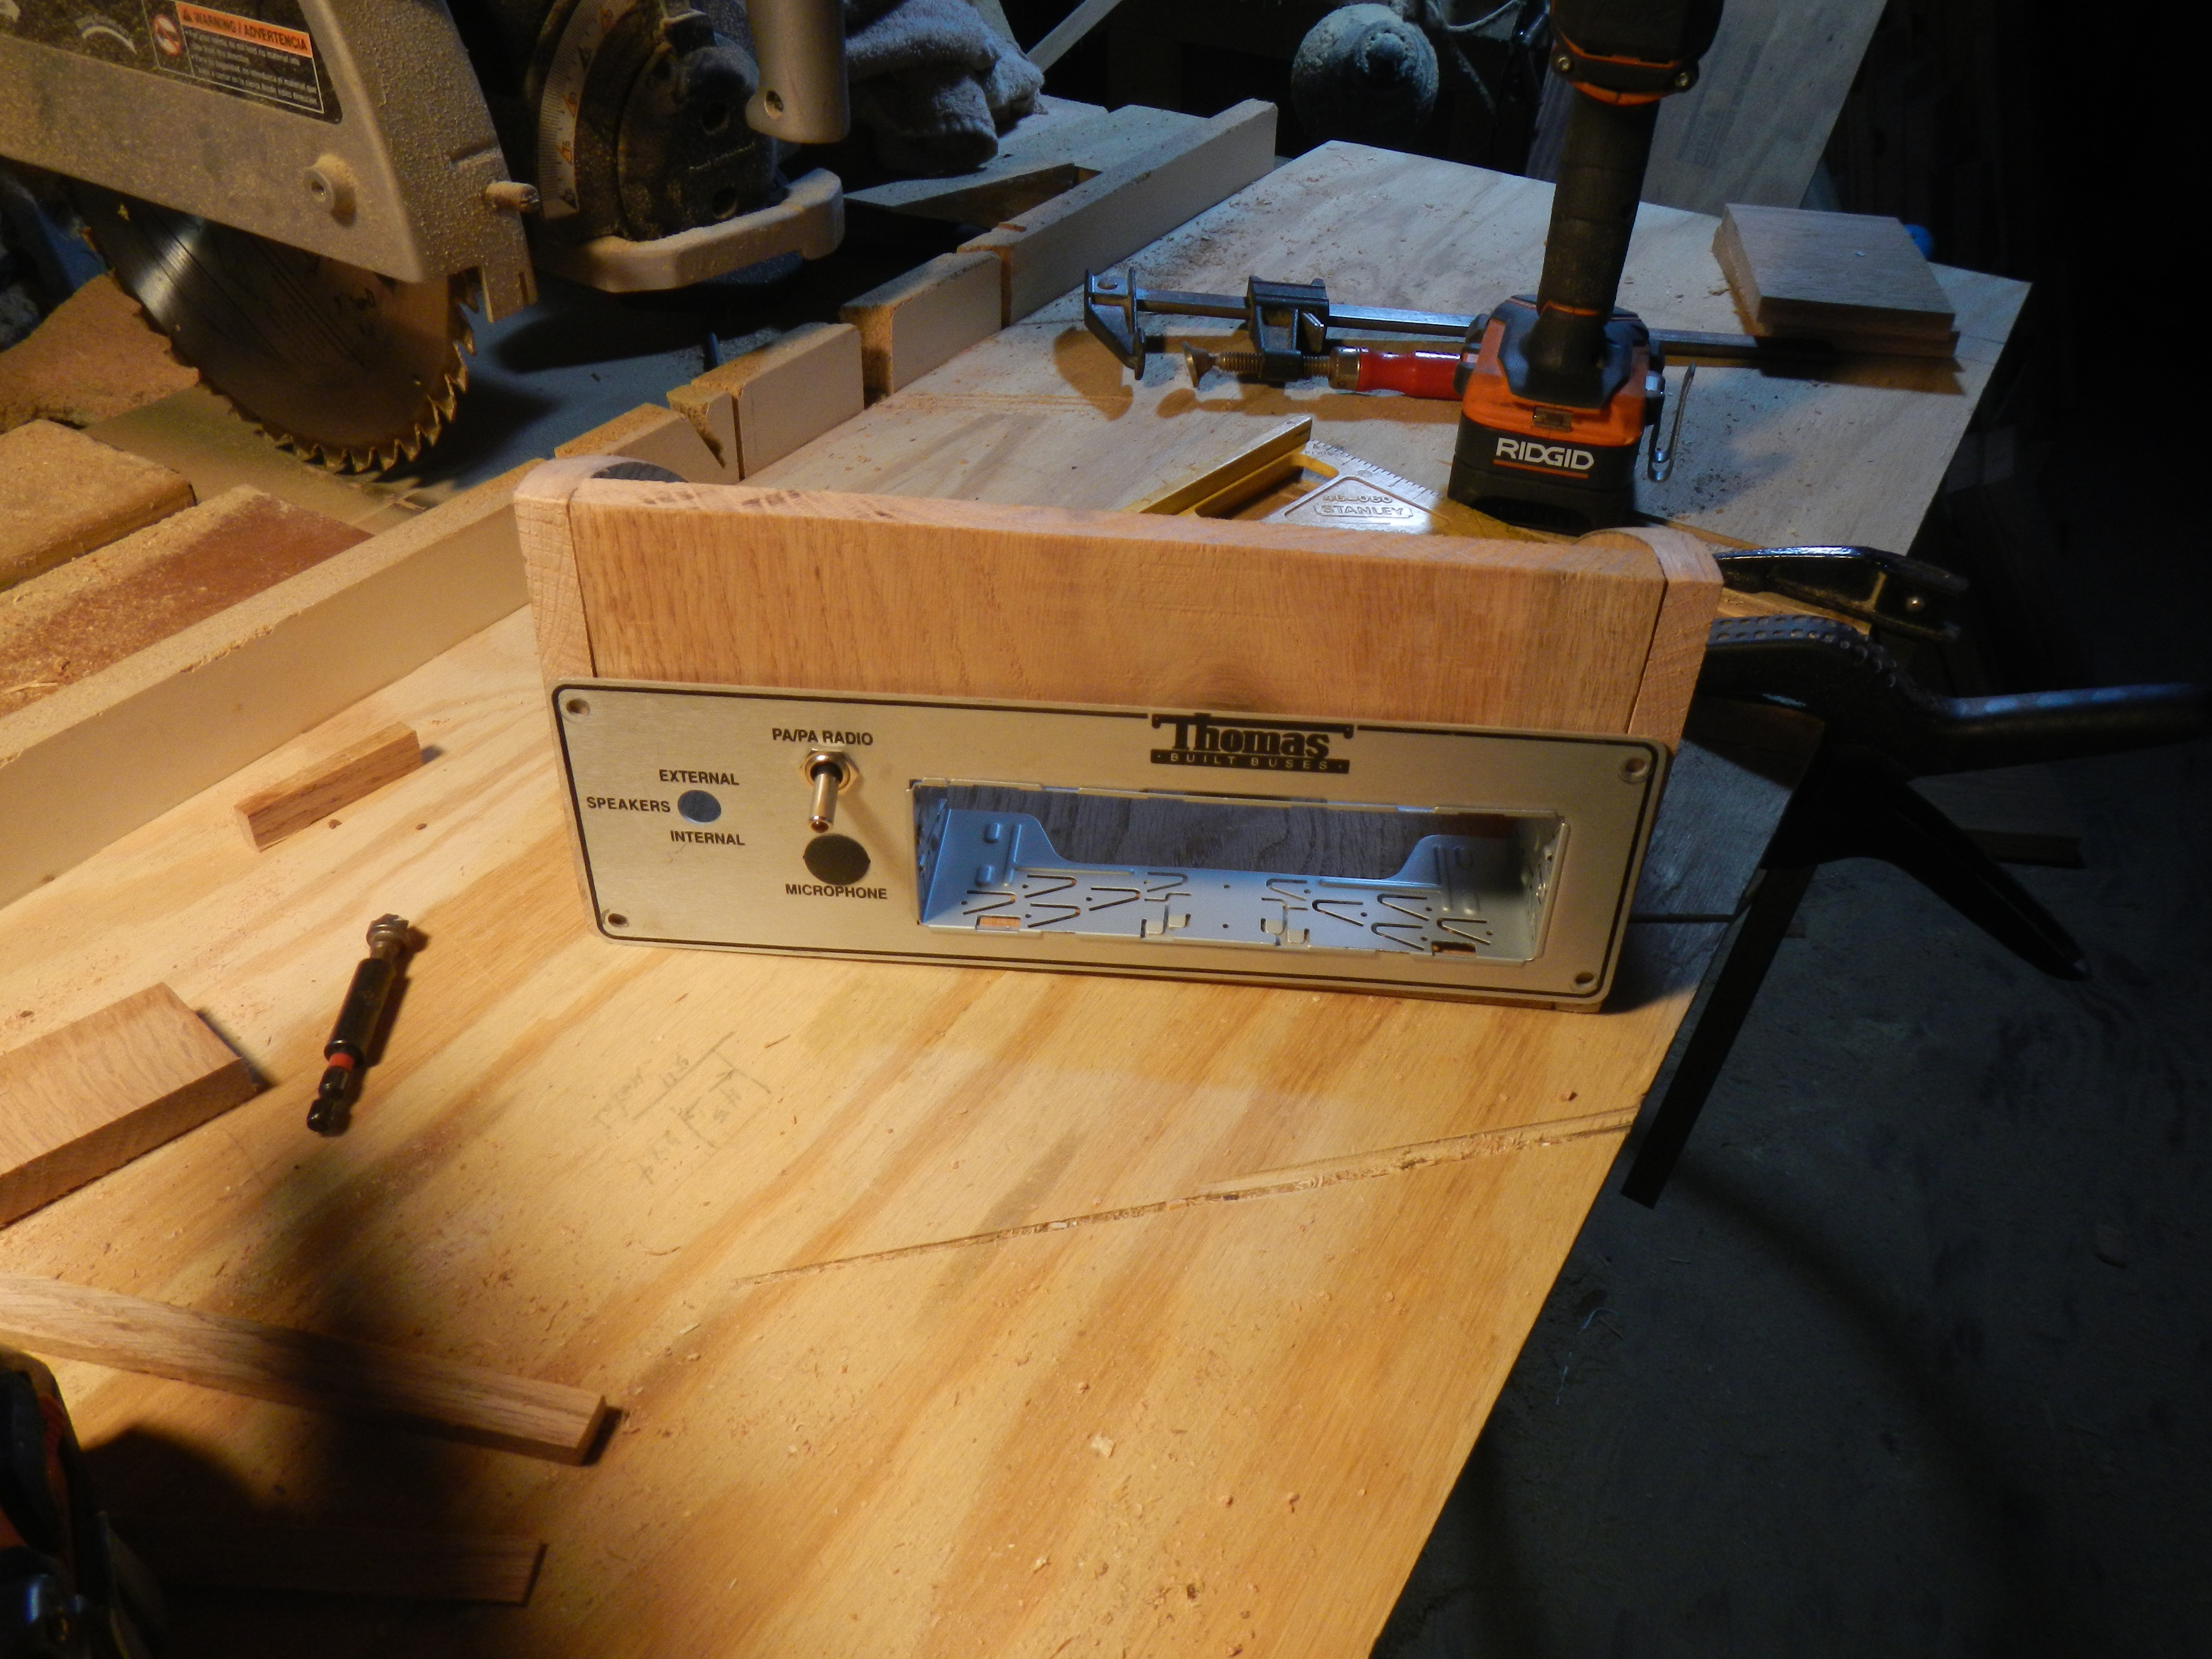
I repurposed the stock stereo face plate and installed a toggle switch to gracefully turn the stereo on and off
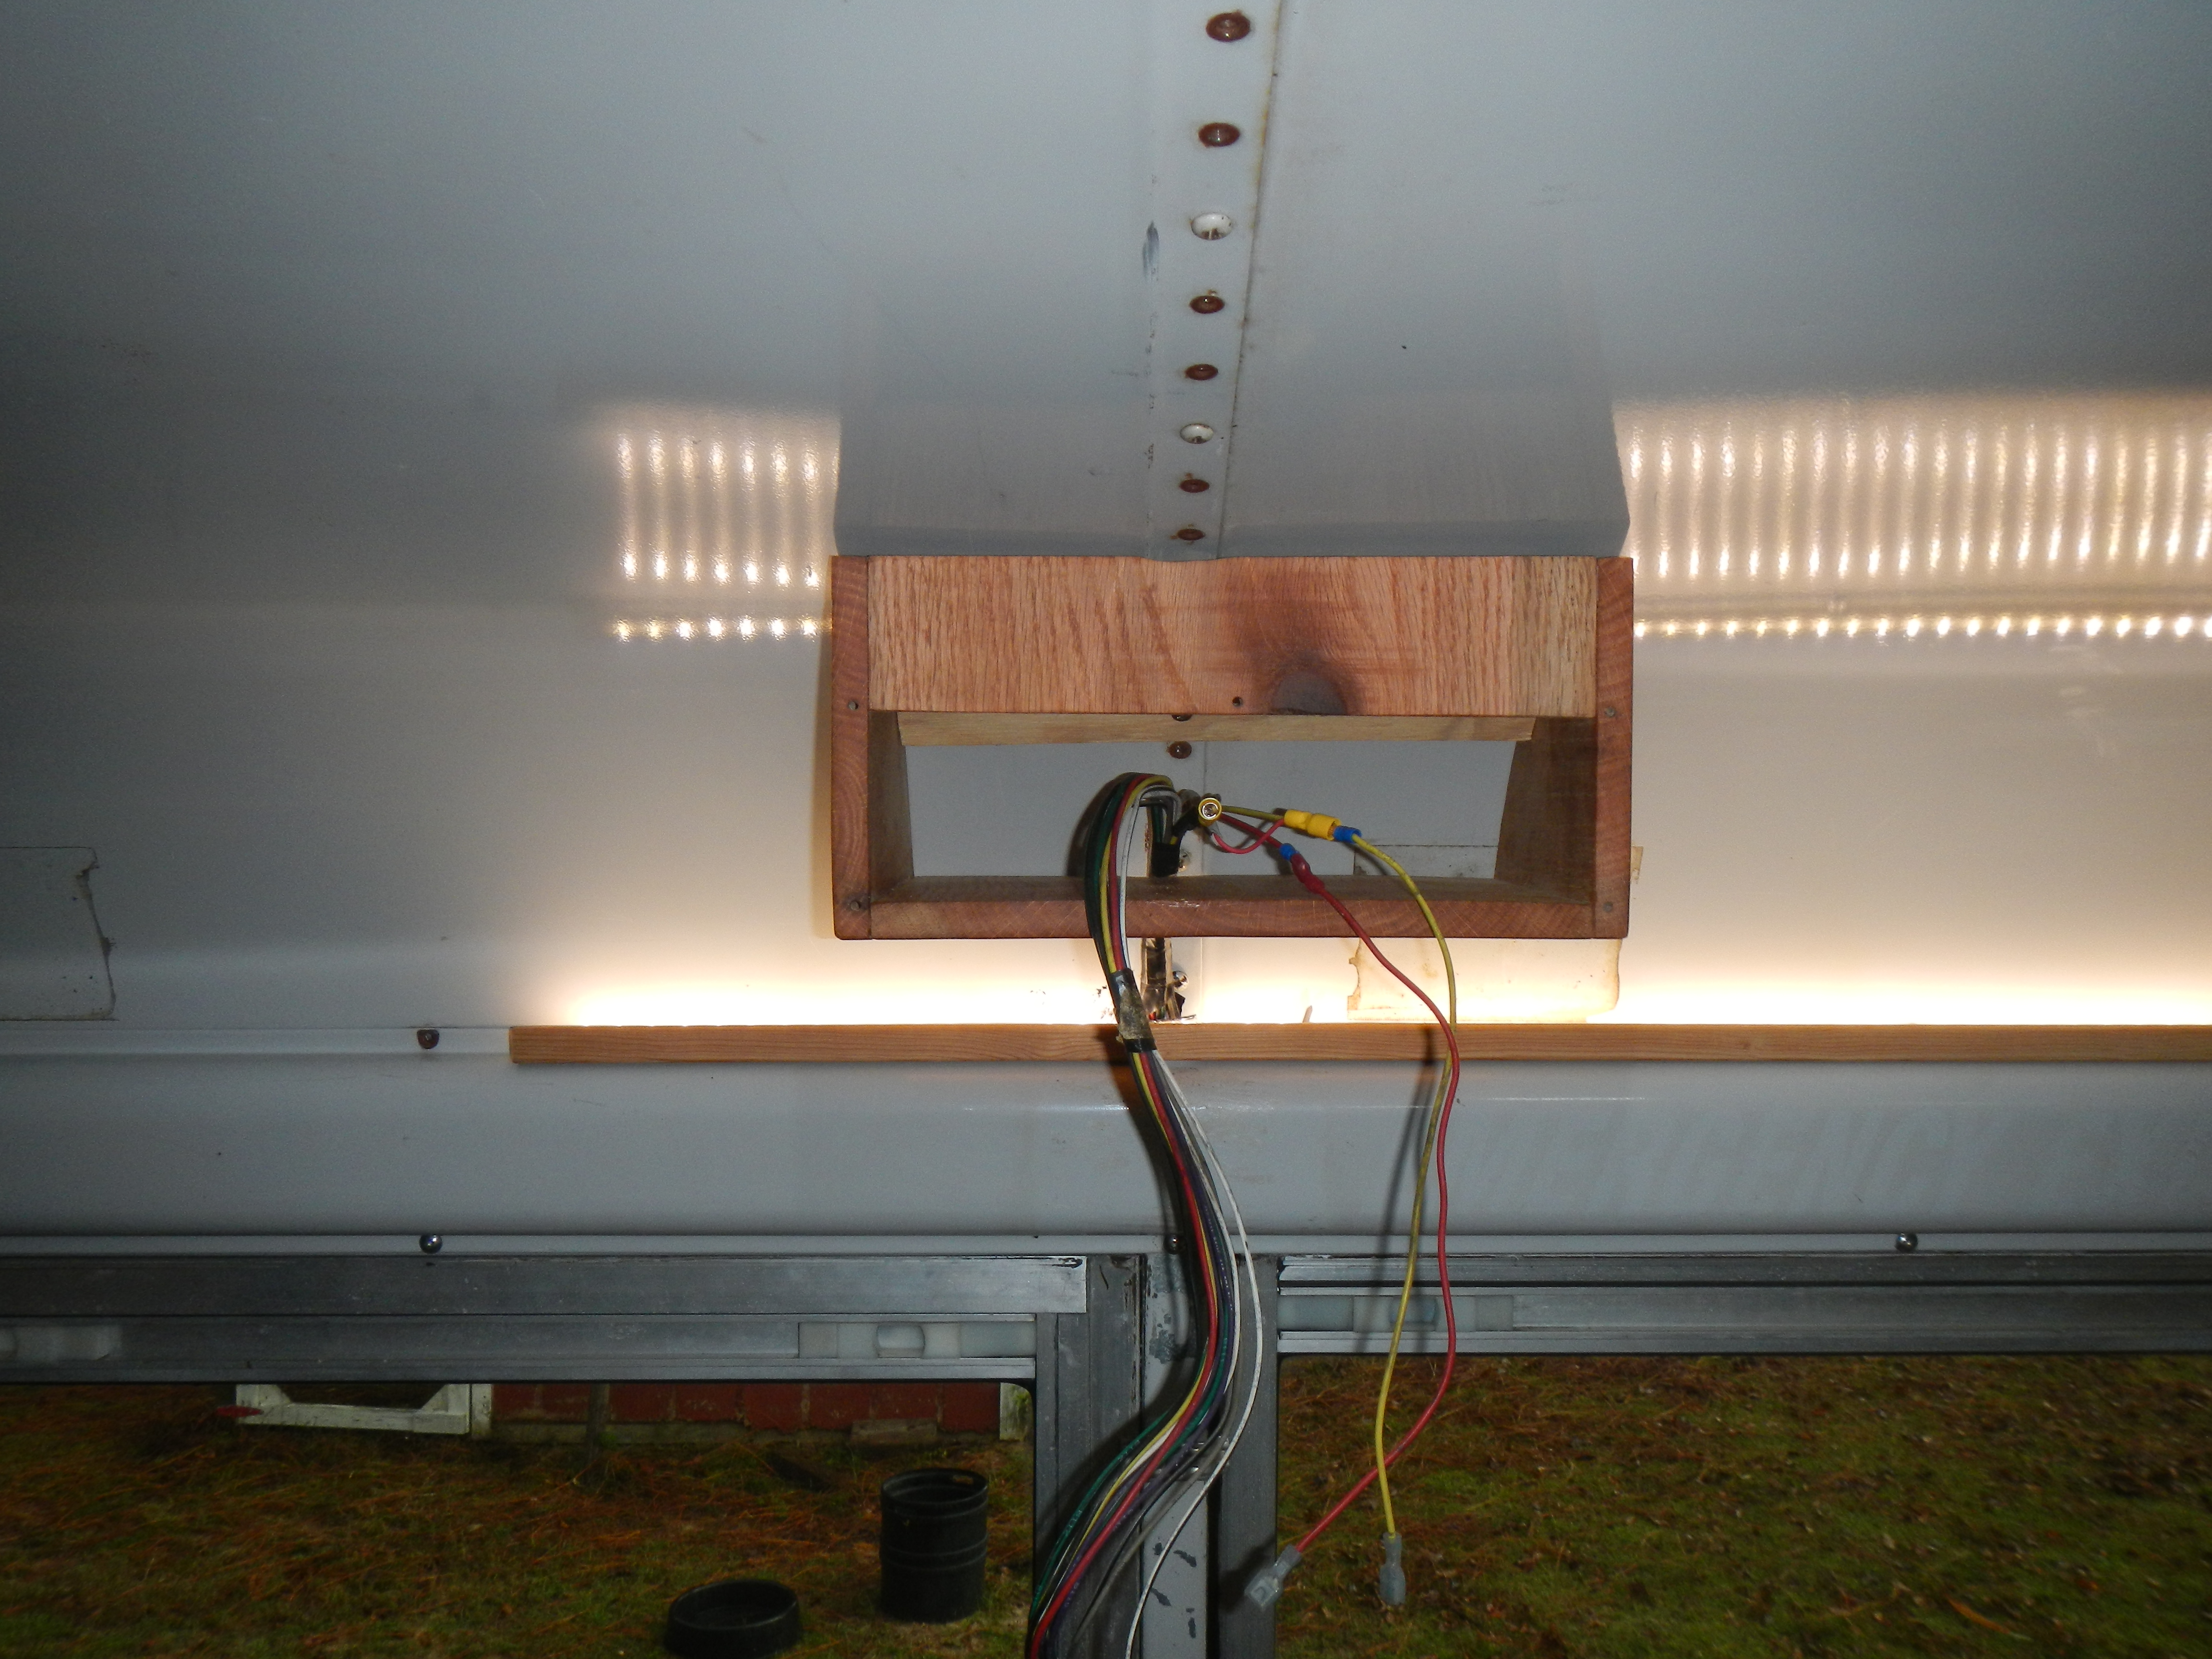
Attached to the ceiling above the countertop
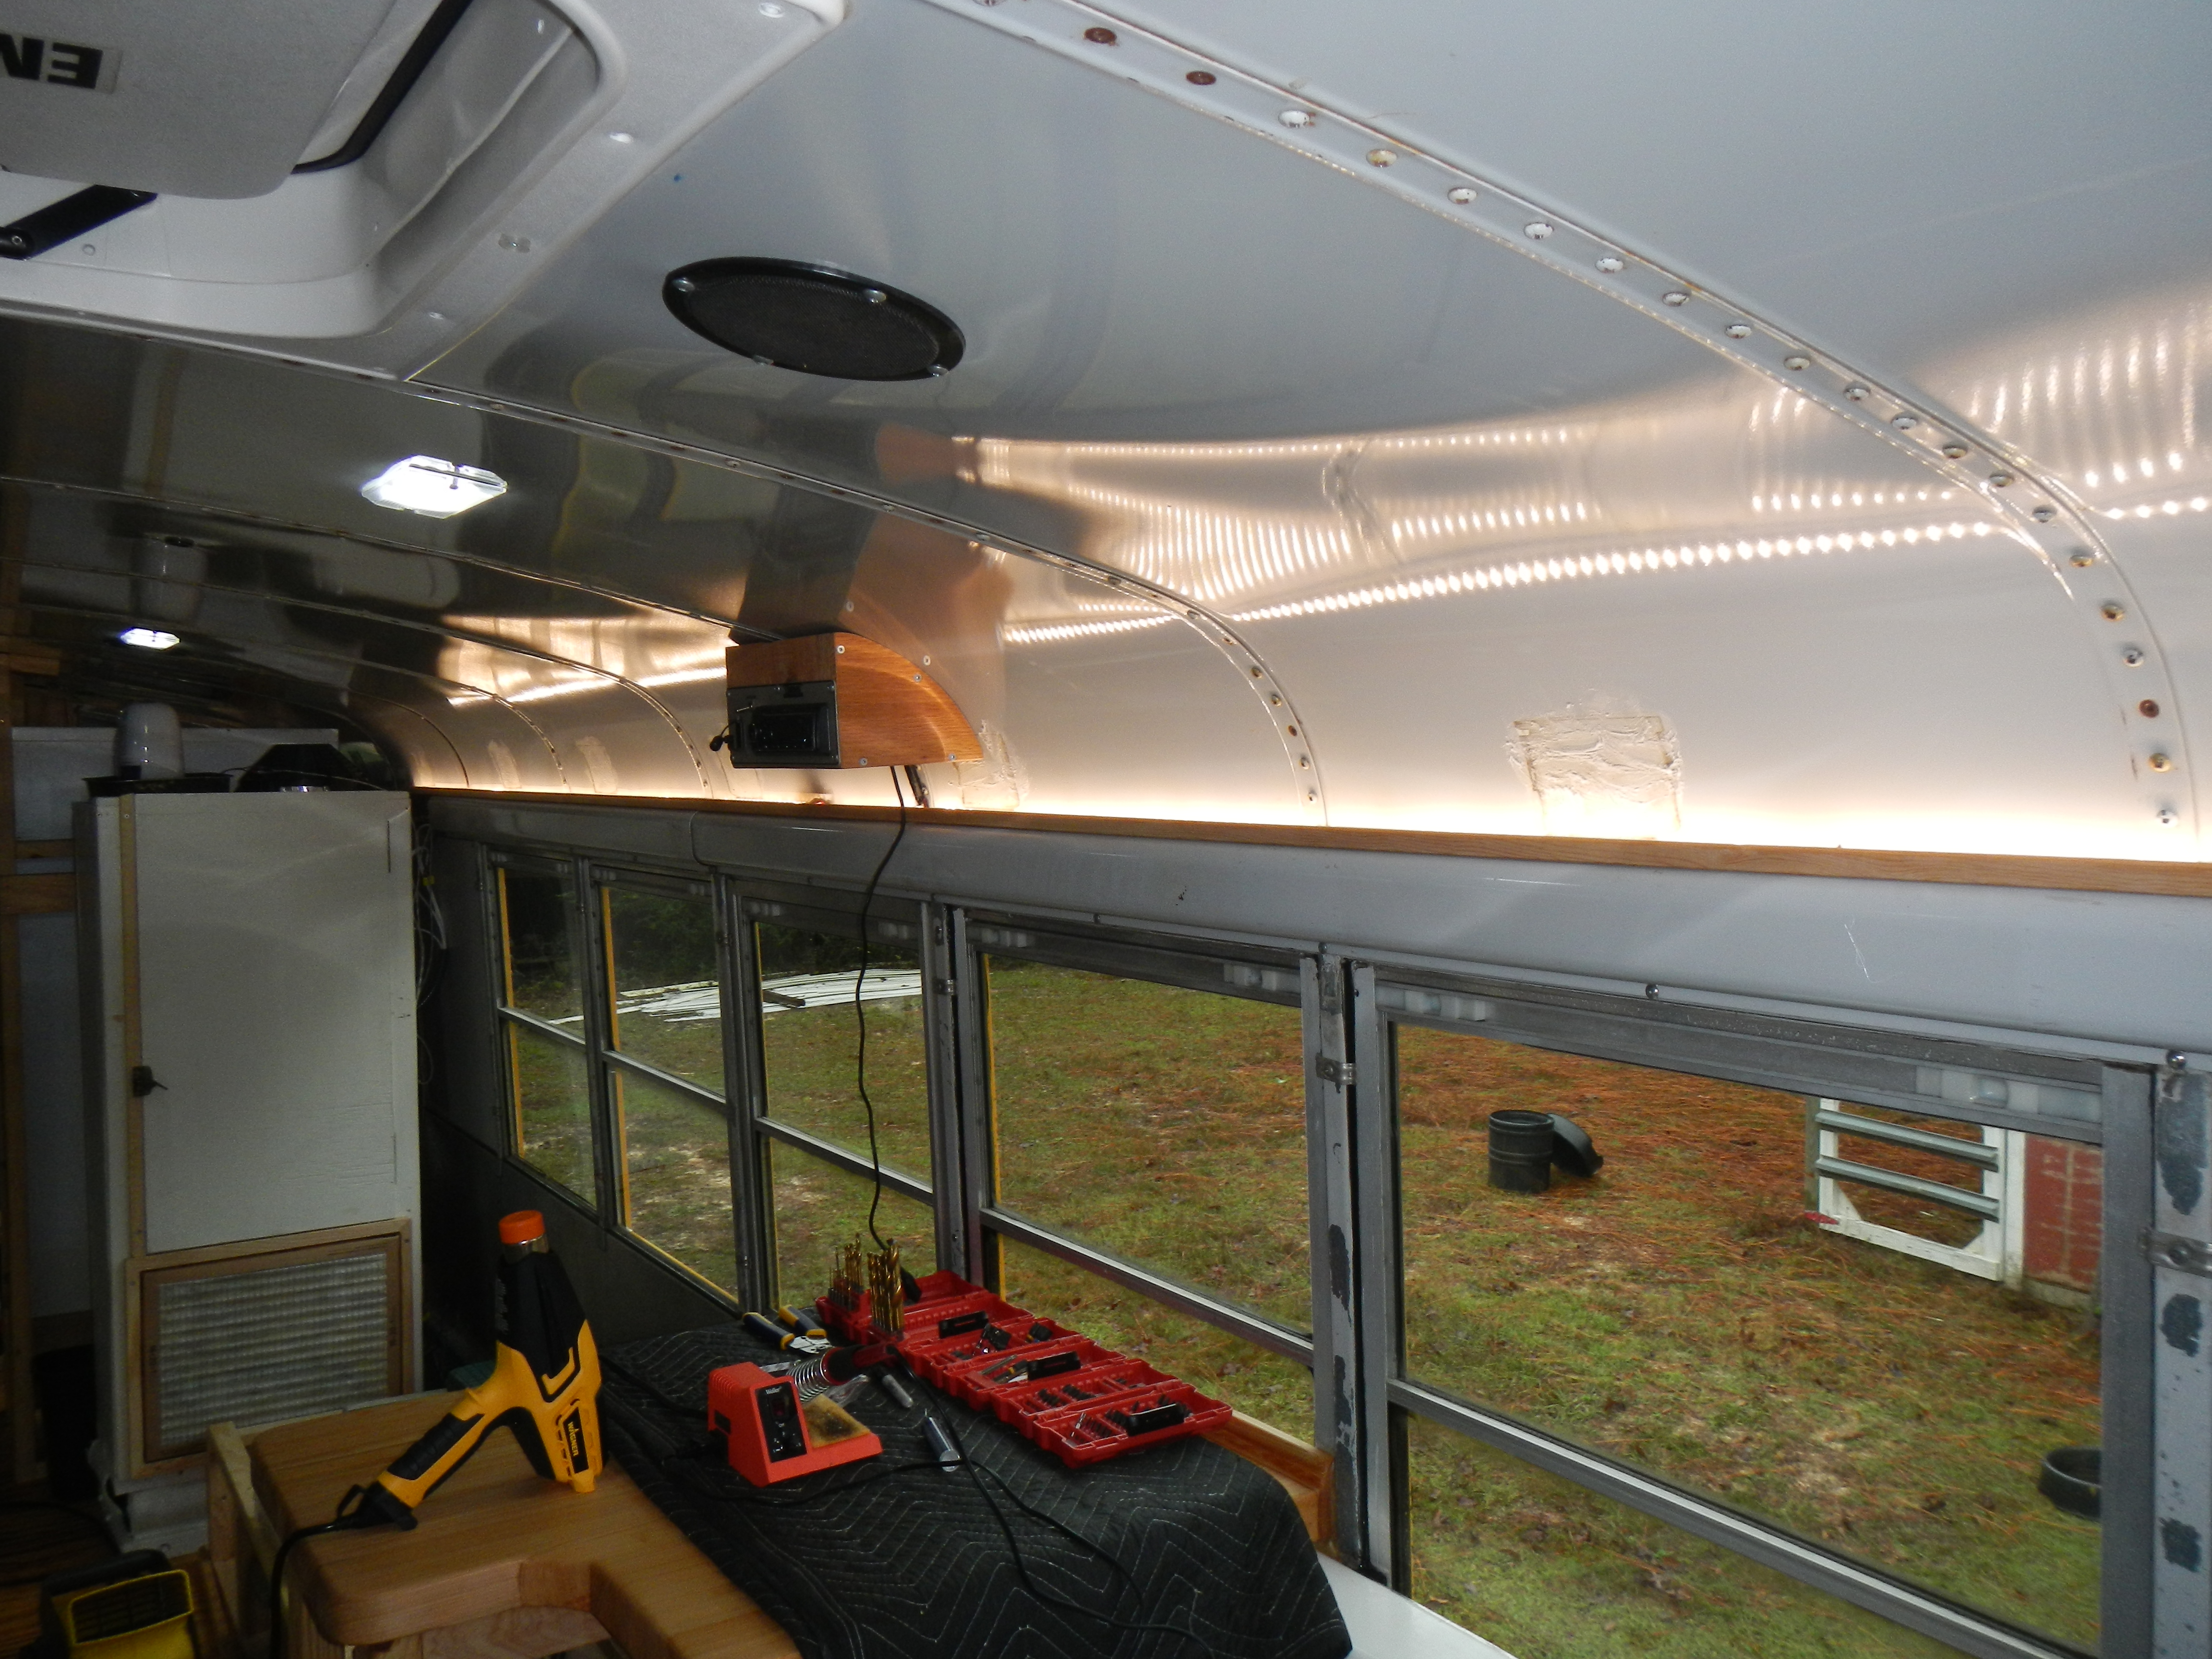
Fully installed! Note also the indirect LED strip lighting, which I installed on the same day


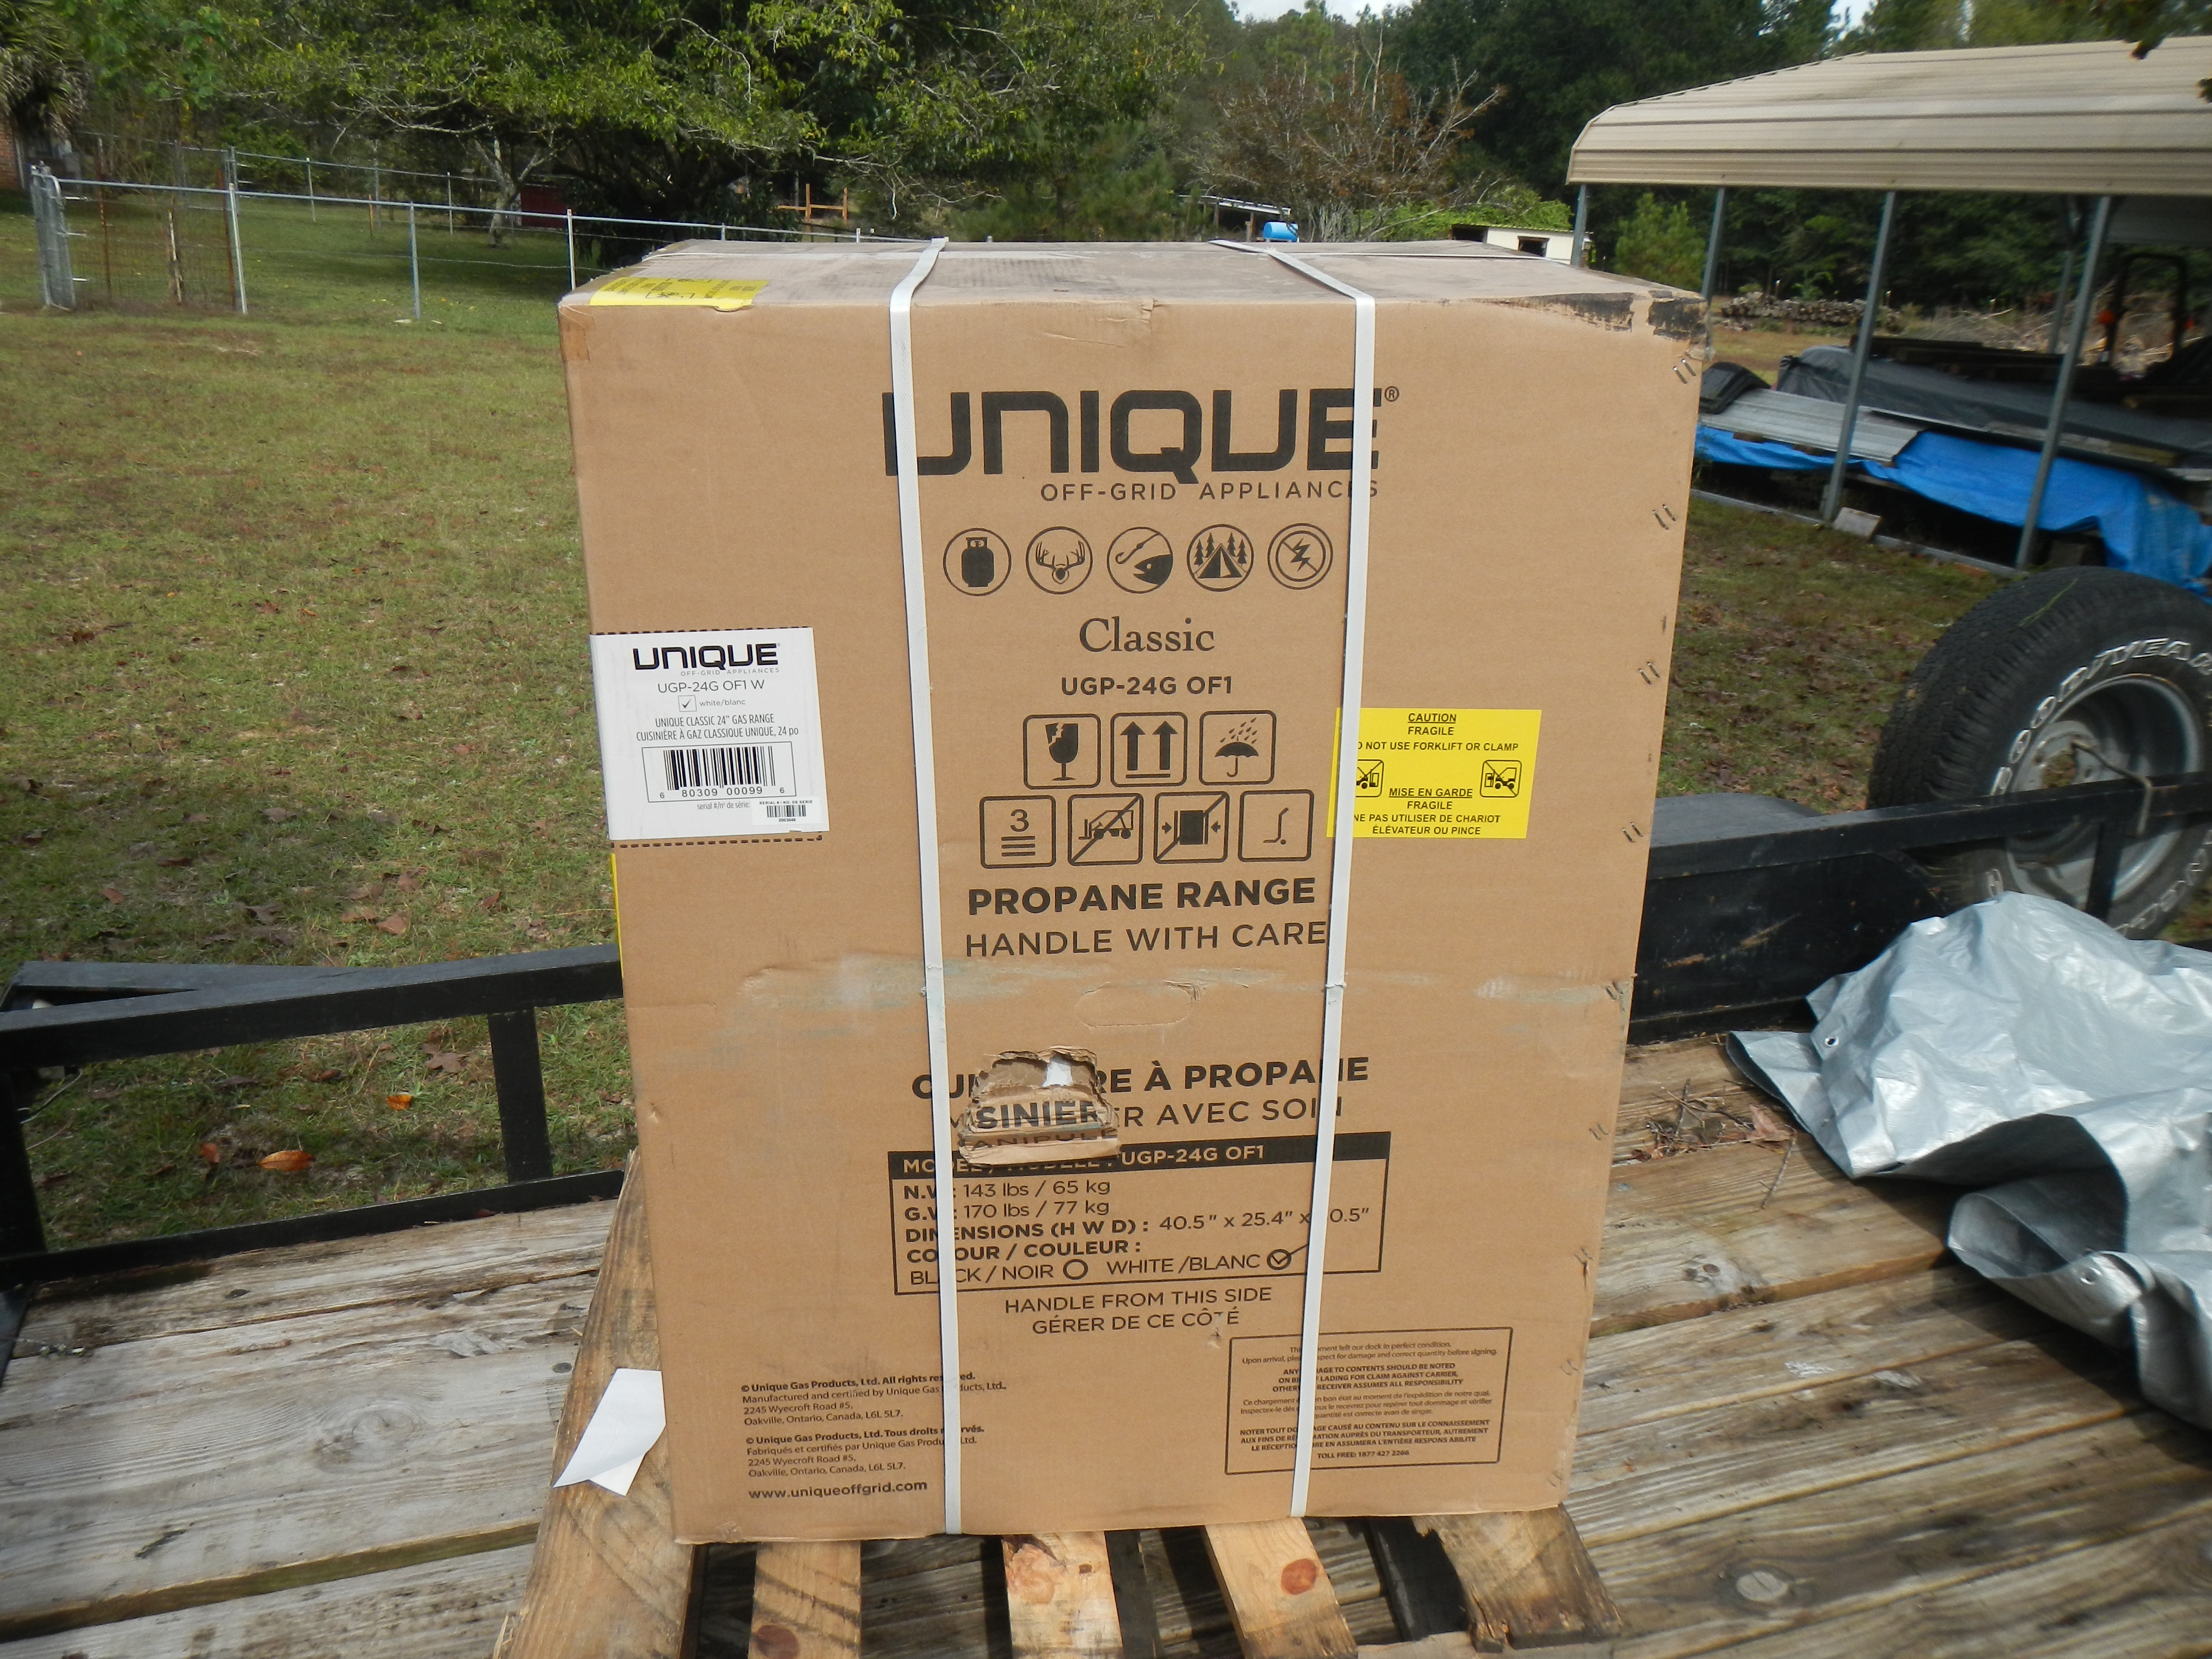
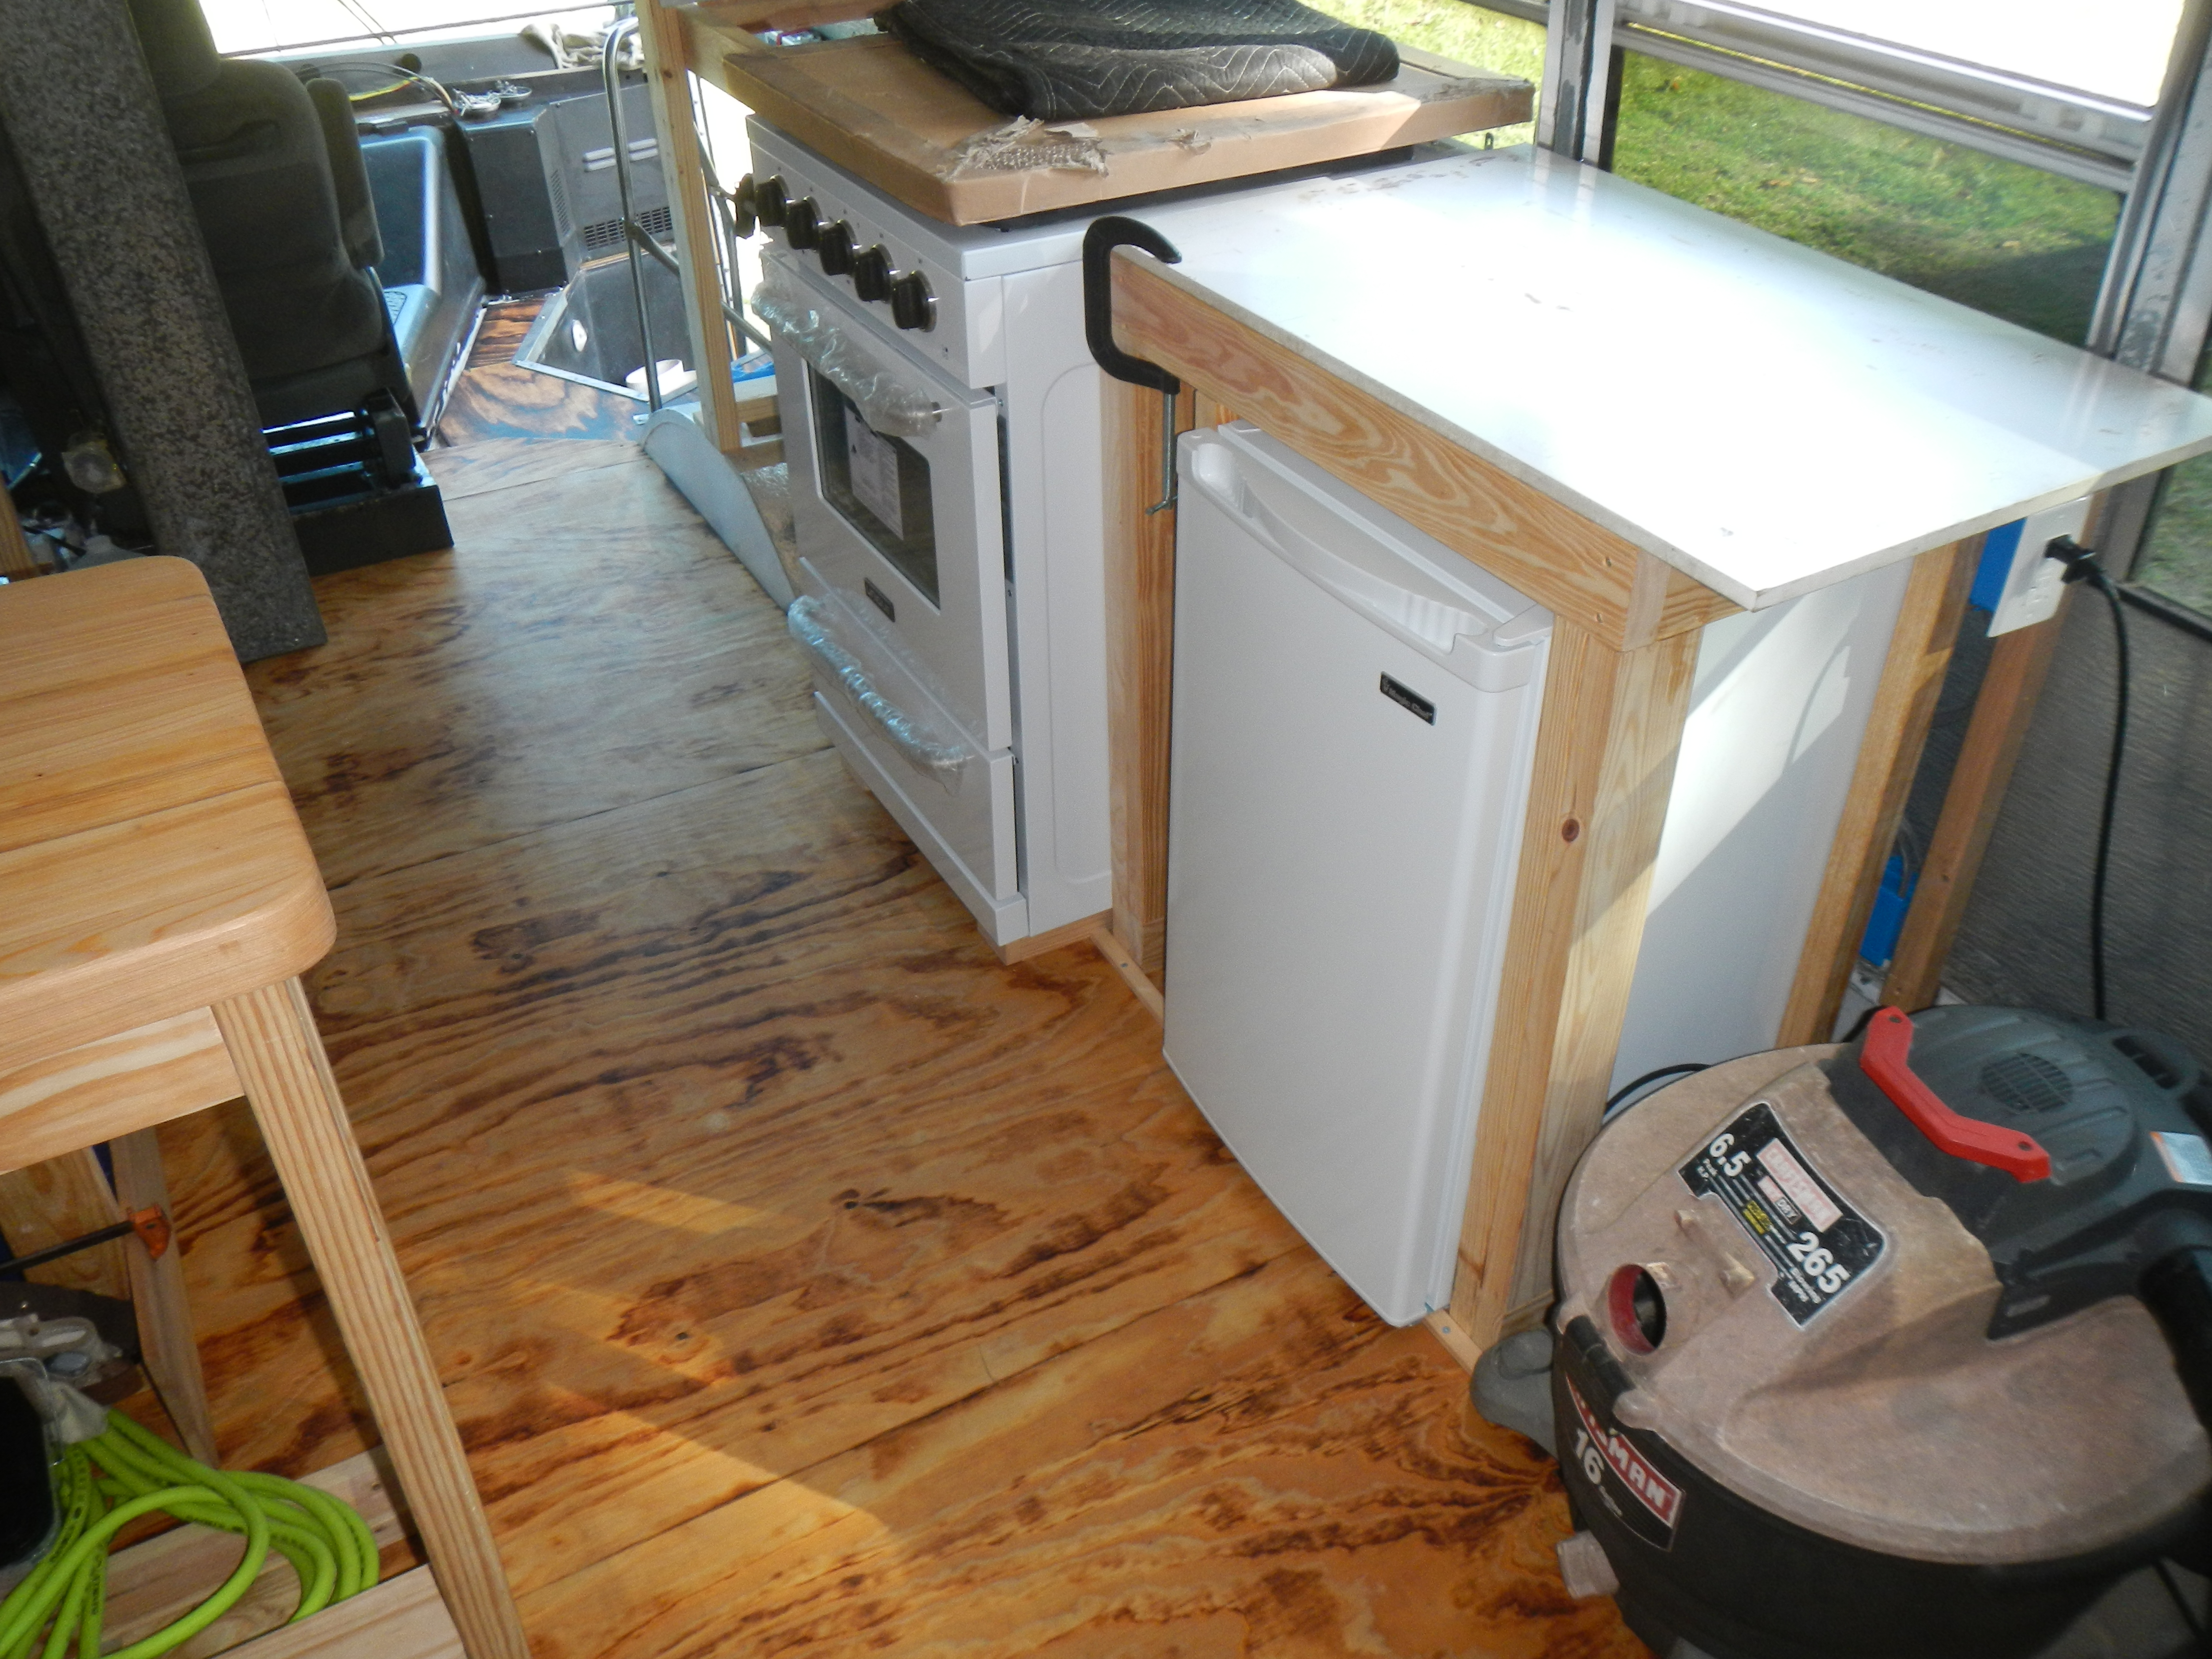
At time of writing I have yet to mount a propane tank and run lines for the stove, though this will likely take place shortly after my return from the UK, since I’m now in the cabinetry phase and cannot make efficient use of the space until the gas line routing is completely sussed. The stove is an off grid model and runs off a single D cell battery which needs to be changed every six months or so. Once the freebie battery dies, I’ll probably connect a cheap buck converter to provide 1.5V from the 12V system and never have to worry about it again.
Once the stove was in place and while waiting for the countertop glue up to finish curing, I switched my attention to improving the lighting situation. The indirect lighting gives a fantastic ambience and will be great for general use, but is insufficiently bright to use when doing food prep or other detailed work.
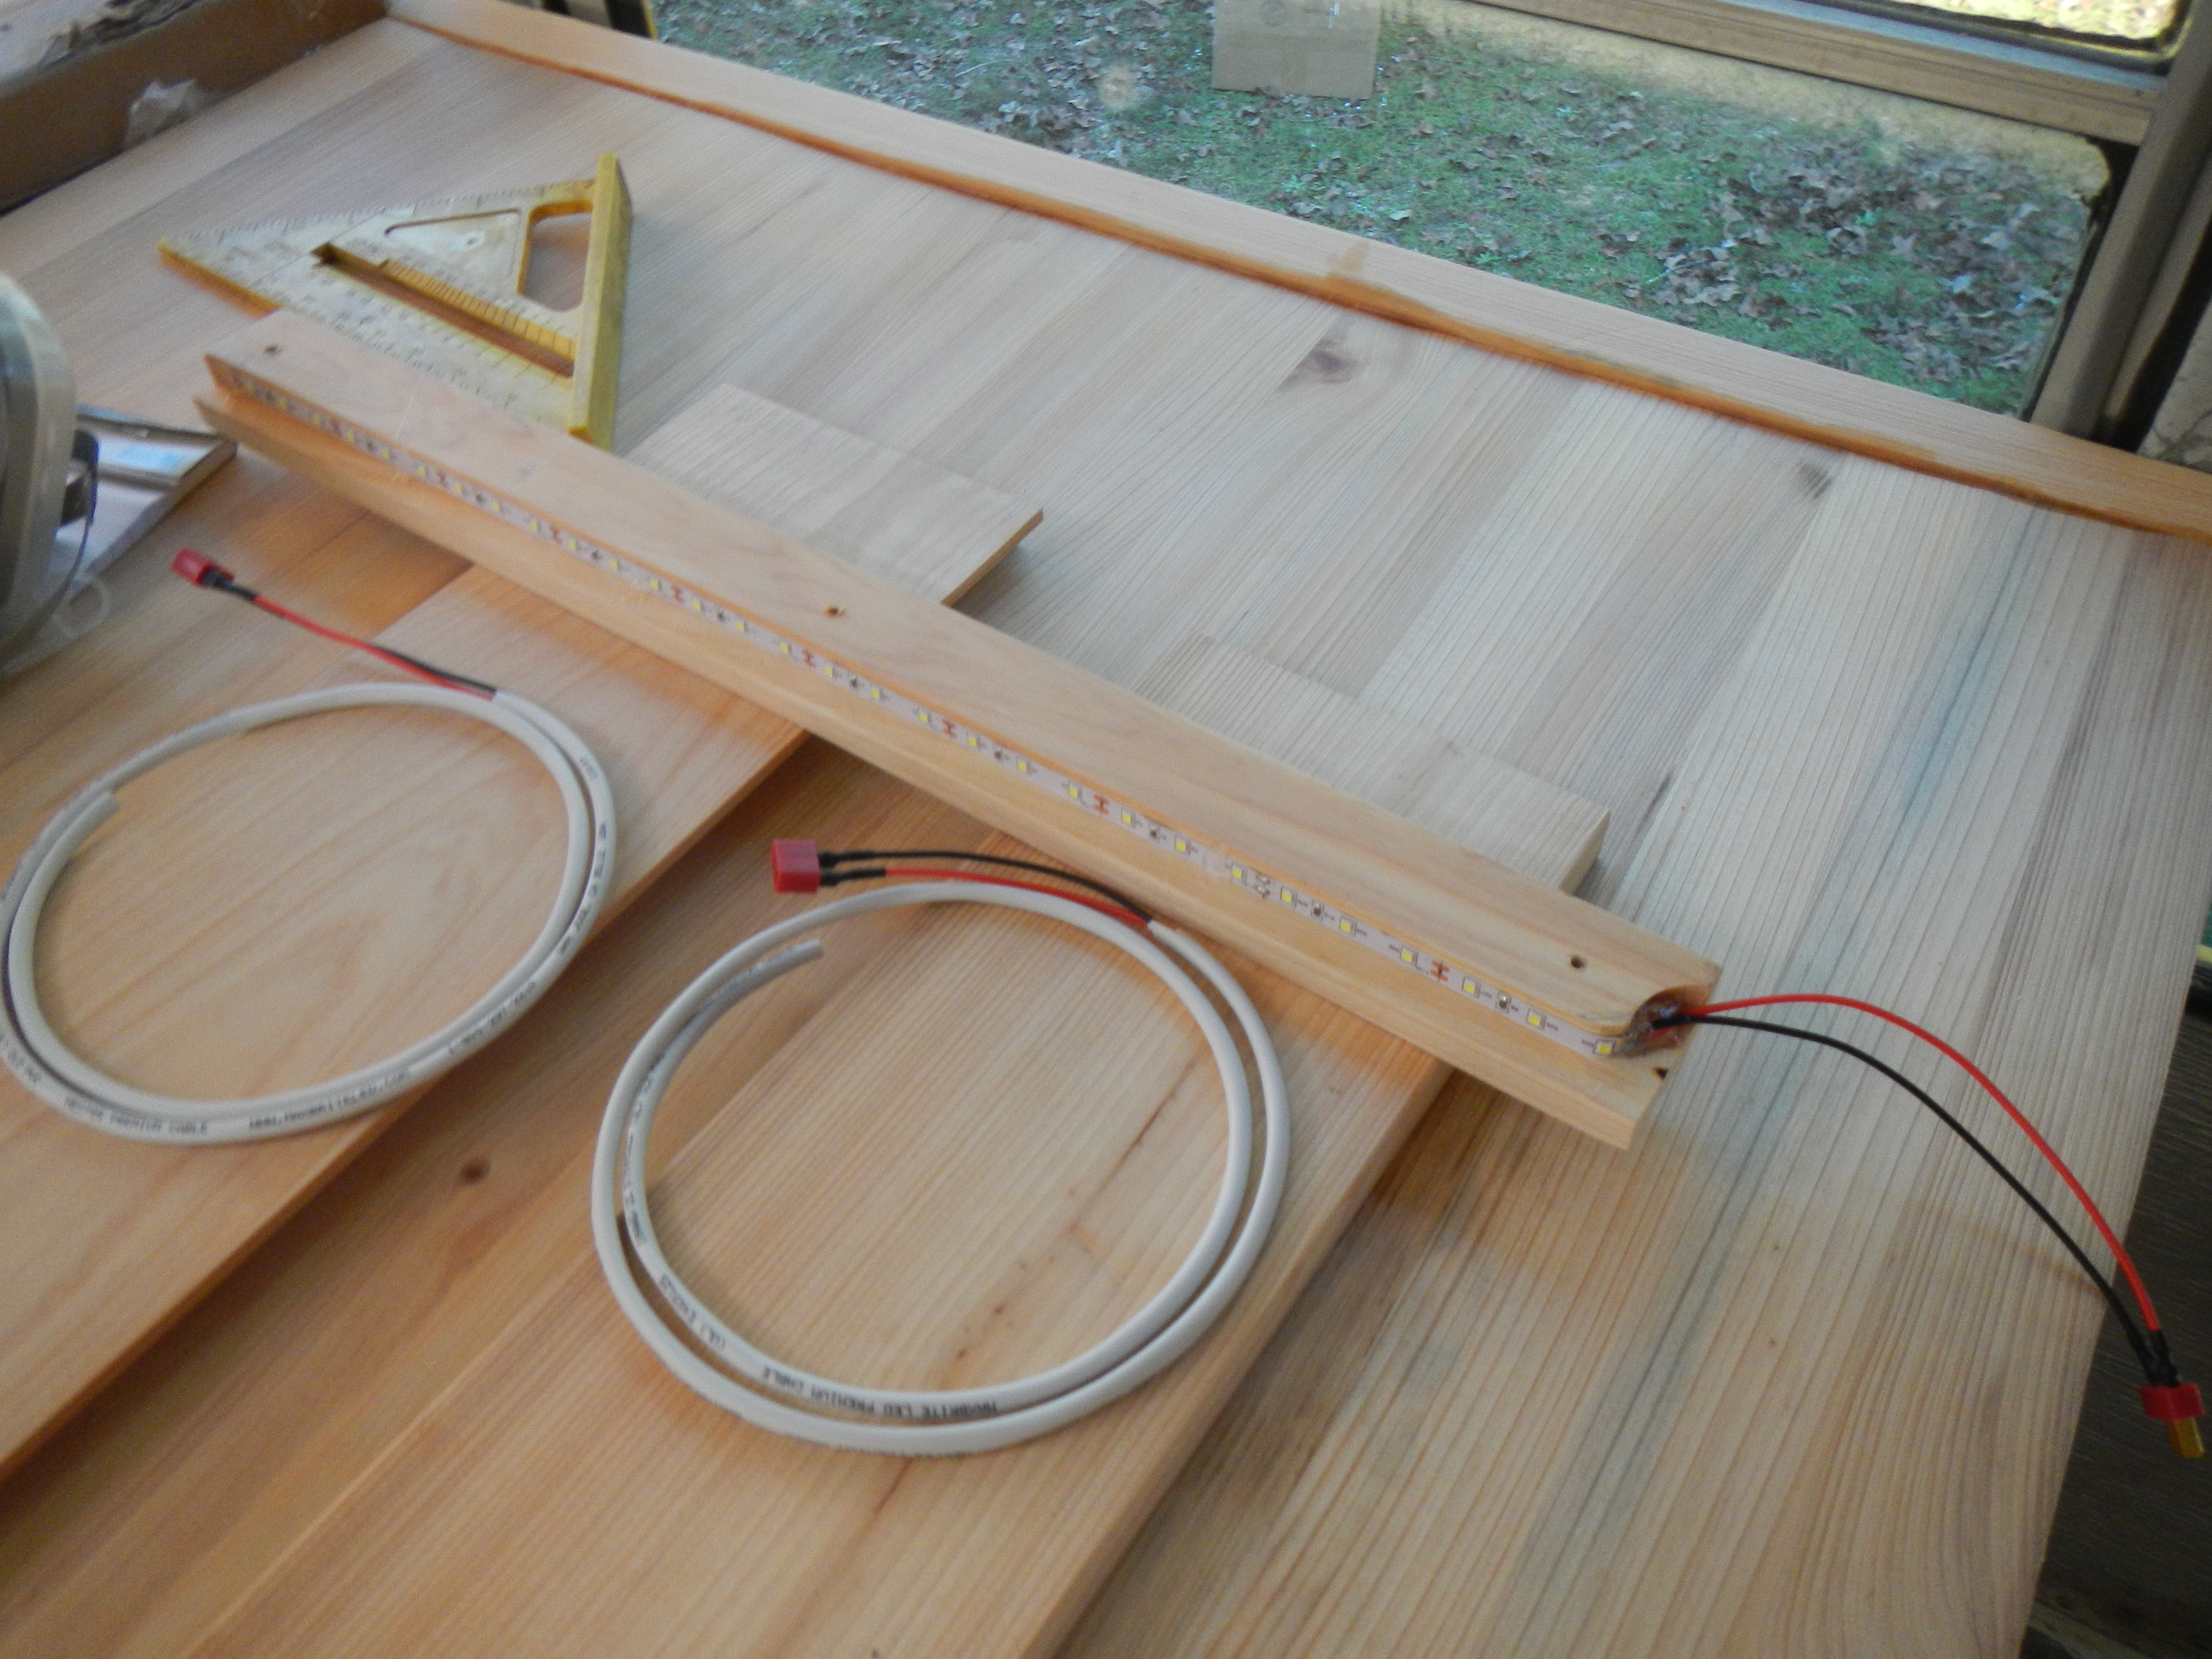
The solution? More LEDs!
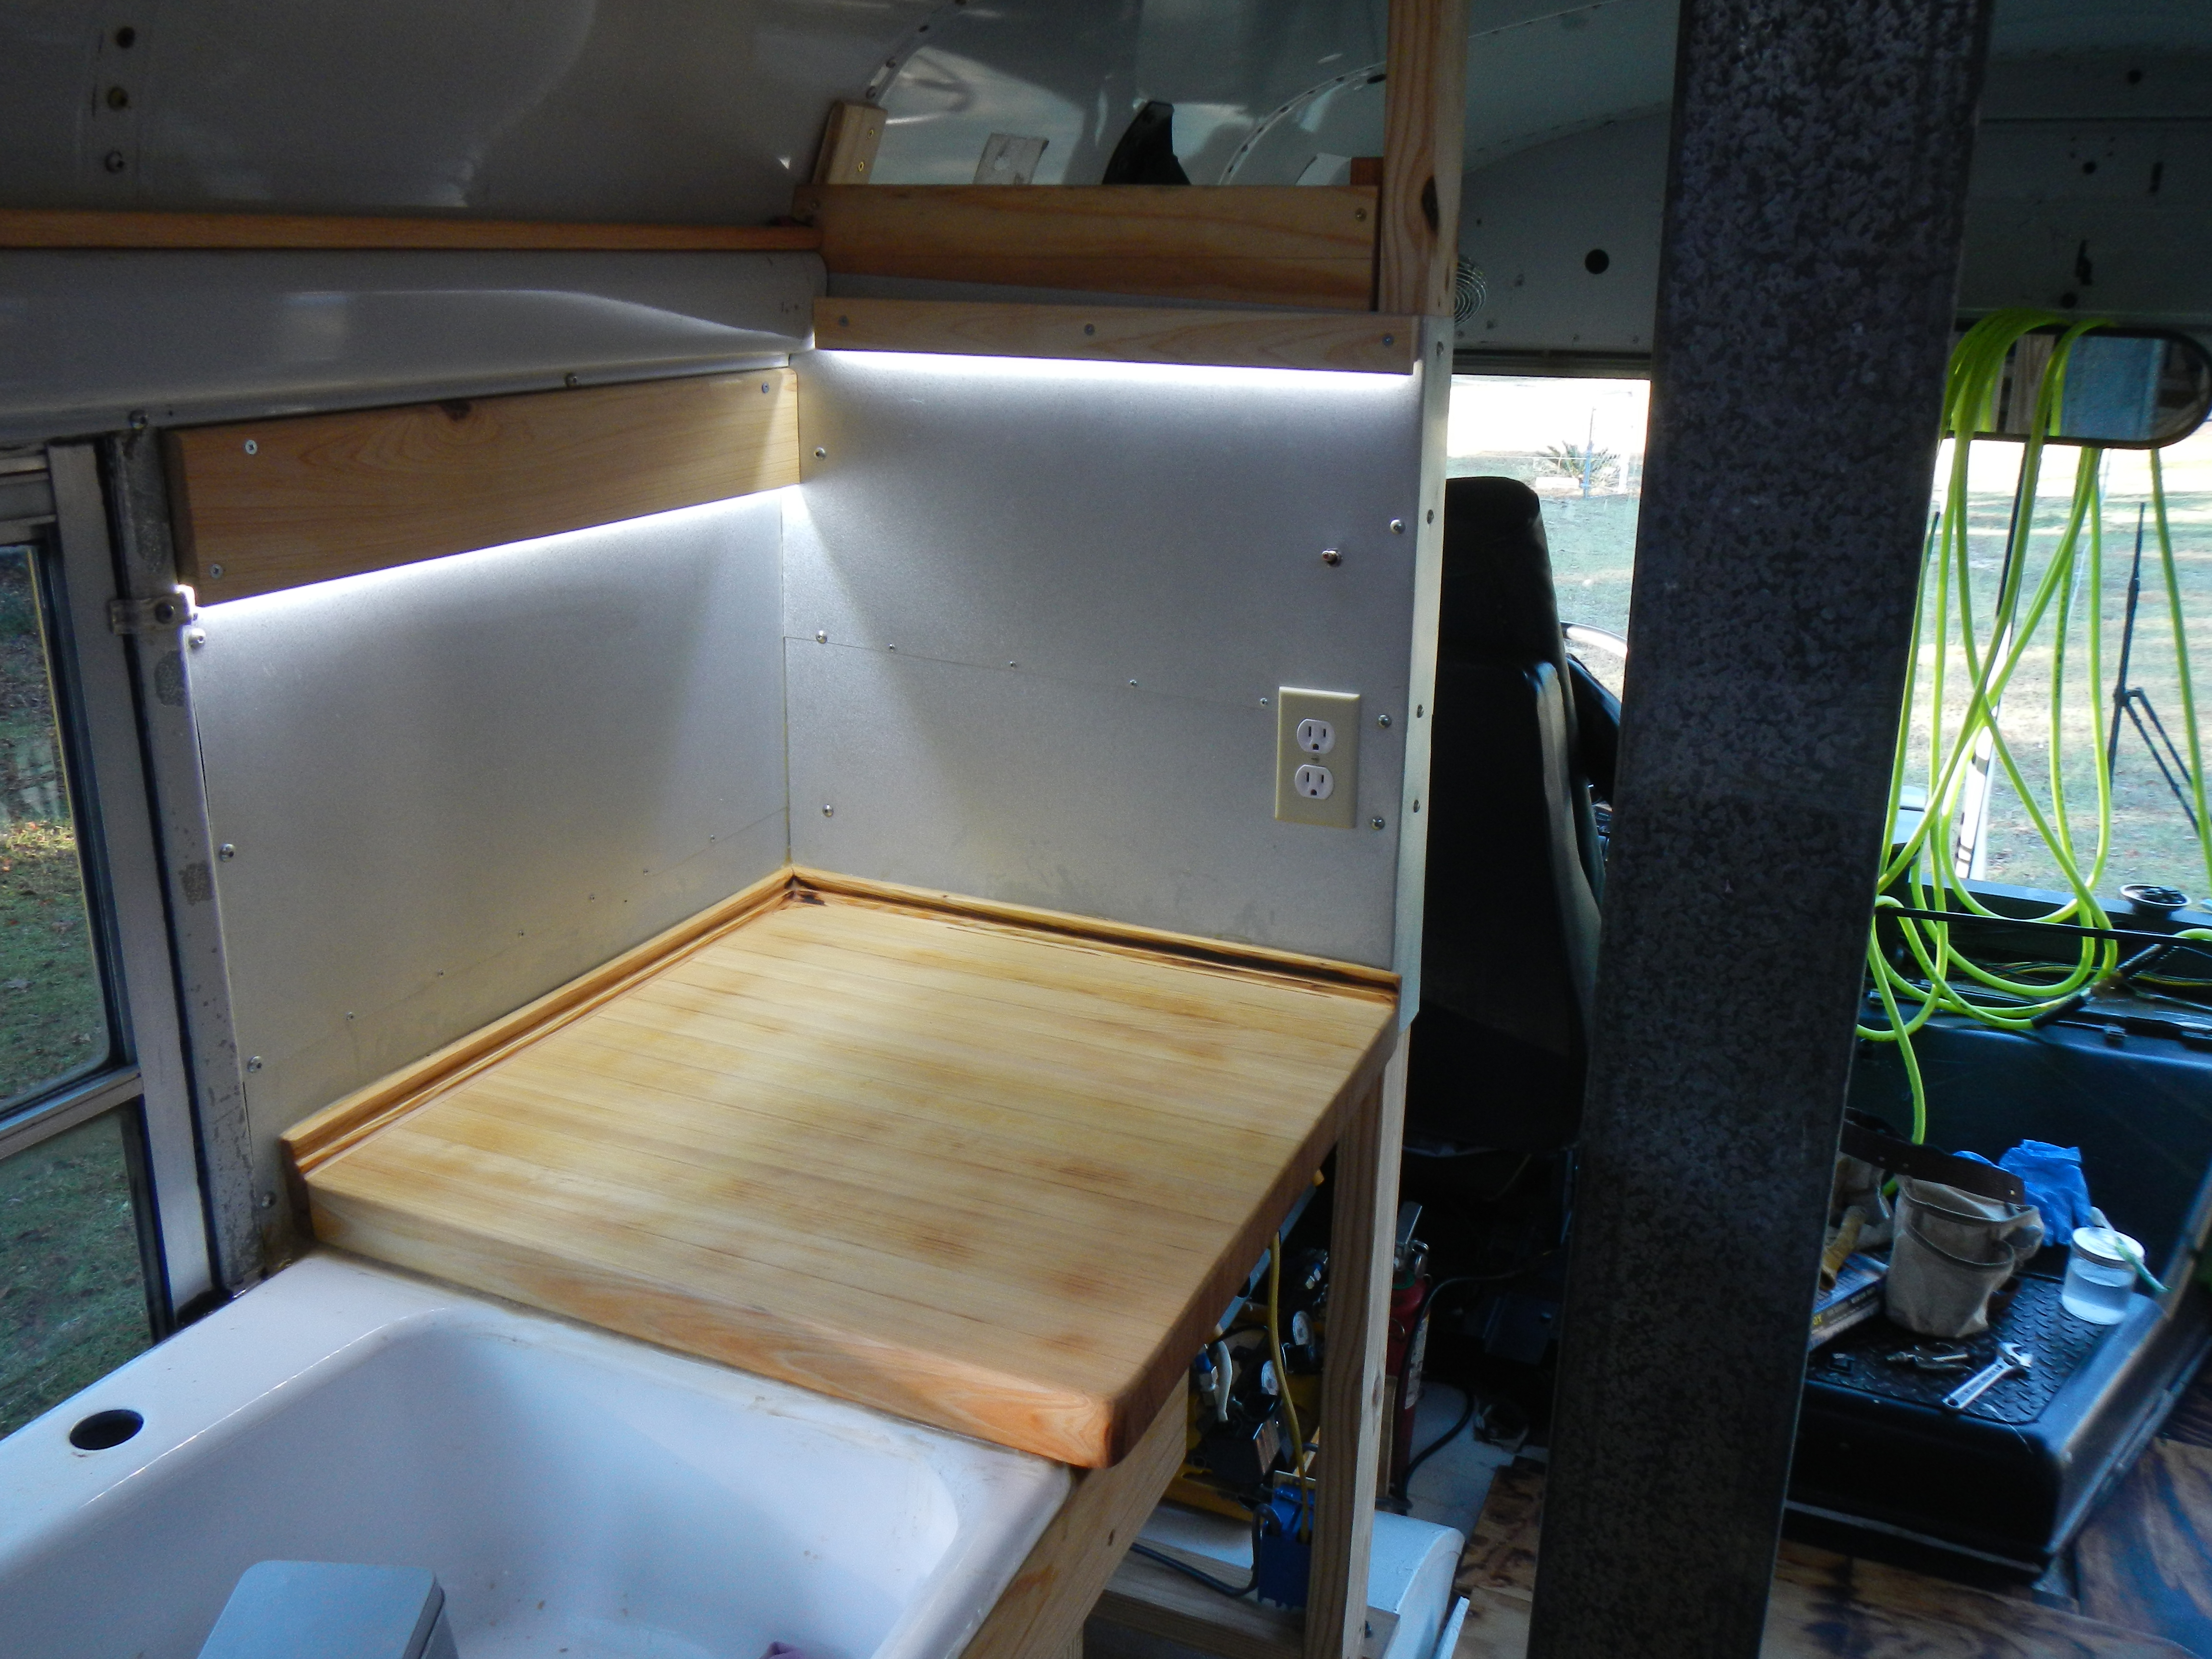
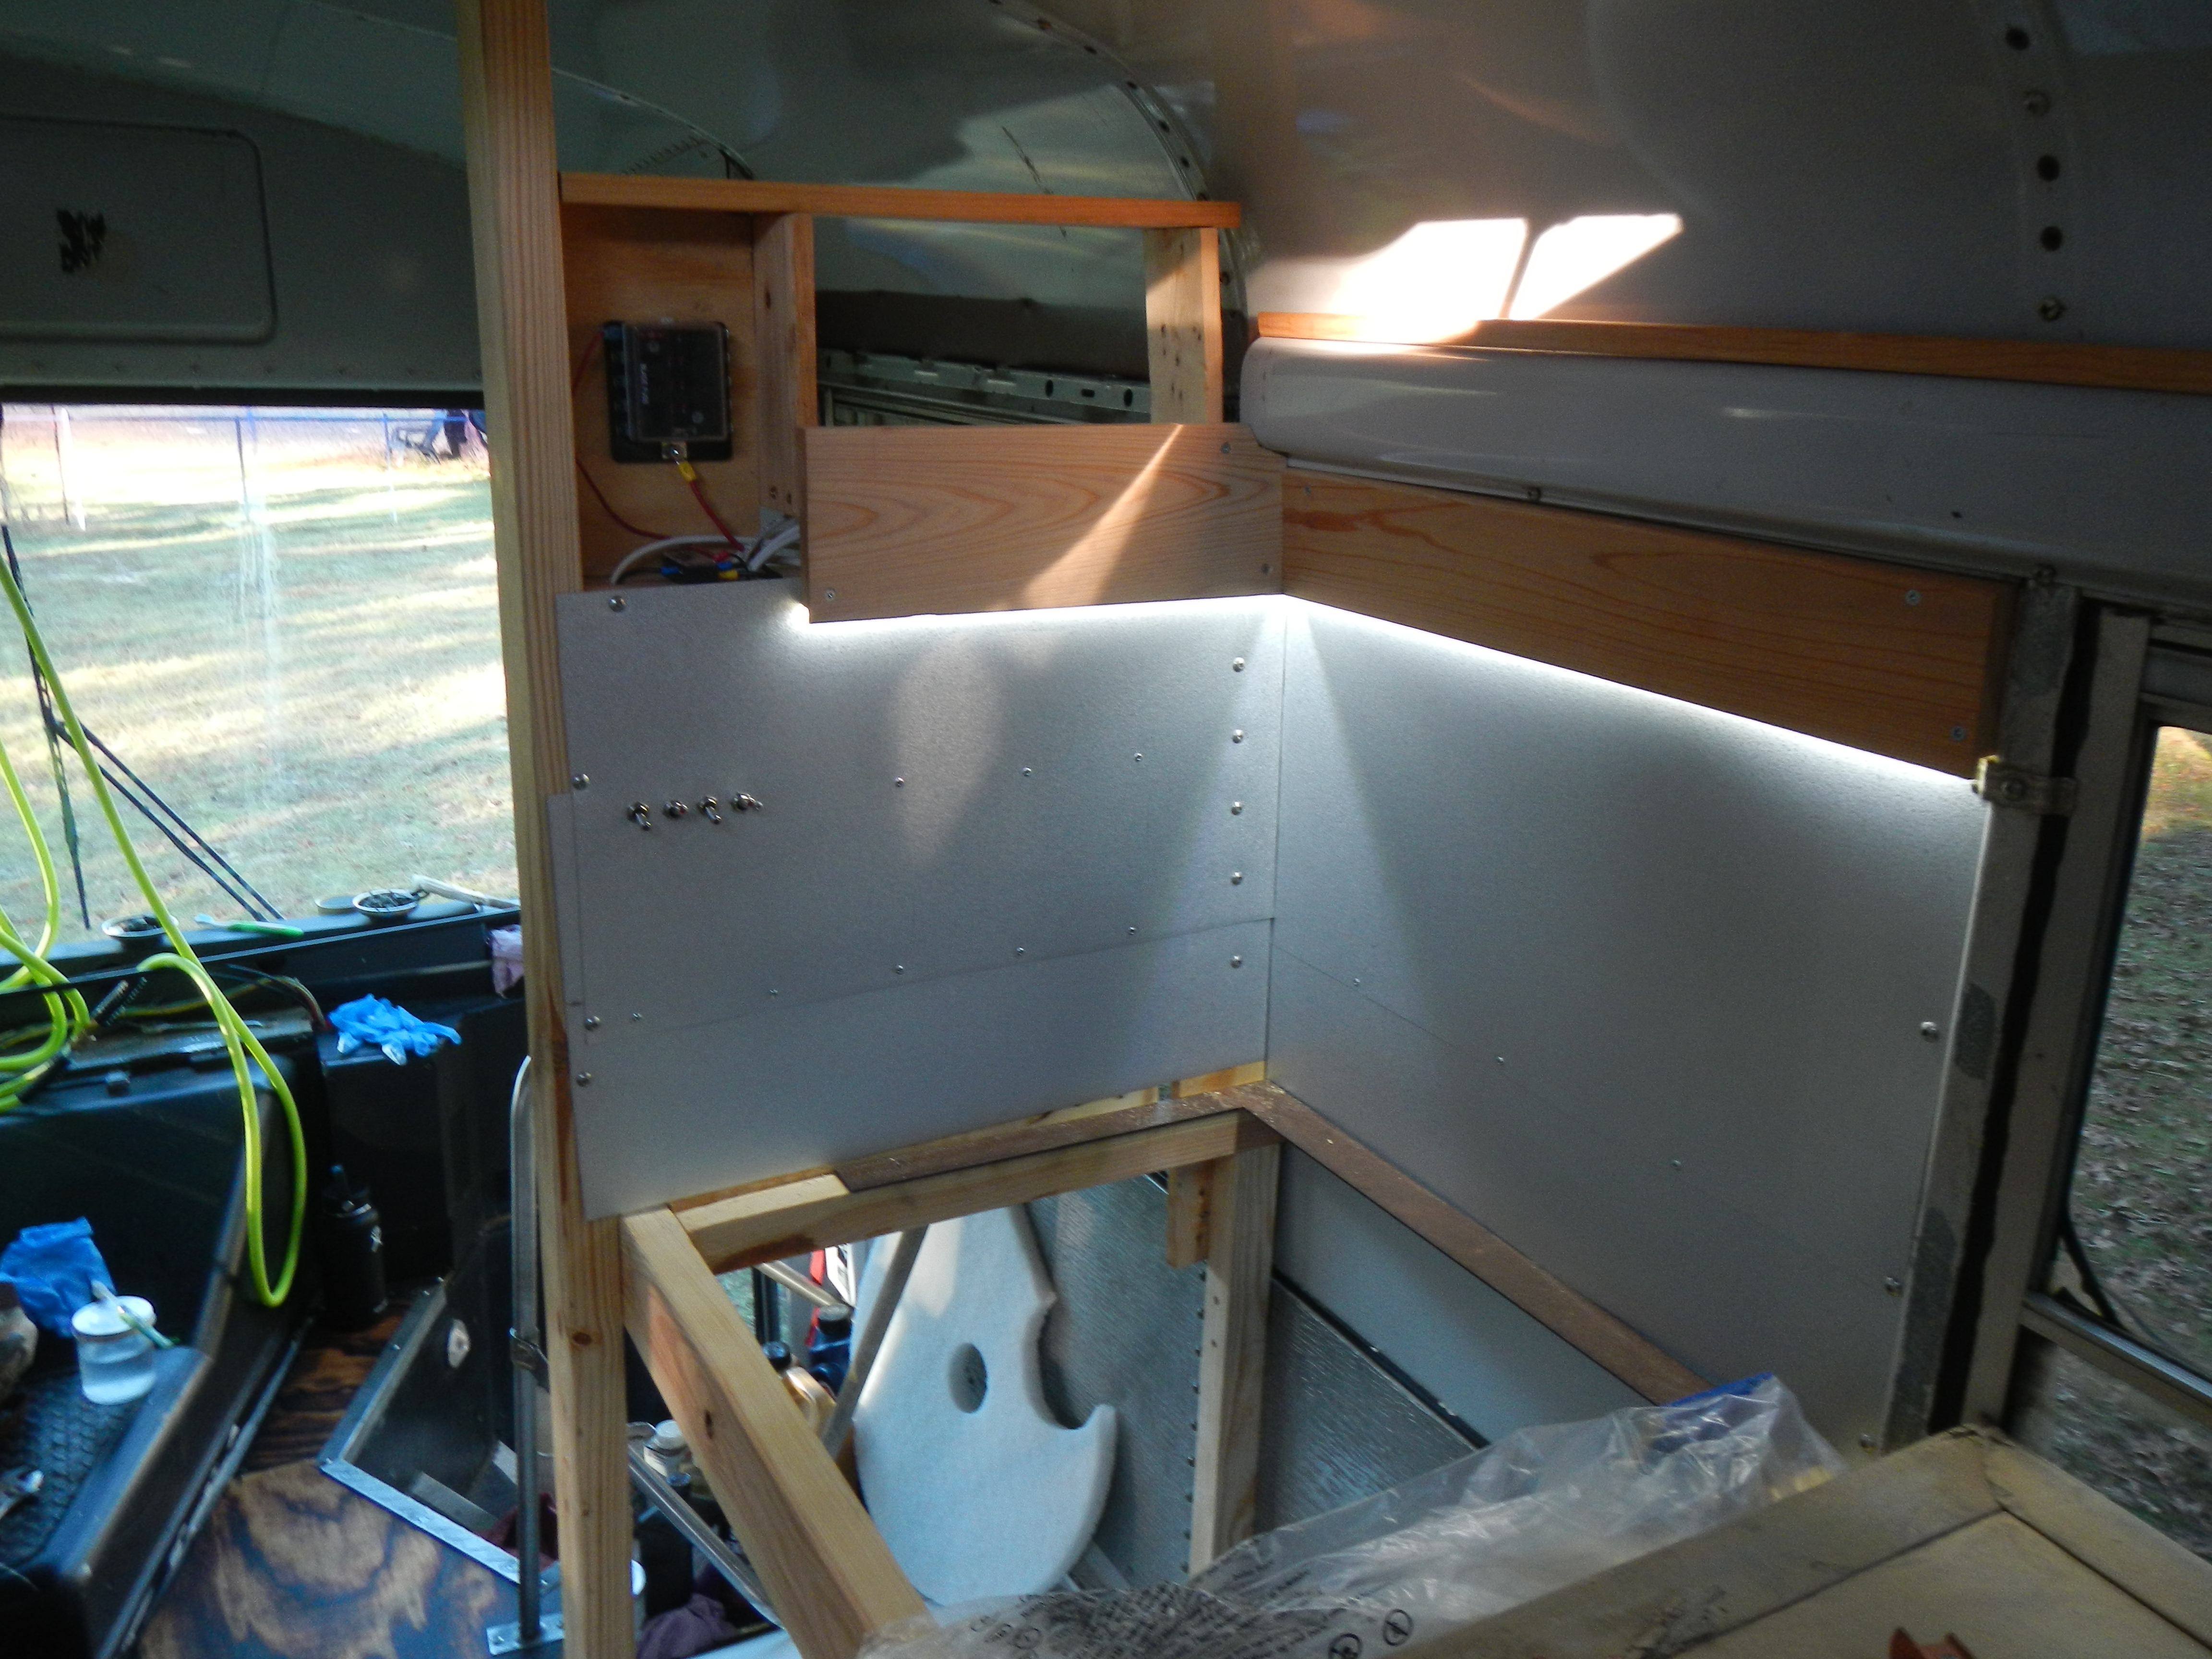
Each lighting zone is independently switched and I’m quite happy with the resultant flexibility and ability to change the look and feel of the living space with a quick toggle.
I did not manage to finish the countertops by Thanksgiving, so did a quick installation job on the refrigerator and spent a late night and early morning preparing the bus for the trip up to Camden.
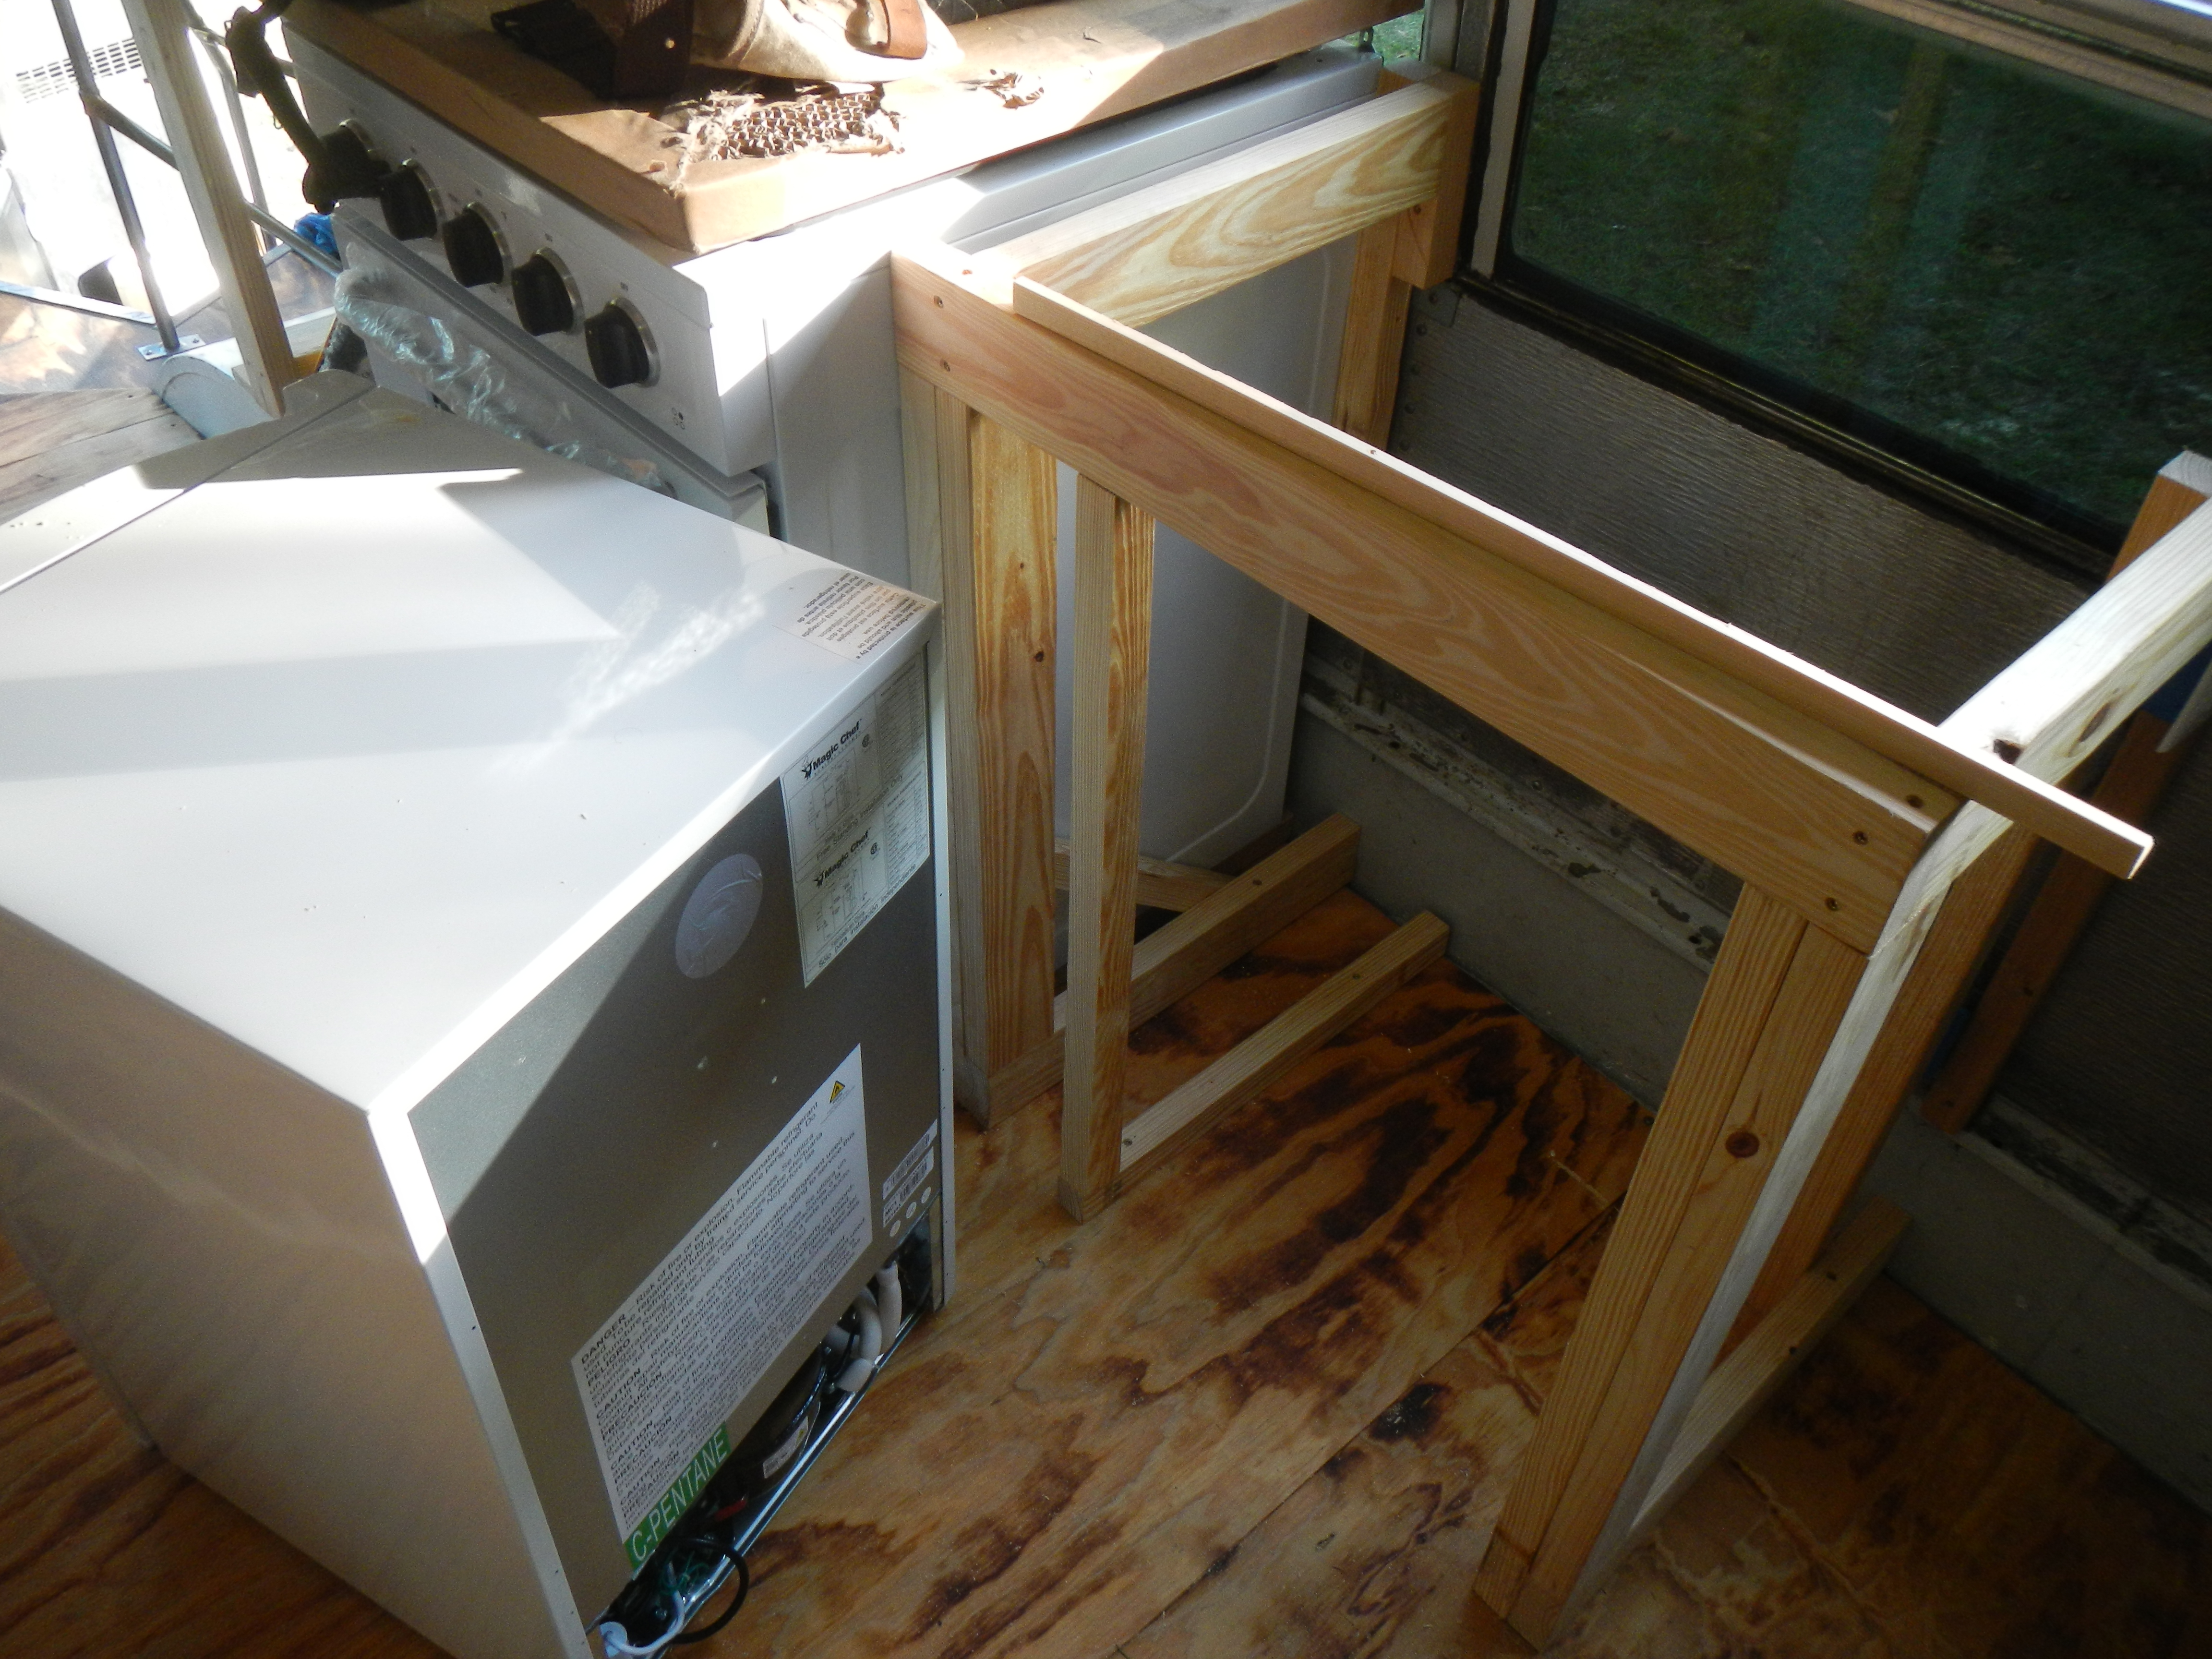
A quick morning’s work fabricating the fridge enclosure
It was nice having a fridge in the bus for thanksgiving, though it was cold enough most of the time that we hardly needed coolers anyway. Speaking of which, the bus gets cold when it drops below freezing outside. Being inside what is essentially a big steel box with lots of single pane windows does have its downsides.
We’ll be installing heavy curtains which will somewhat help to keep the heat in, but I’ve a more brute force solution in mind for those cold nights… More on that another time.