After the door was installed, it spent nearly a week without any sort of latch, as I pondered the available options while working on other stuff. A traditional door knob wasn’t going to work, and a gate latch I picked up from the hardware store was both hideous looking and only marginally functional. Eventually I decided it was worth the time investment to make my own latch using red oak.
The design I settled on is quite simple- a thin captive bar of wood secured on one end by a bushing and screw, and on the other by a set of blocks and a vertical bar which together permit just enough motion for the bar to ride over the latch.

Roughed out latch and handle
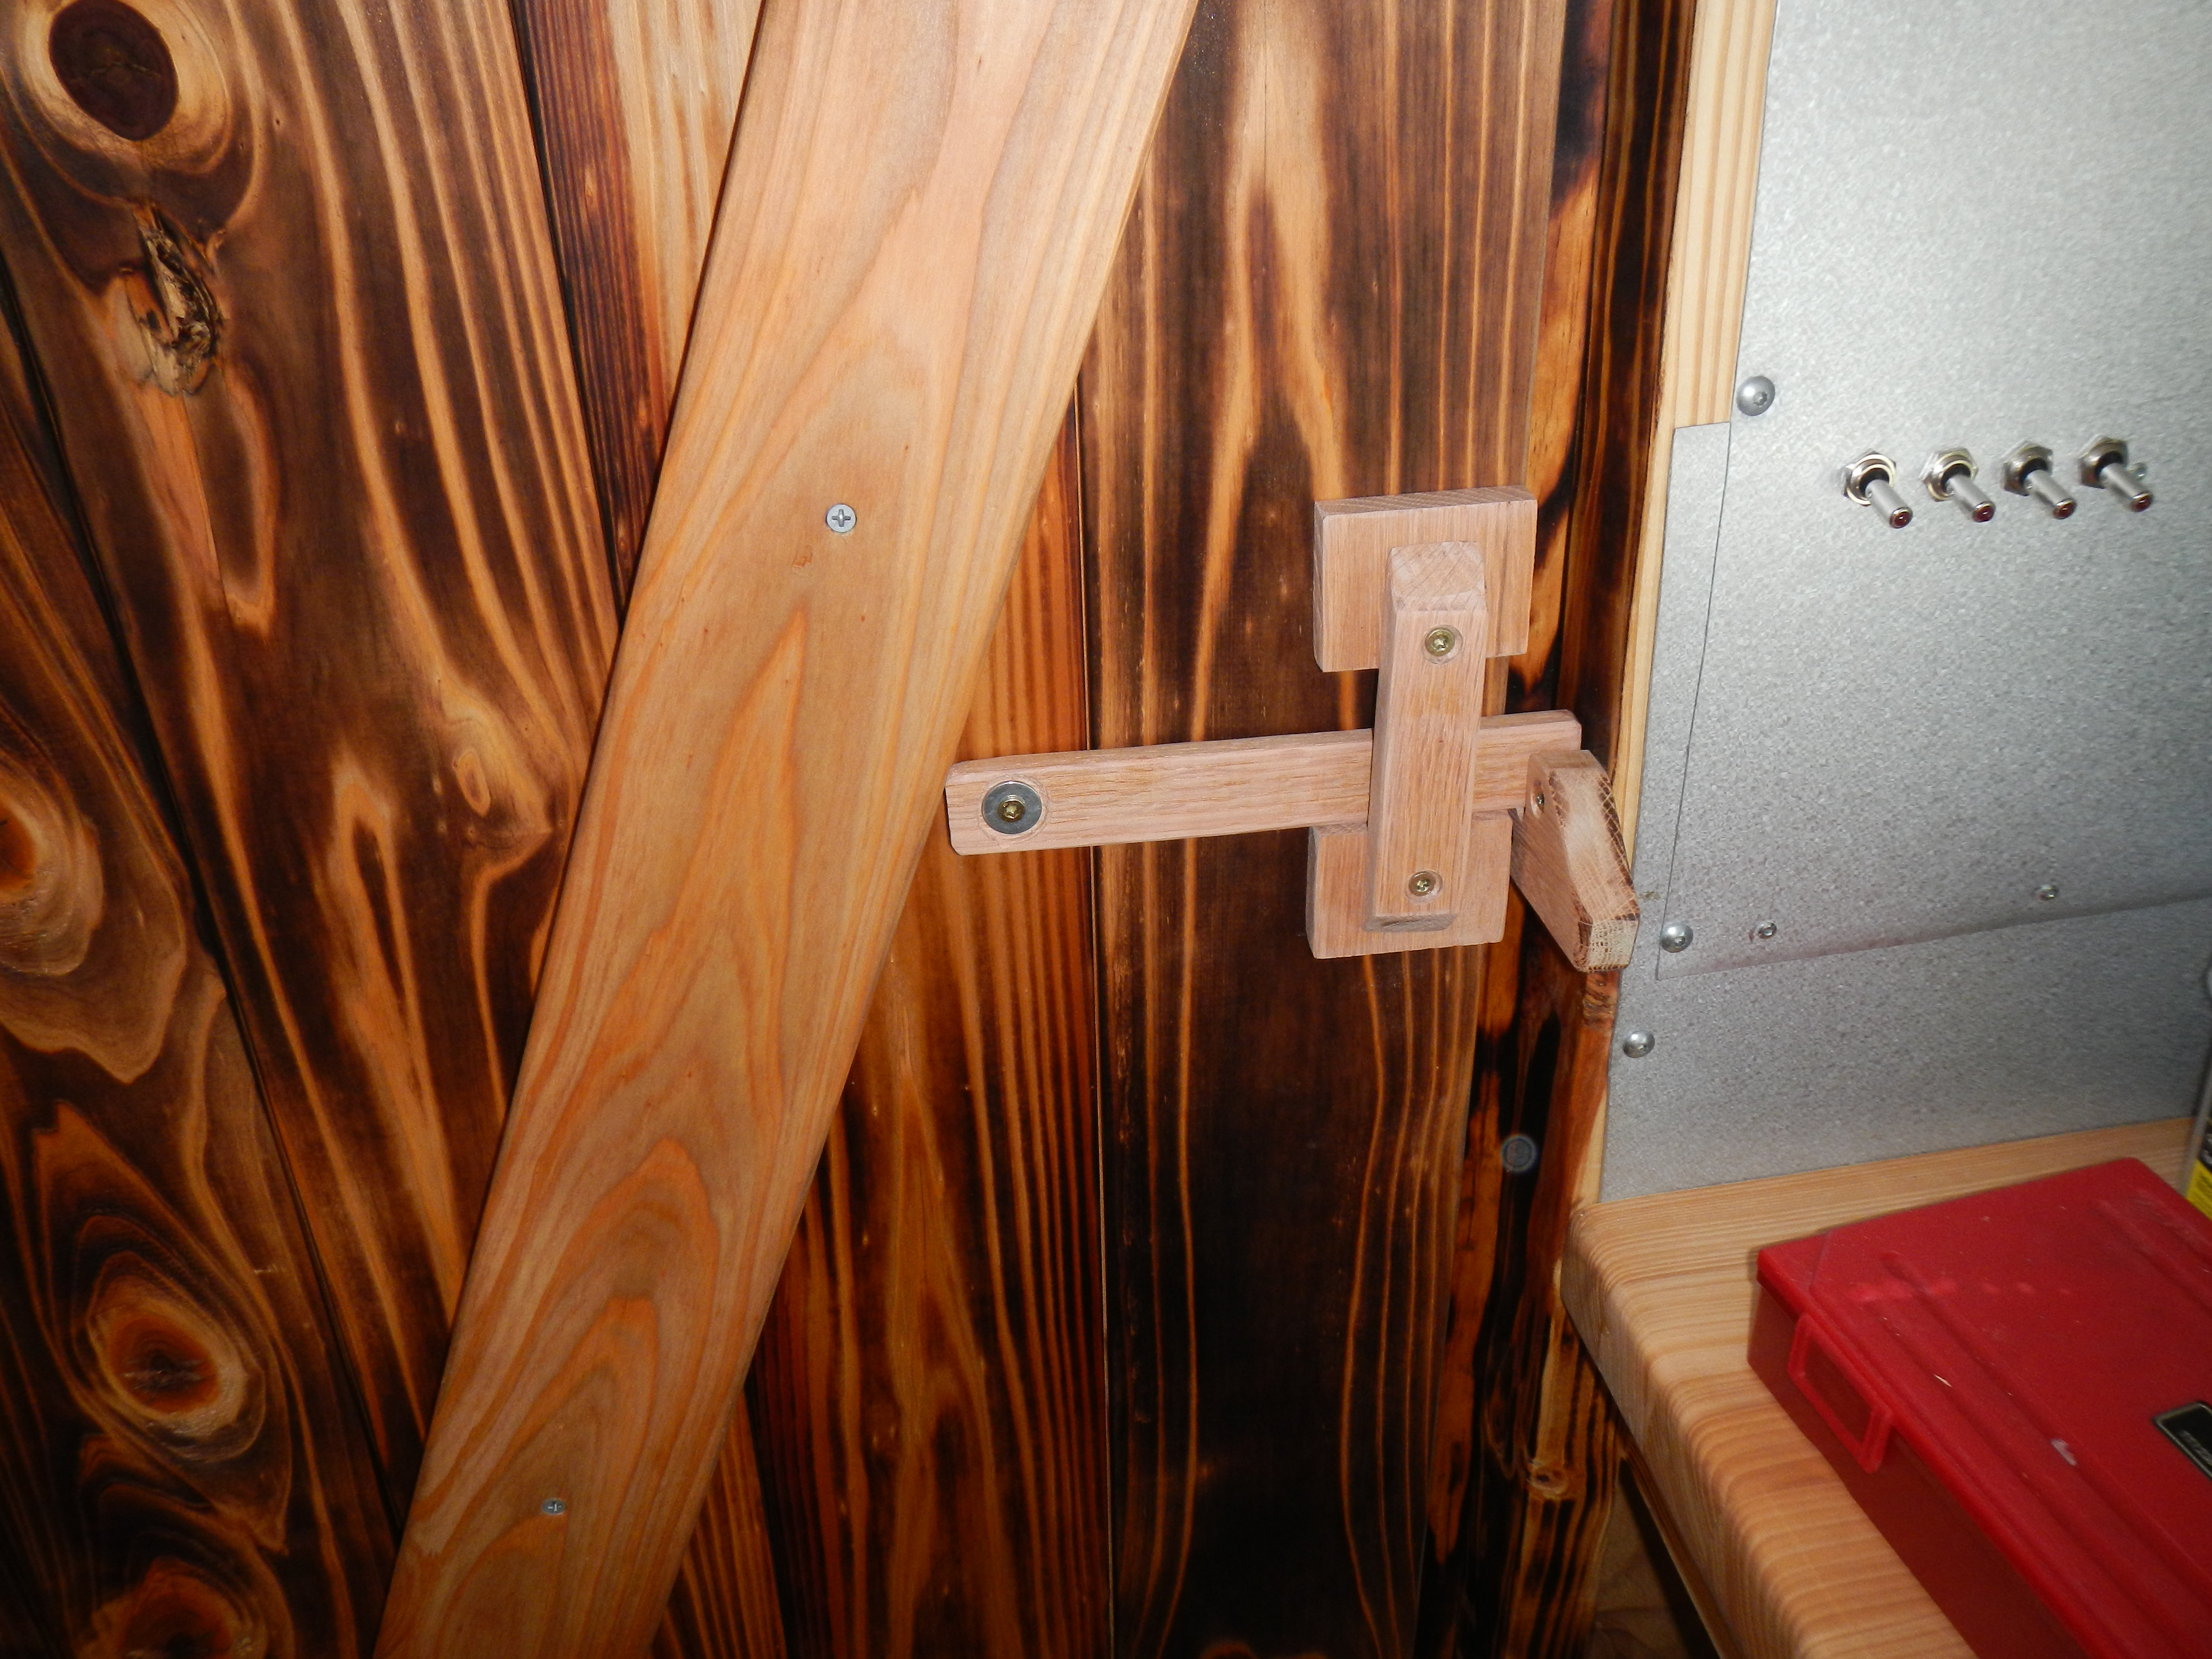
Installed latch mechanism. I used a cantilever brake nut from my bike parts box as the bushing for the bar- perfect fit!
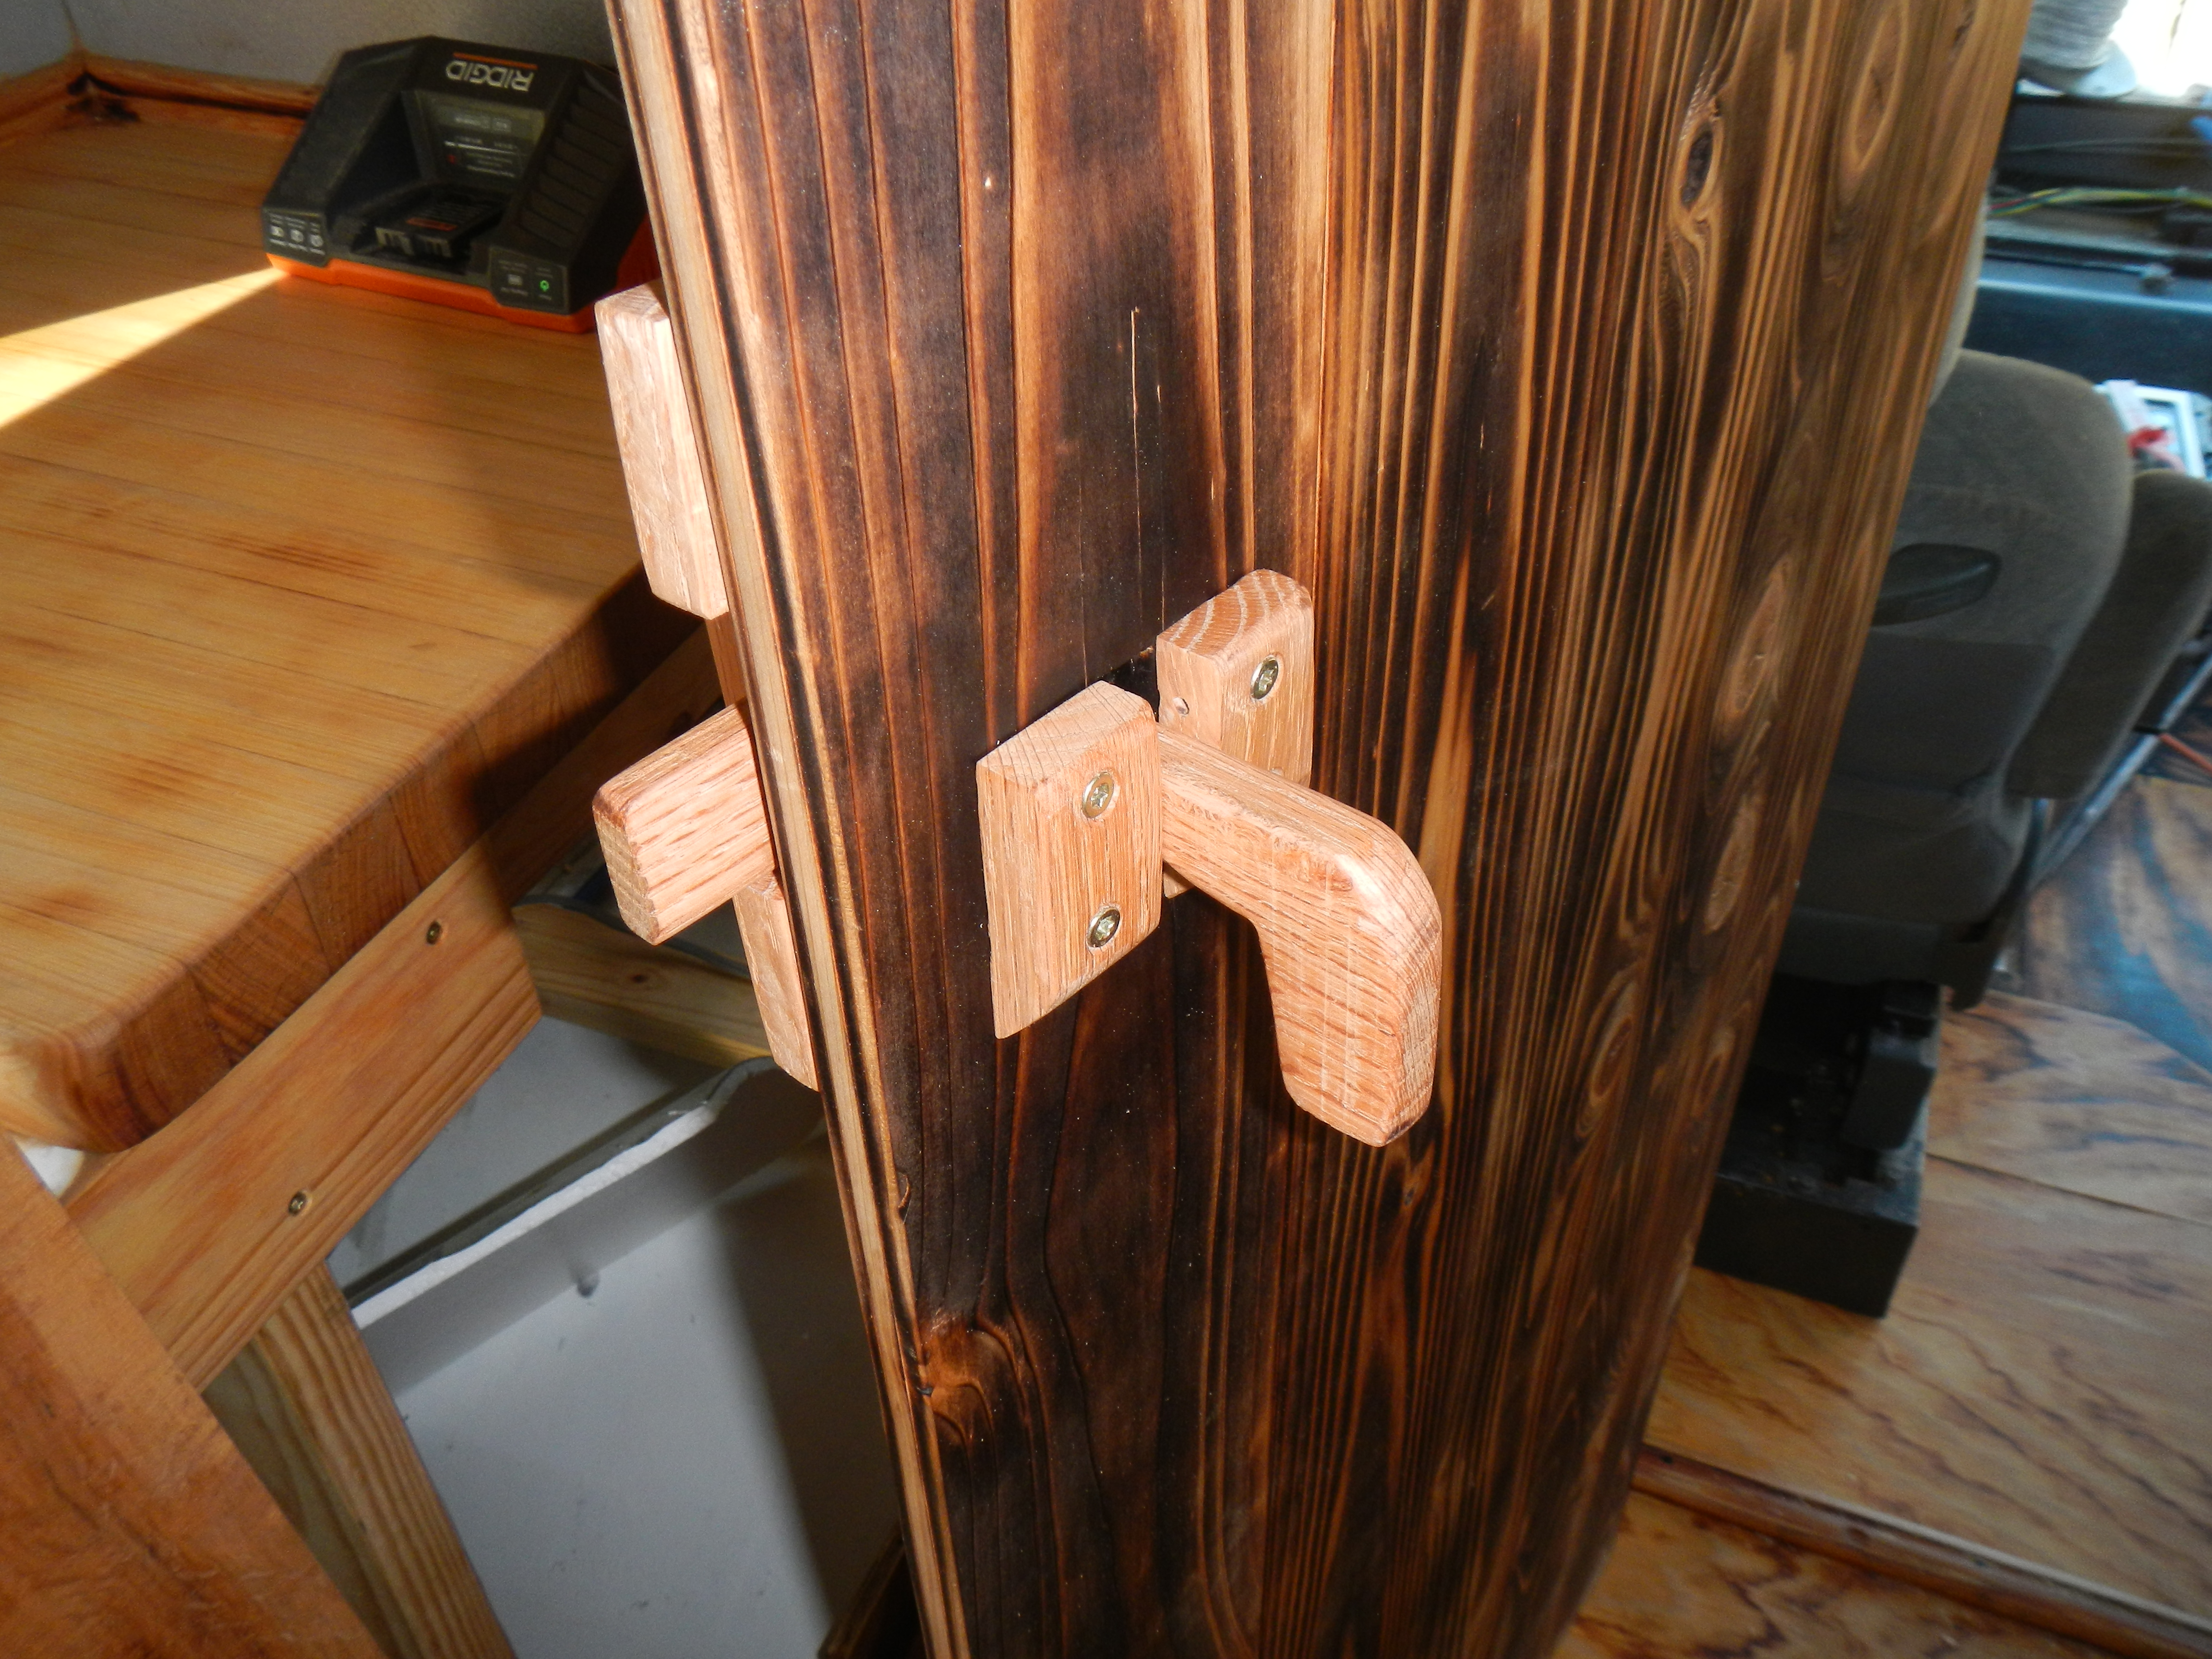
Chiseled a rectangular hole in the door to accommodate the handle, finish sanded and waxed the entire assembly. The handle hinges on a short piece of stainless rod left over from fender installation on my touring bike
The latch works nicely, and was well worth the procrastination and pondering involved in coming up with the design, plus the morning spent putting together and installing it.
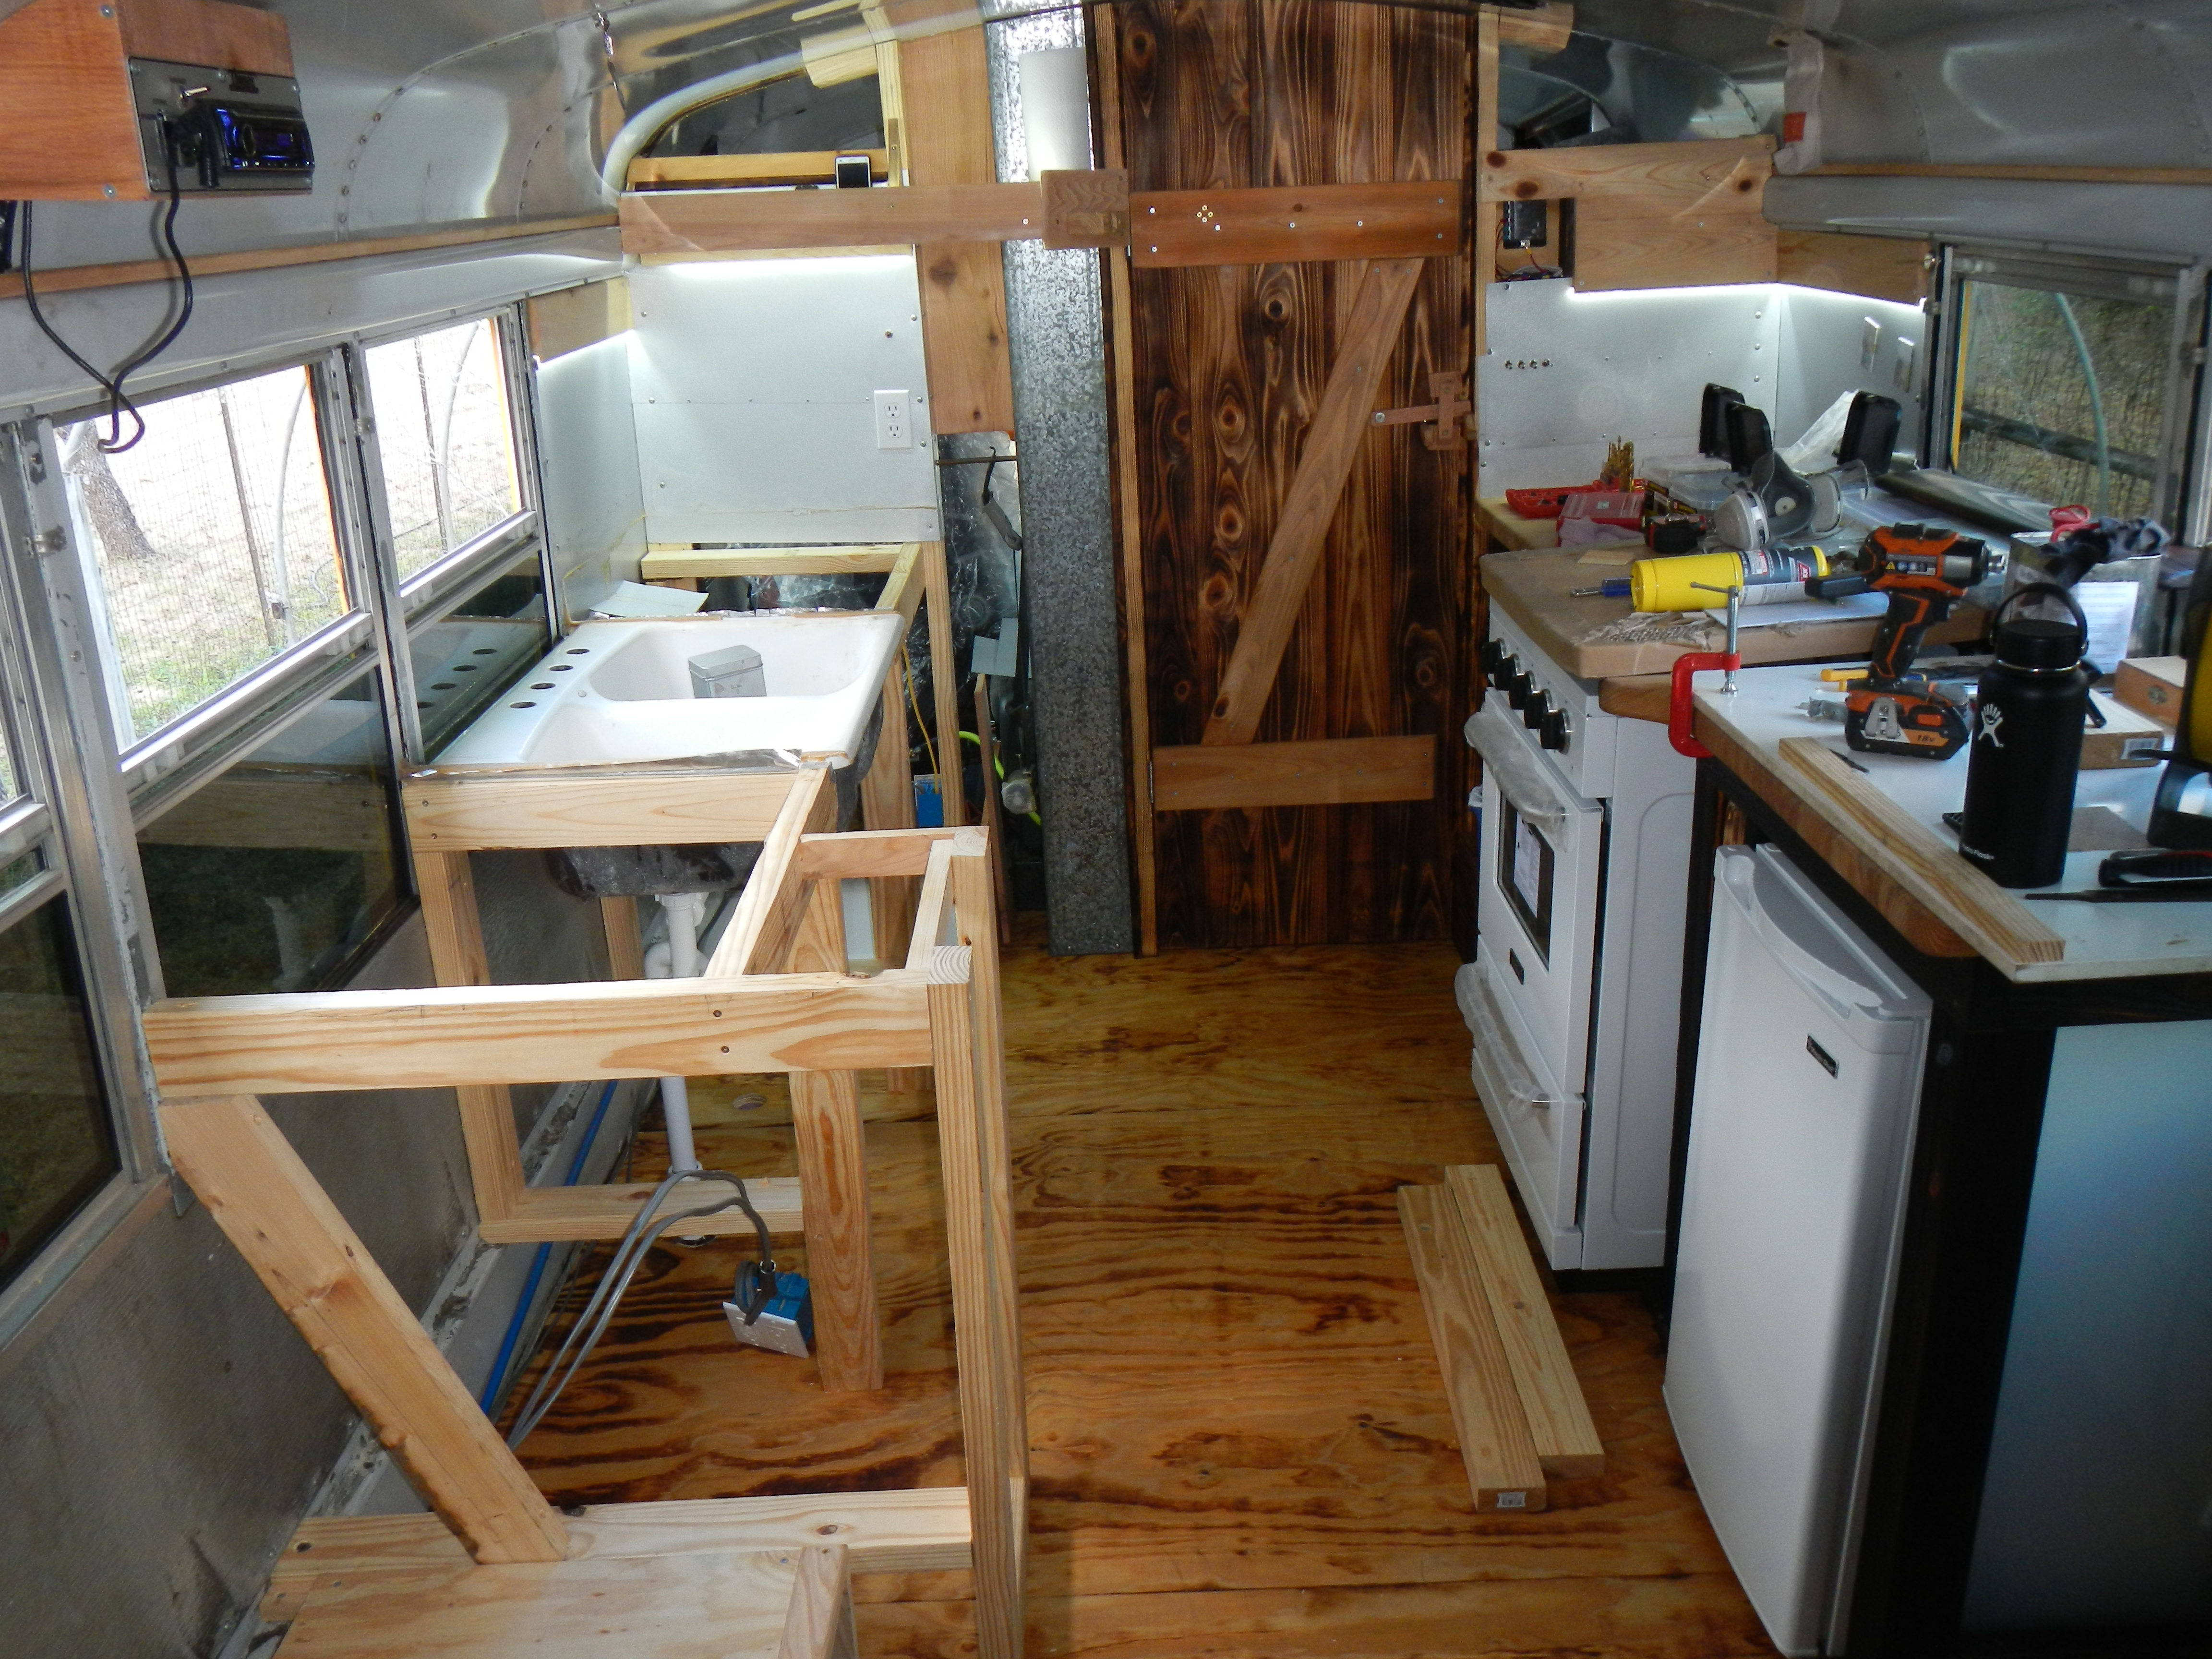
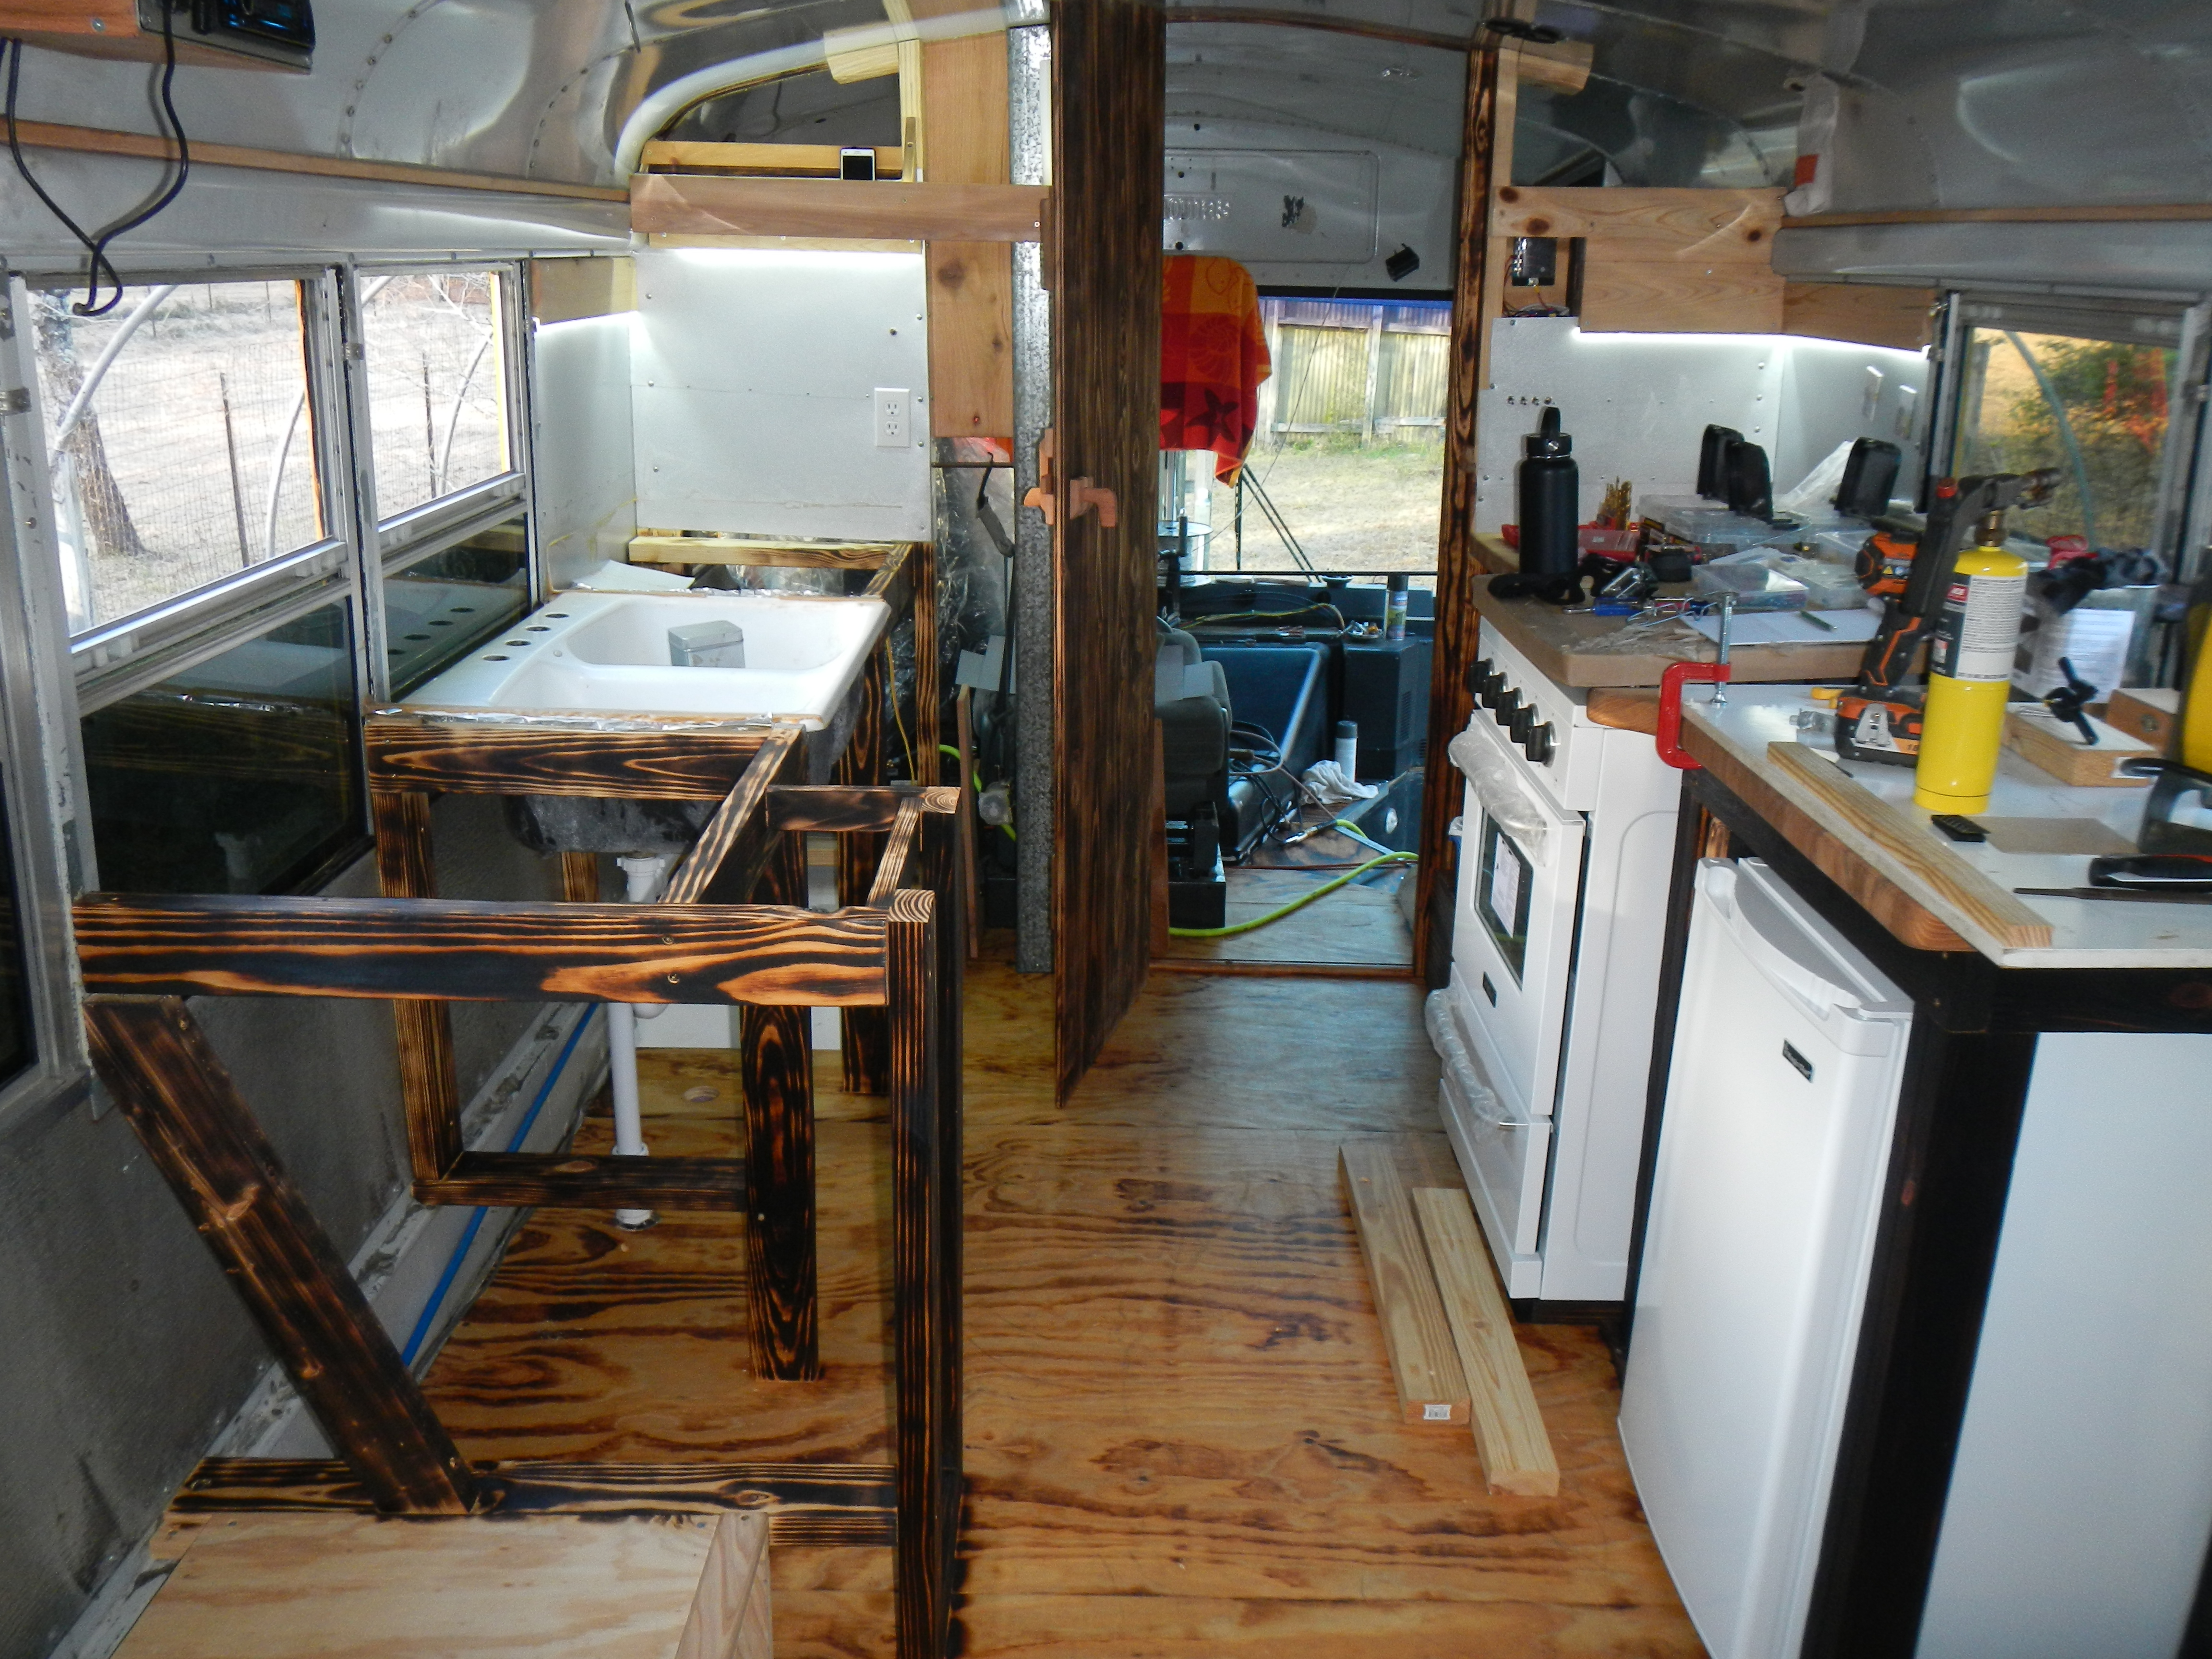
The next day or the day after I finally got around to finishing the counter frames. Read: burning them. I was still a little concerned about residual mildew from a leak which went unattended while I was over in England for Christmas. I’d previously burned a small section of the frame which had gotten mildewed and was satisfied with the treatment (a good burning raises the temperature of the wood well beyond the survival threshold of all but the hardiest mold, mildew and fungi). This time I dedicated an entire day to removing the countertops, pulling out the stove, and partially disassembling the frames. I’m kicking myself for assembling them using glue and screws, as I would have been able to completely take them apart, bring them outside and subject them to 500k BTU had I not gone crazy with the titebond.
As it was, I spent a lot of time waving a small propane torch around to light the inside of the bus on fire, and slightly less time putting out fires with my hands (its fine, I was wearing gloves, and yes, there was a fire extinguisher nearby and no, I never needed to use it)
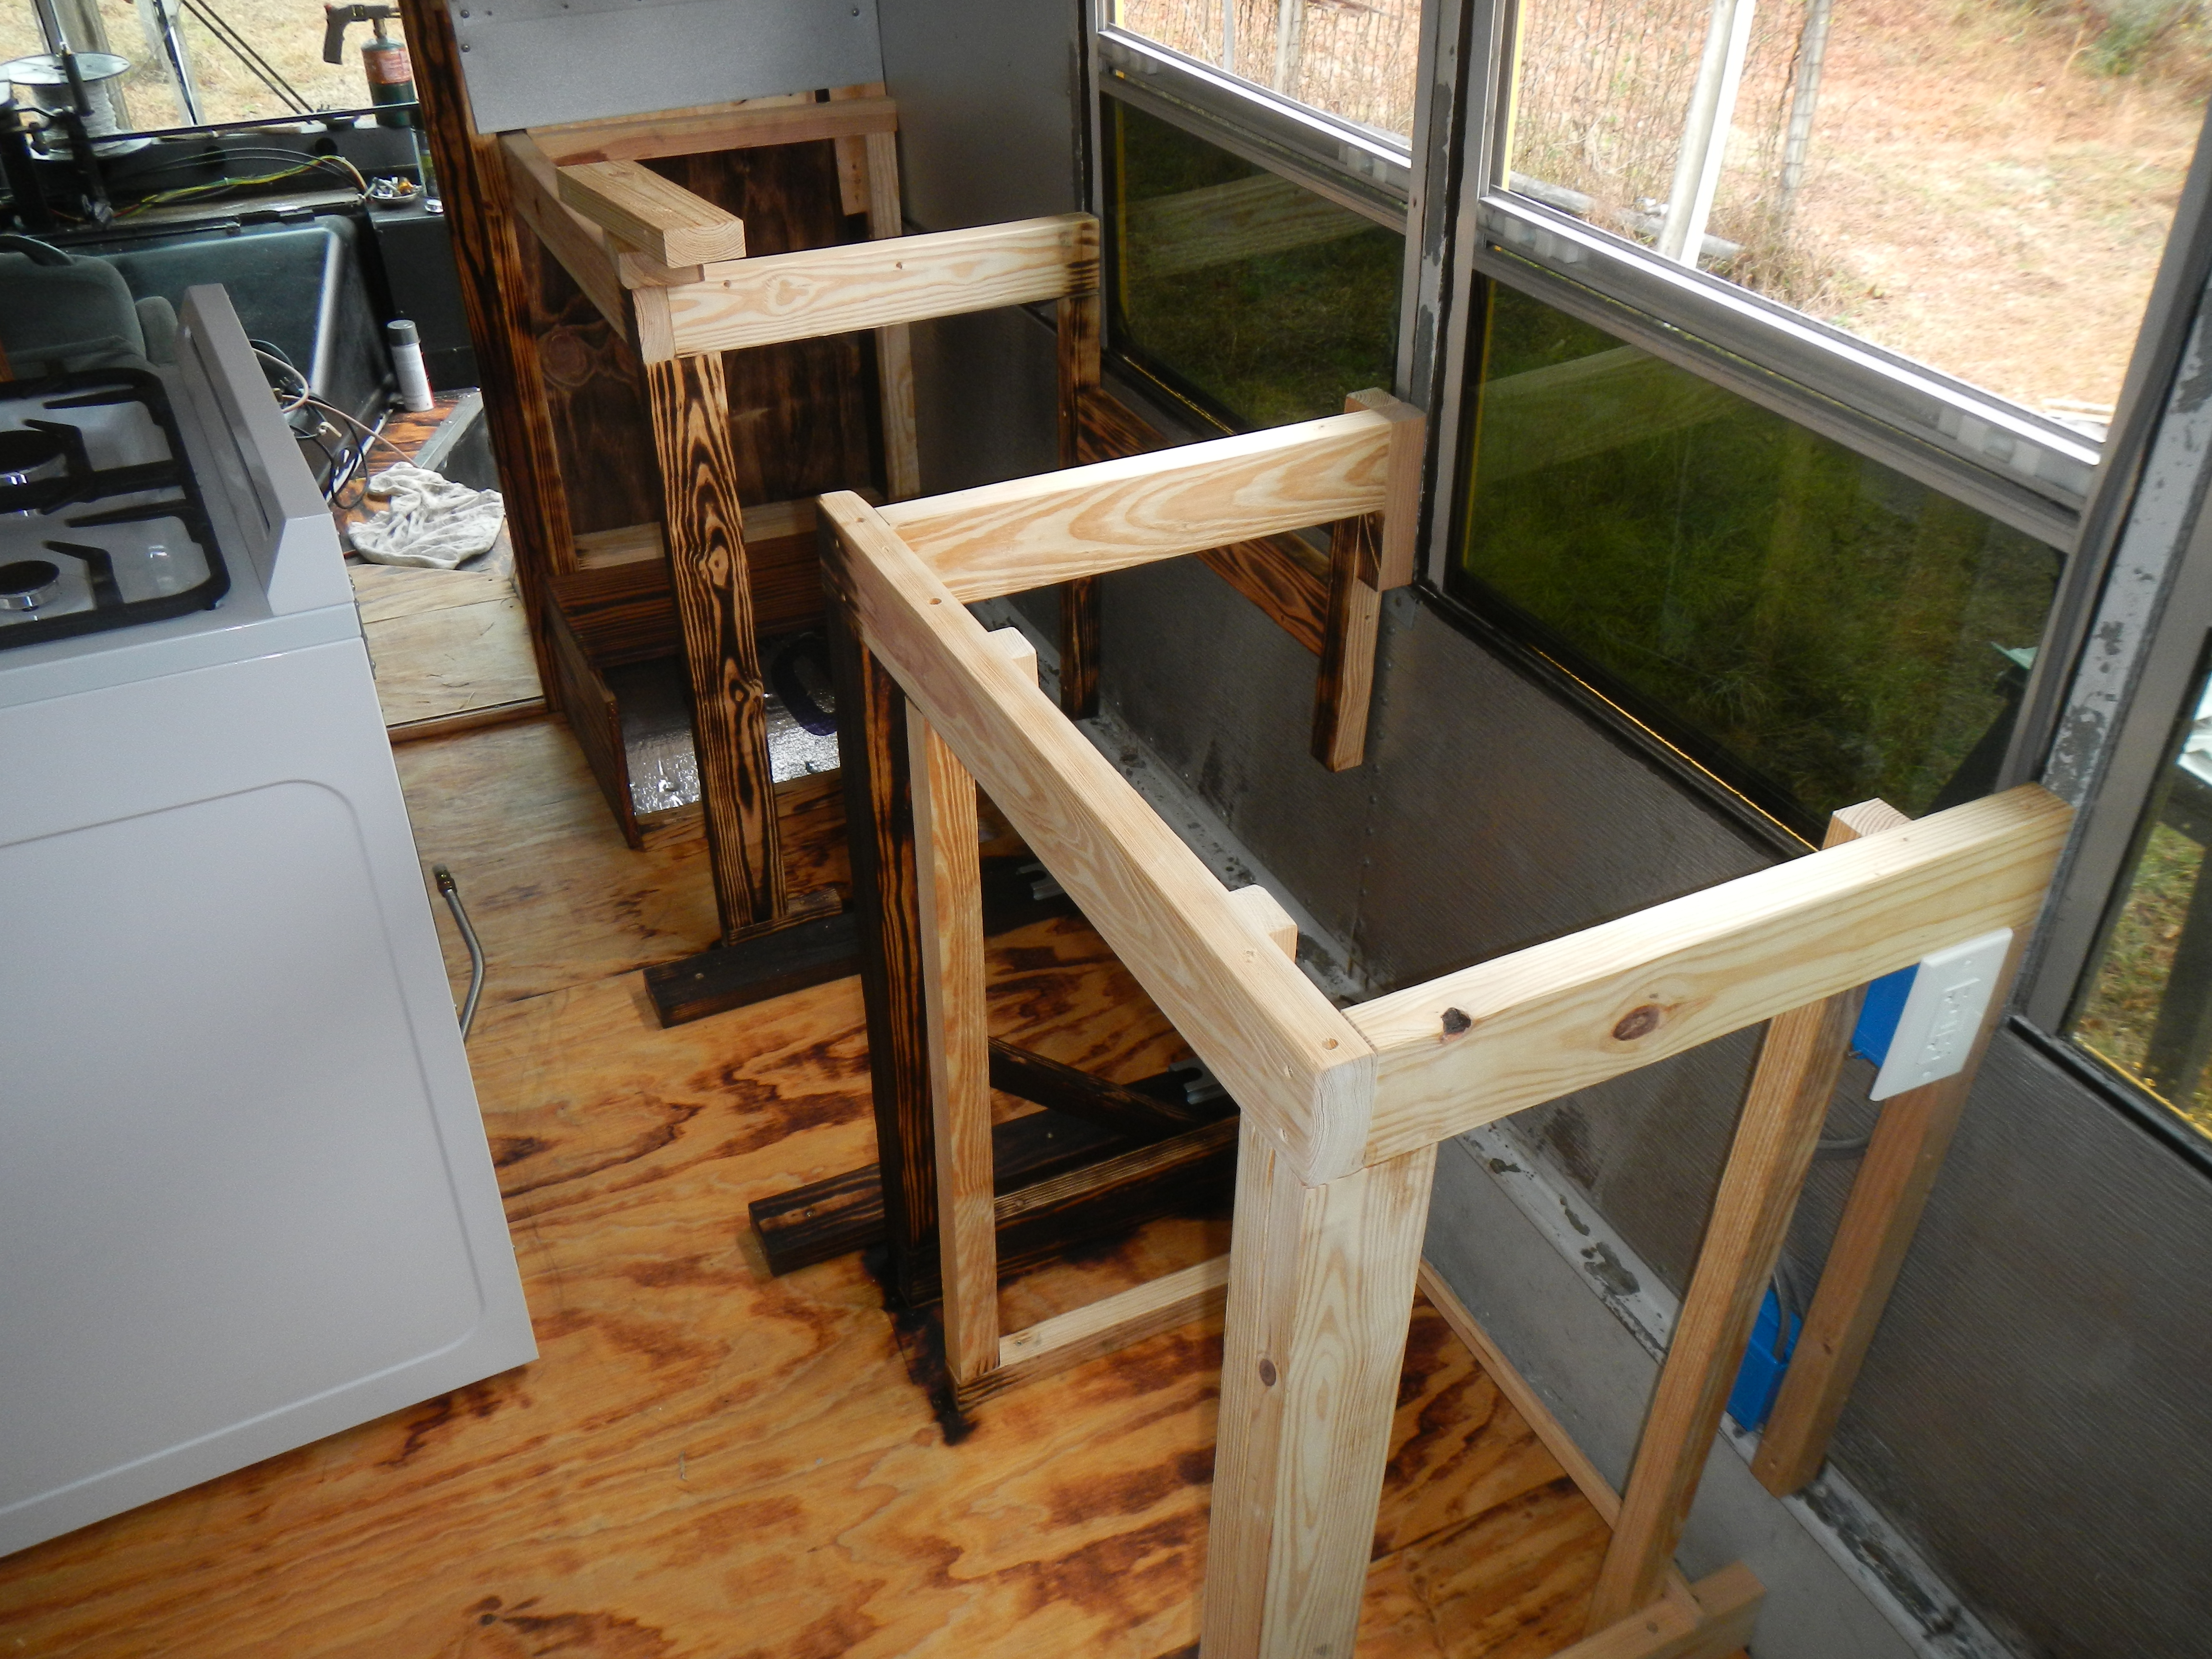
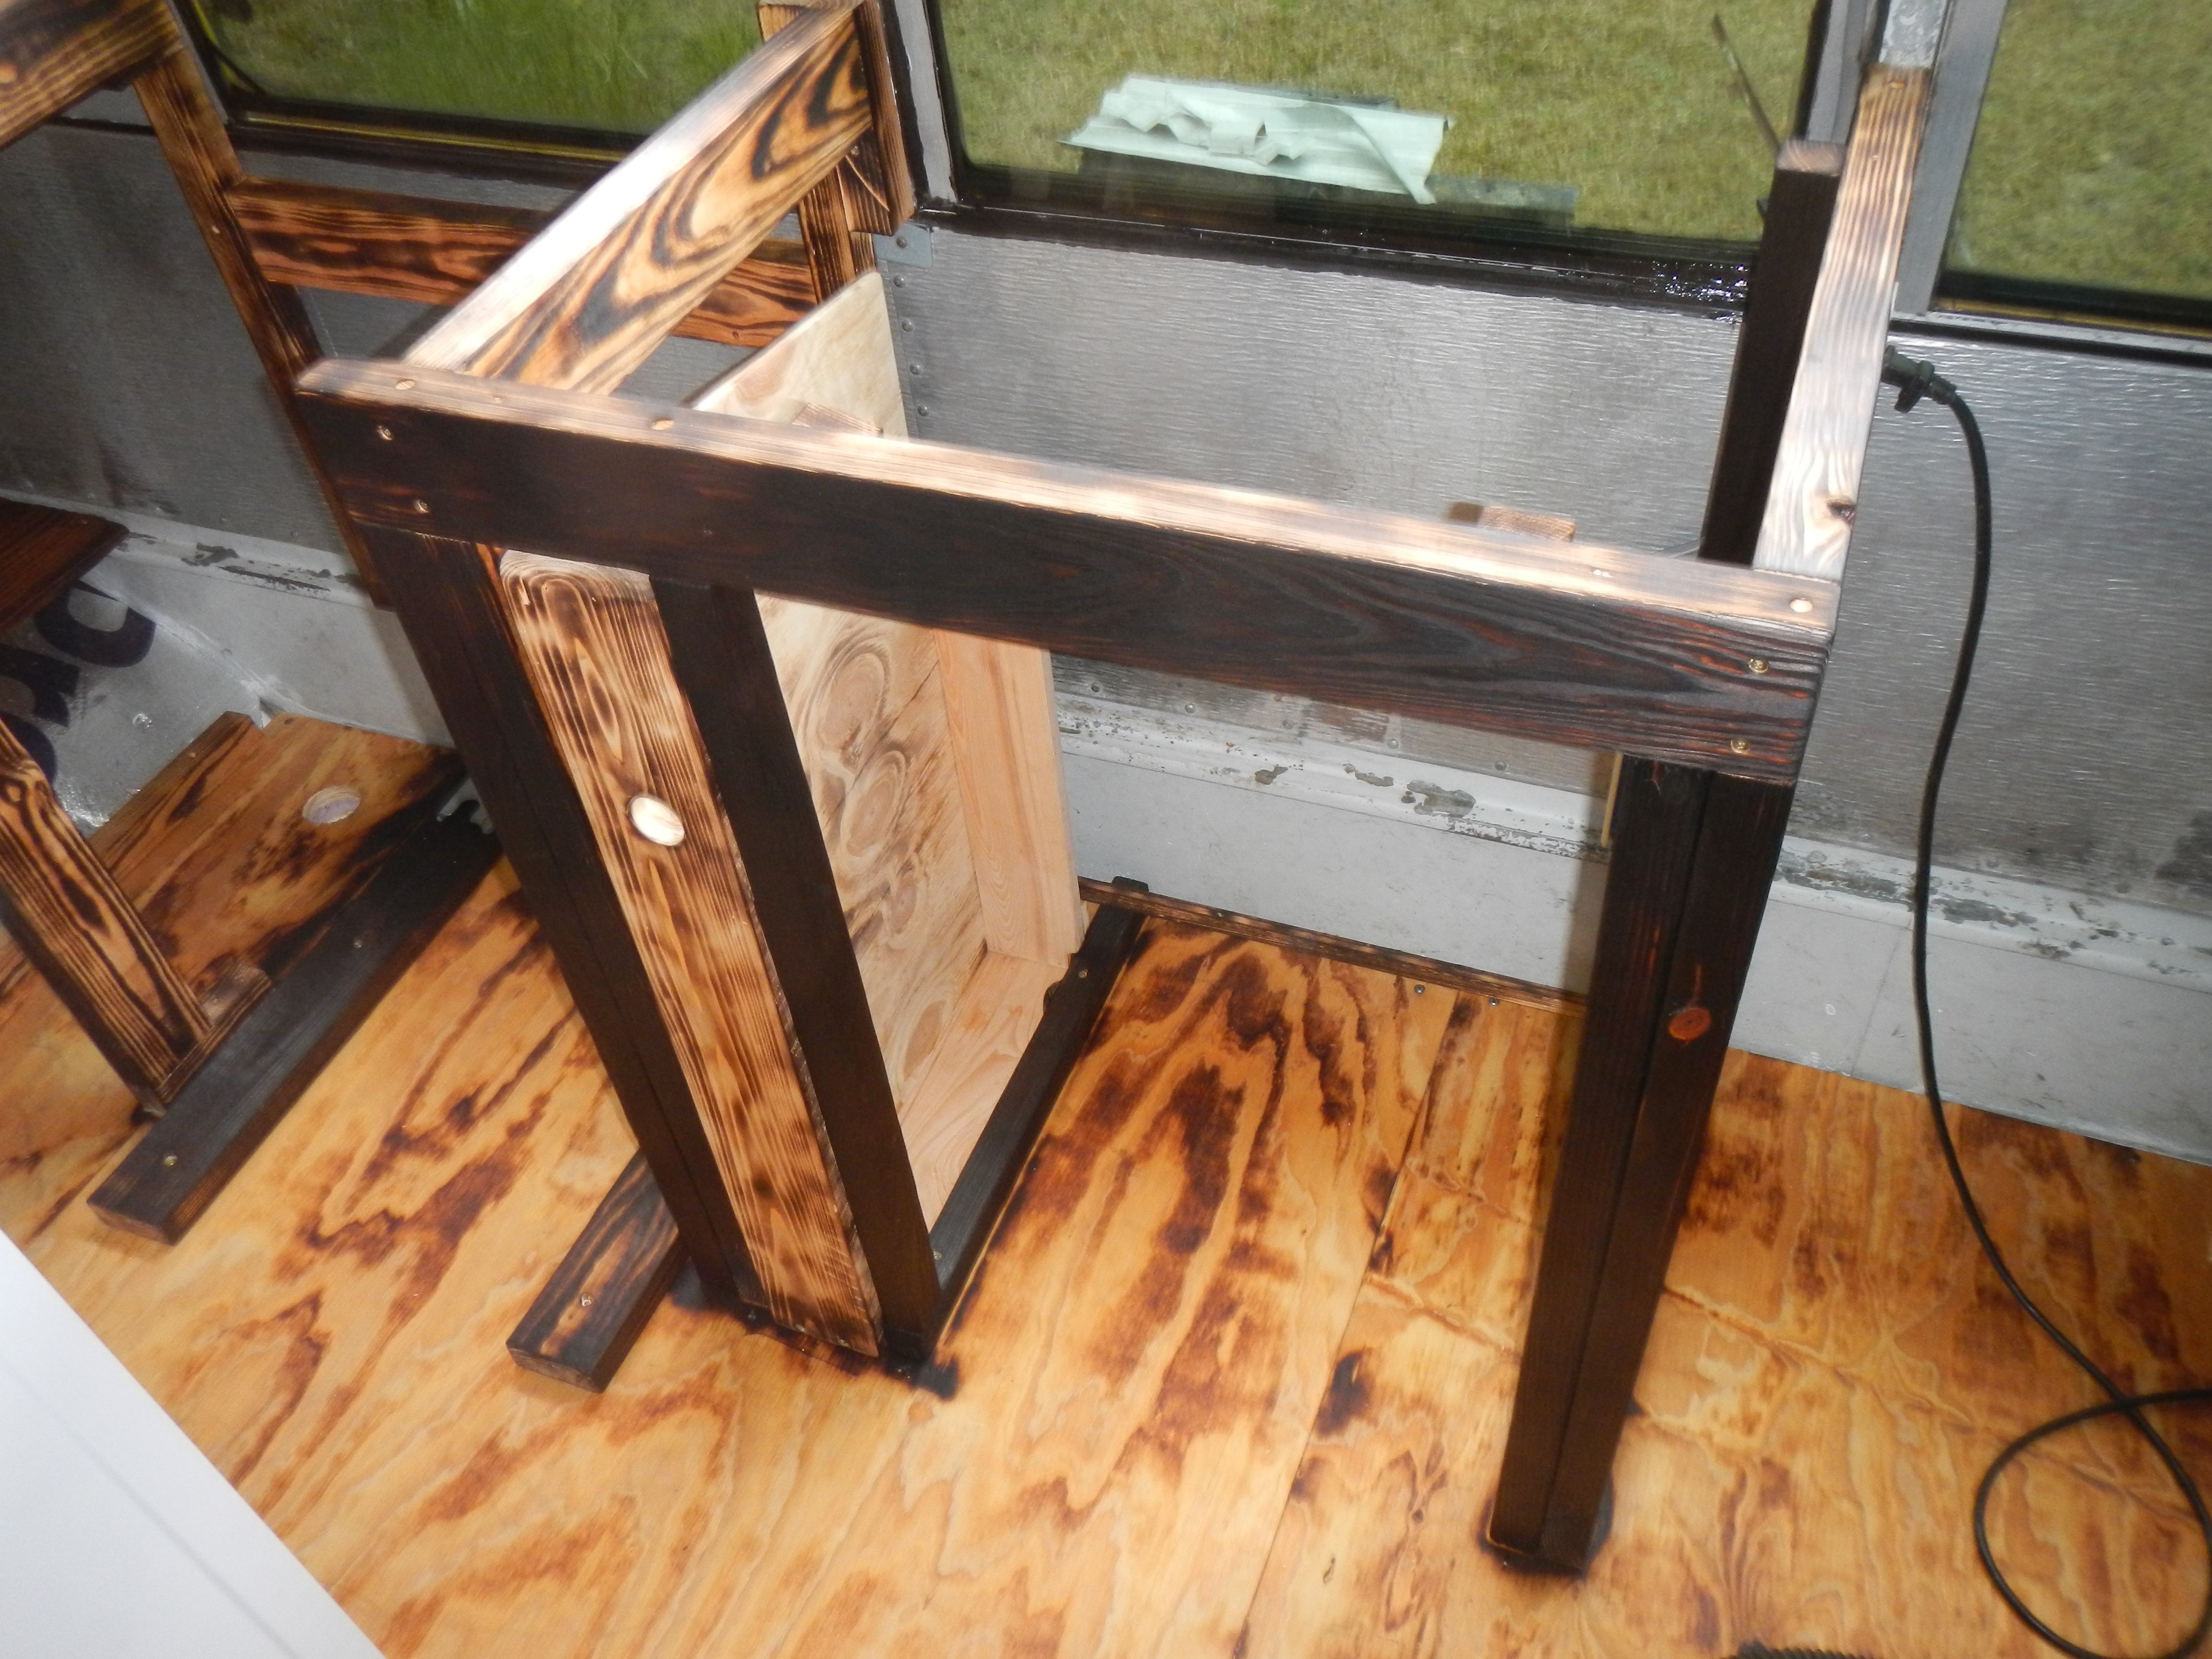
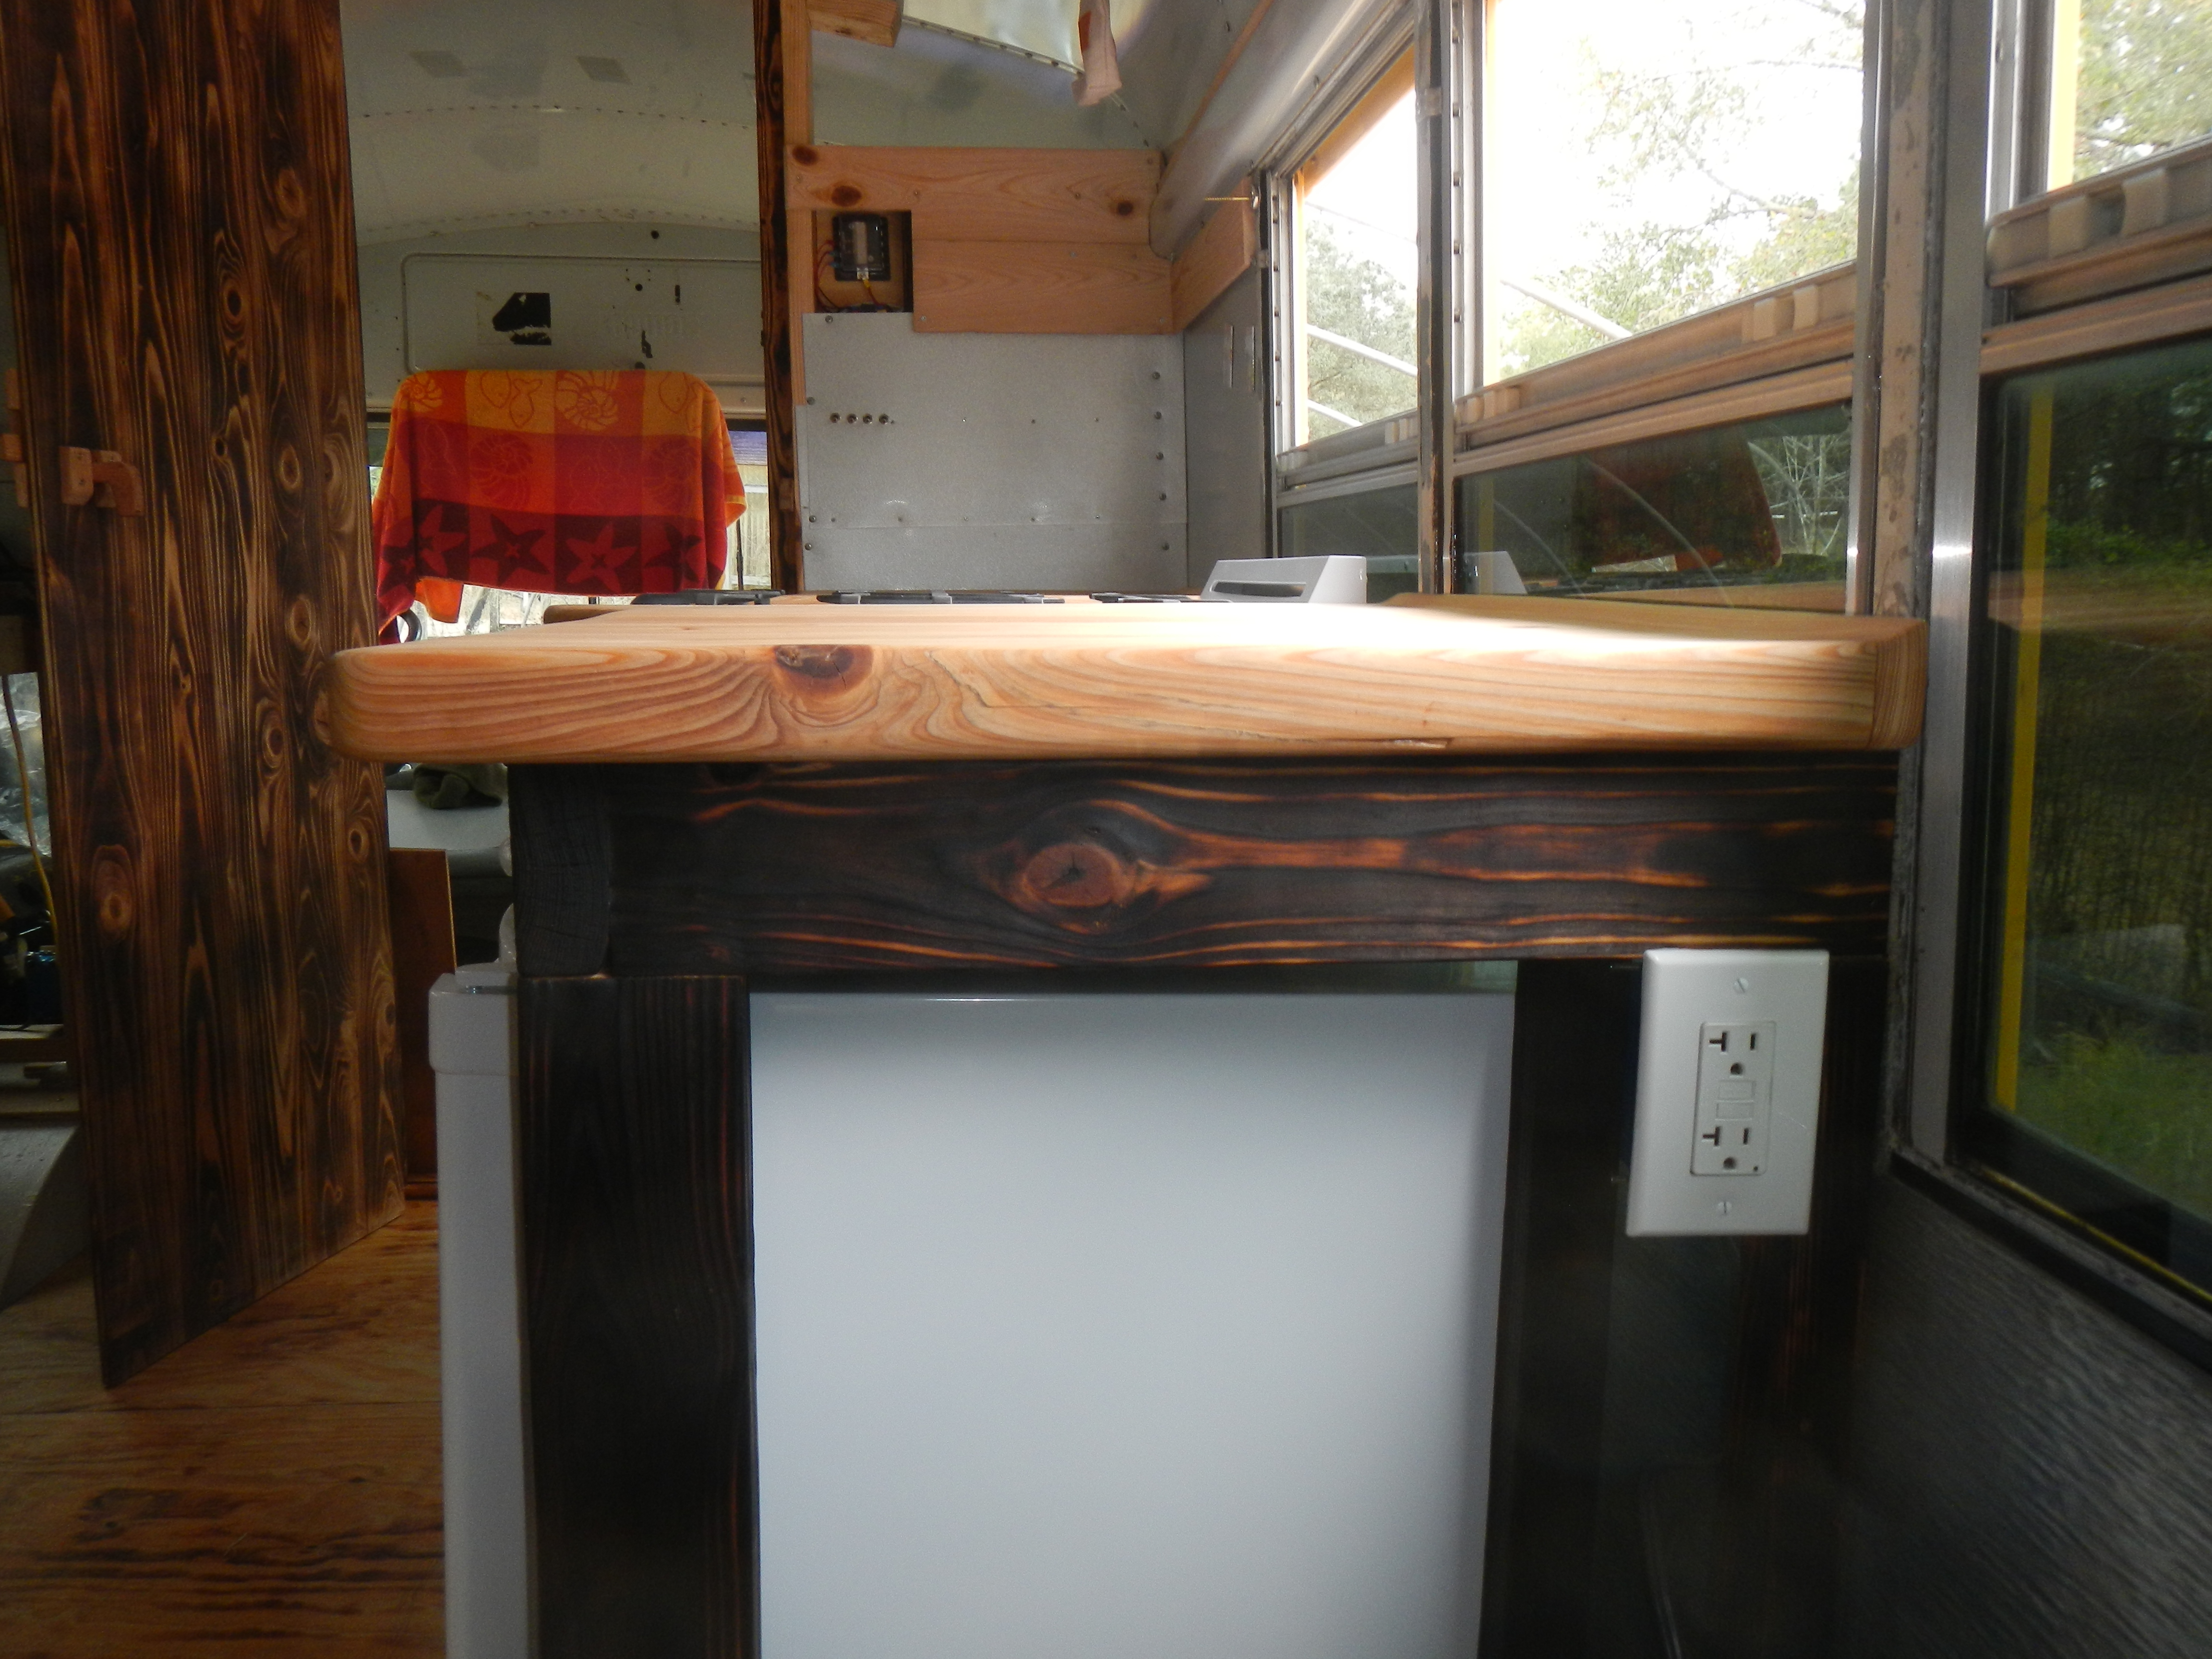
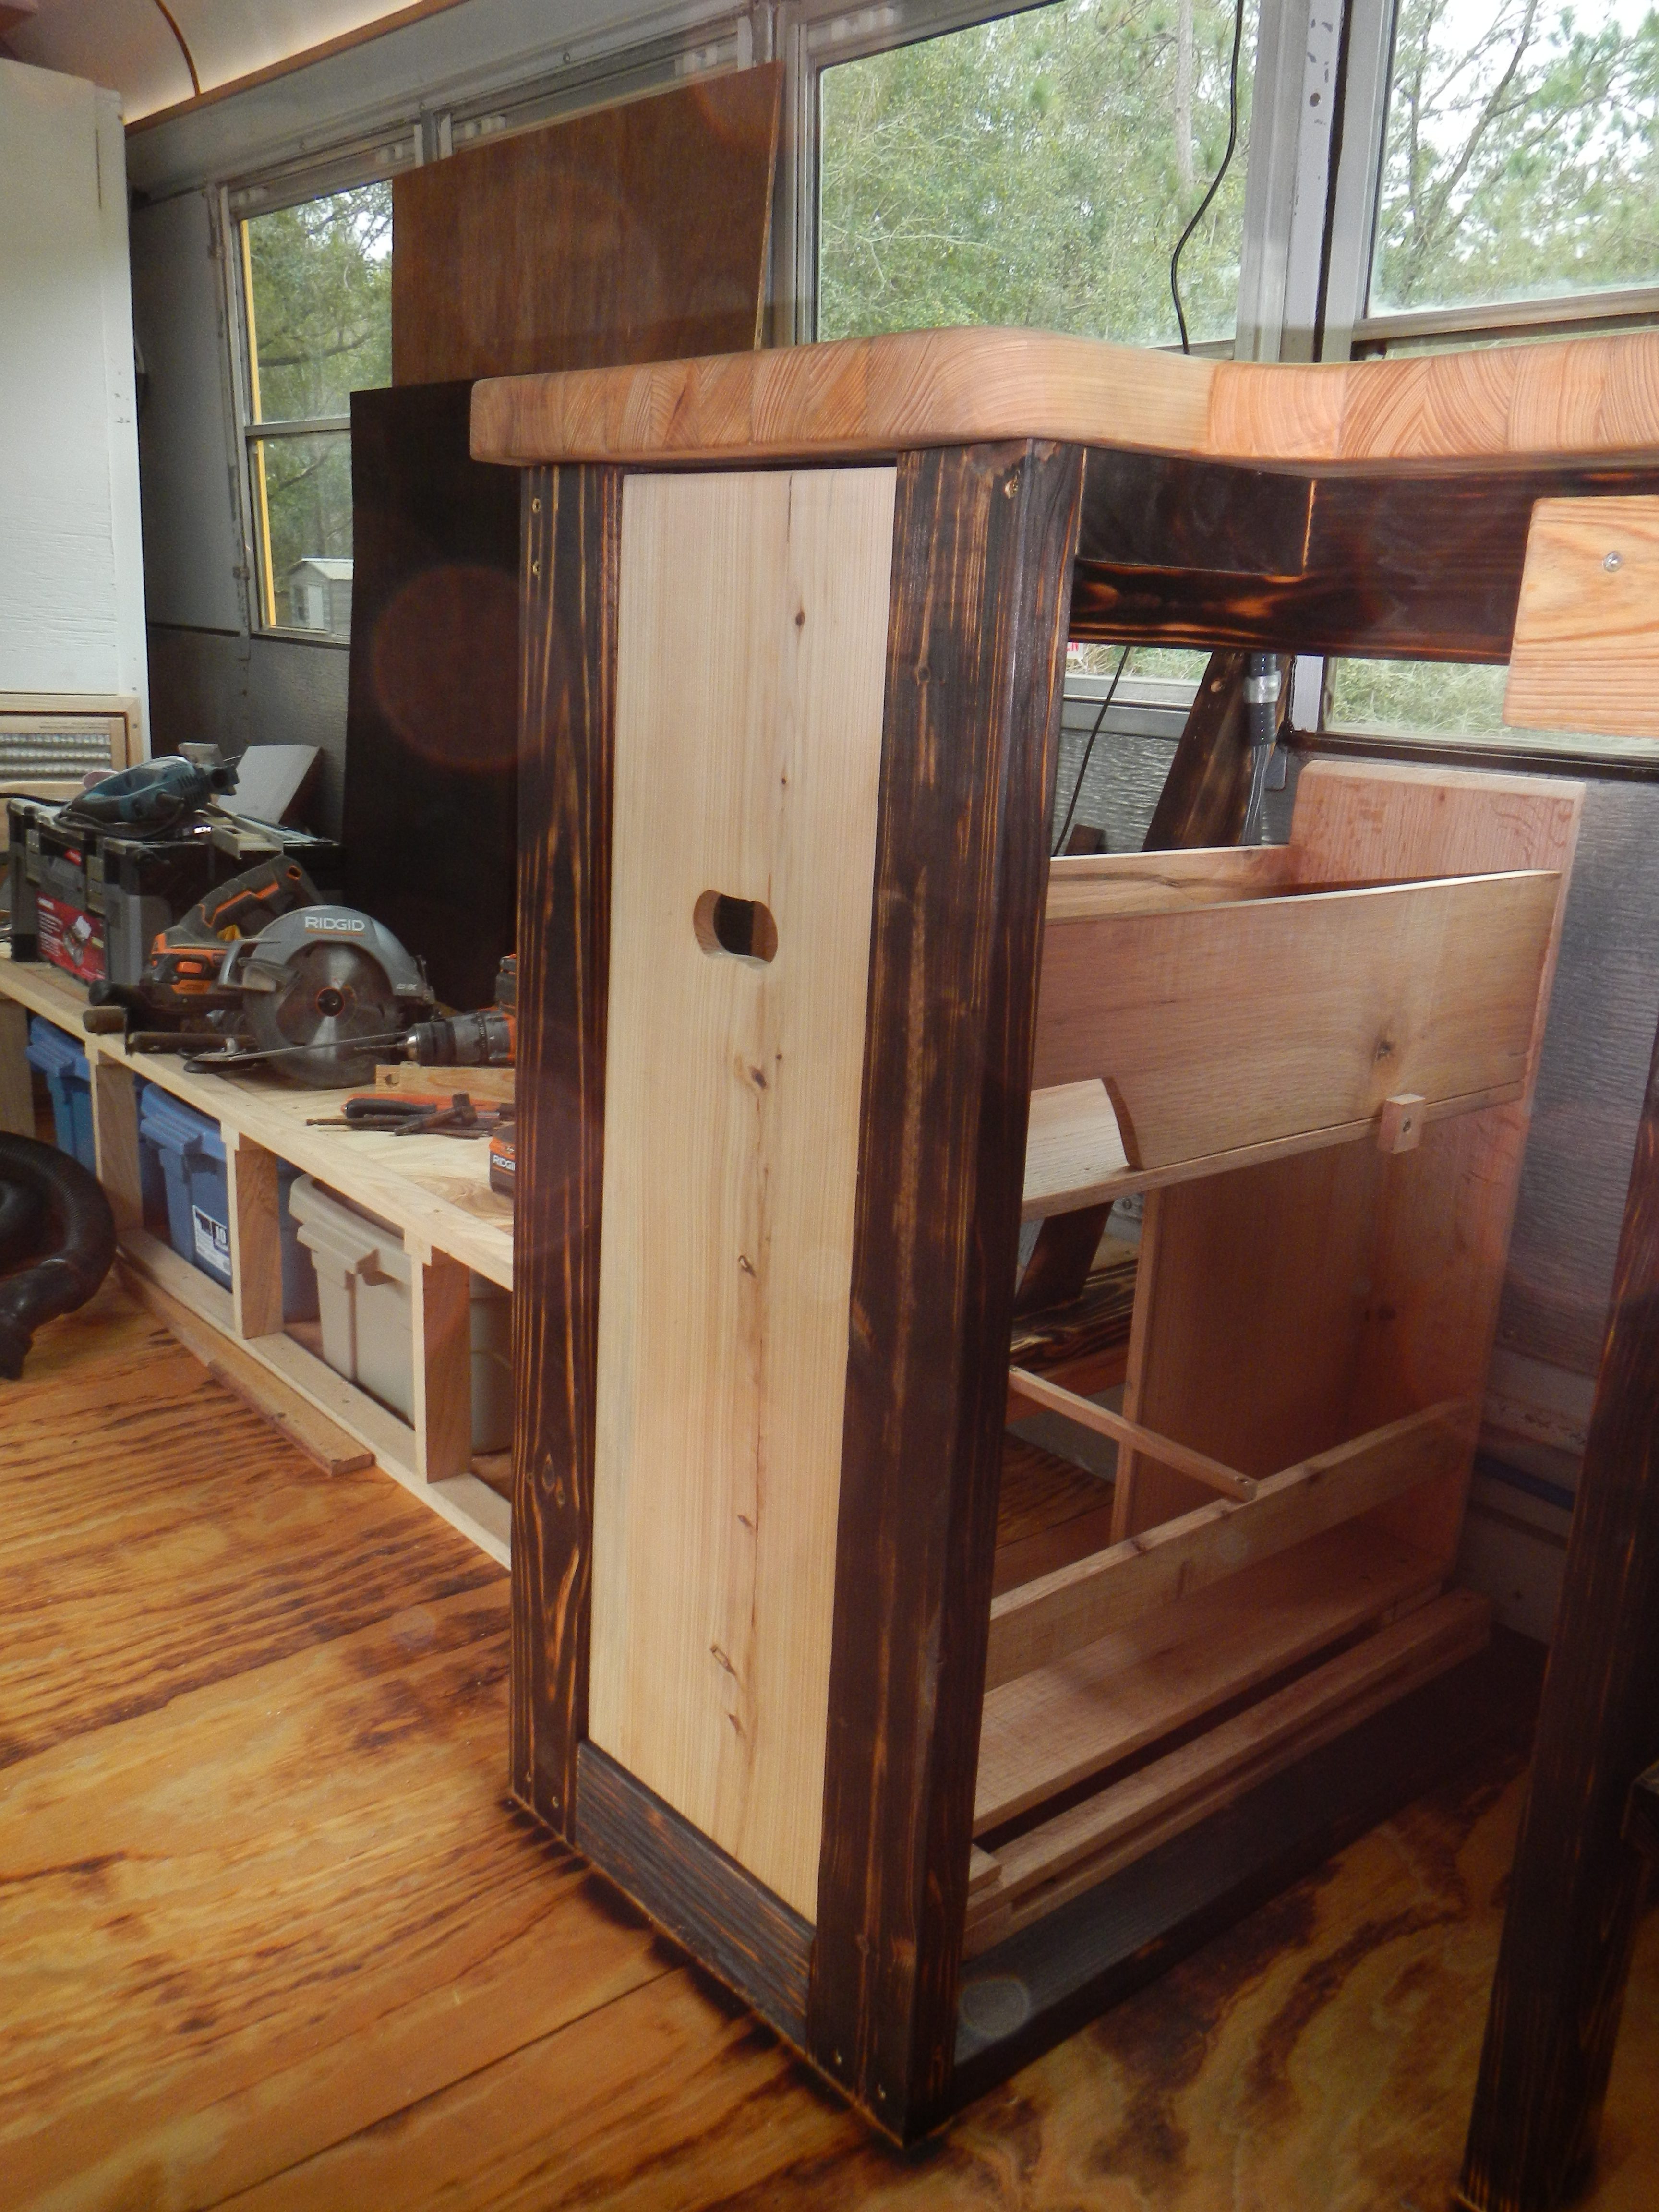
Loving the contrast between the burned frame and the countertop
With the frames burned, oiled and still partially disassembled, I turned my attention to constructing a kitchen drawer. I’d considered just using shelves in the interest of simplicity, but given the depth of the counter at the end this was likely to lead to a significant quantity of unusable or at least moderately inconvenient storage space. So, I decided to build a drawer.
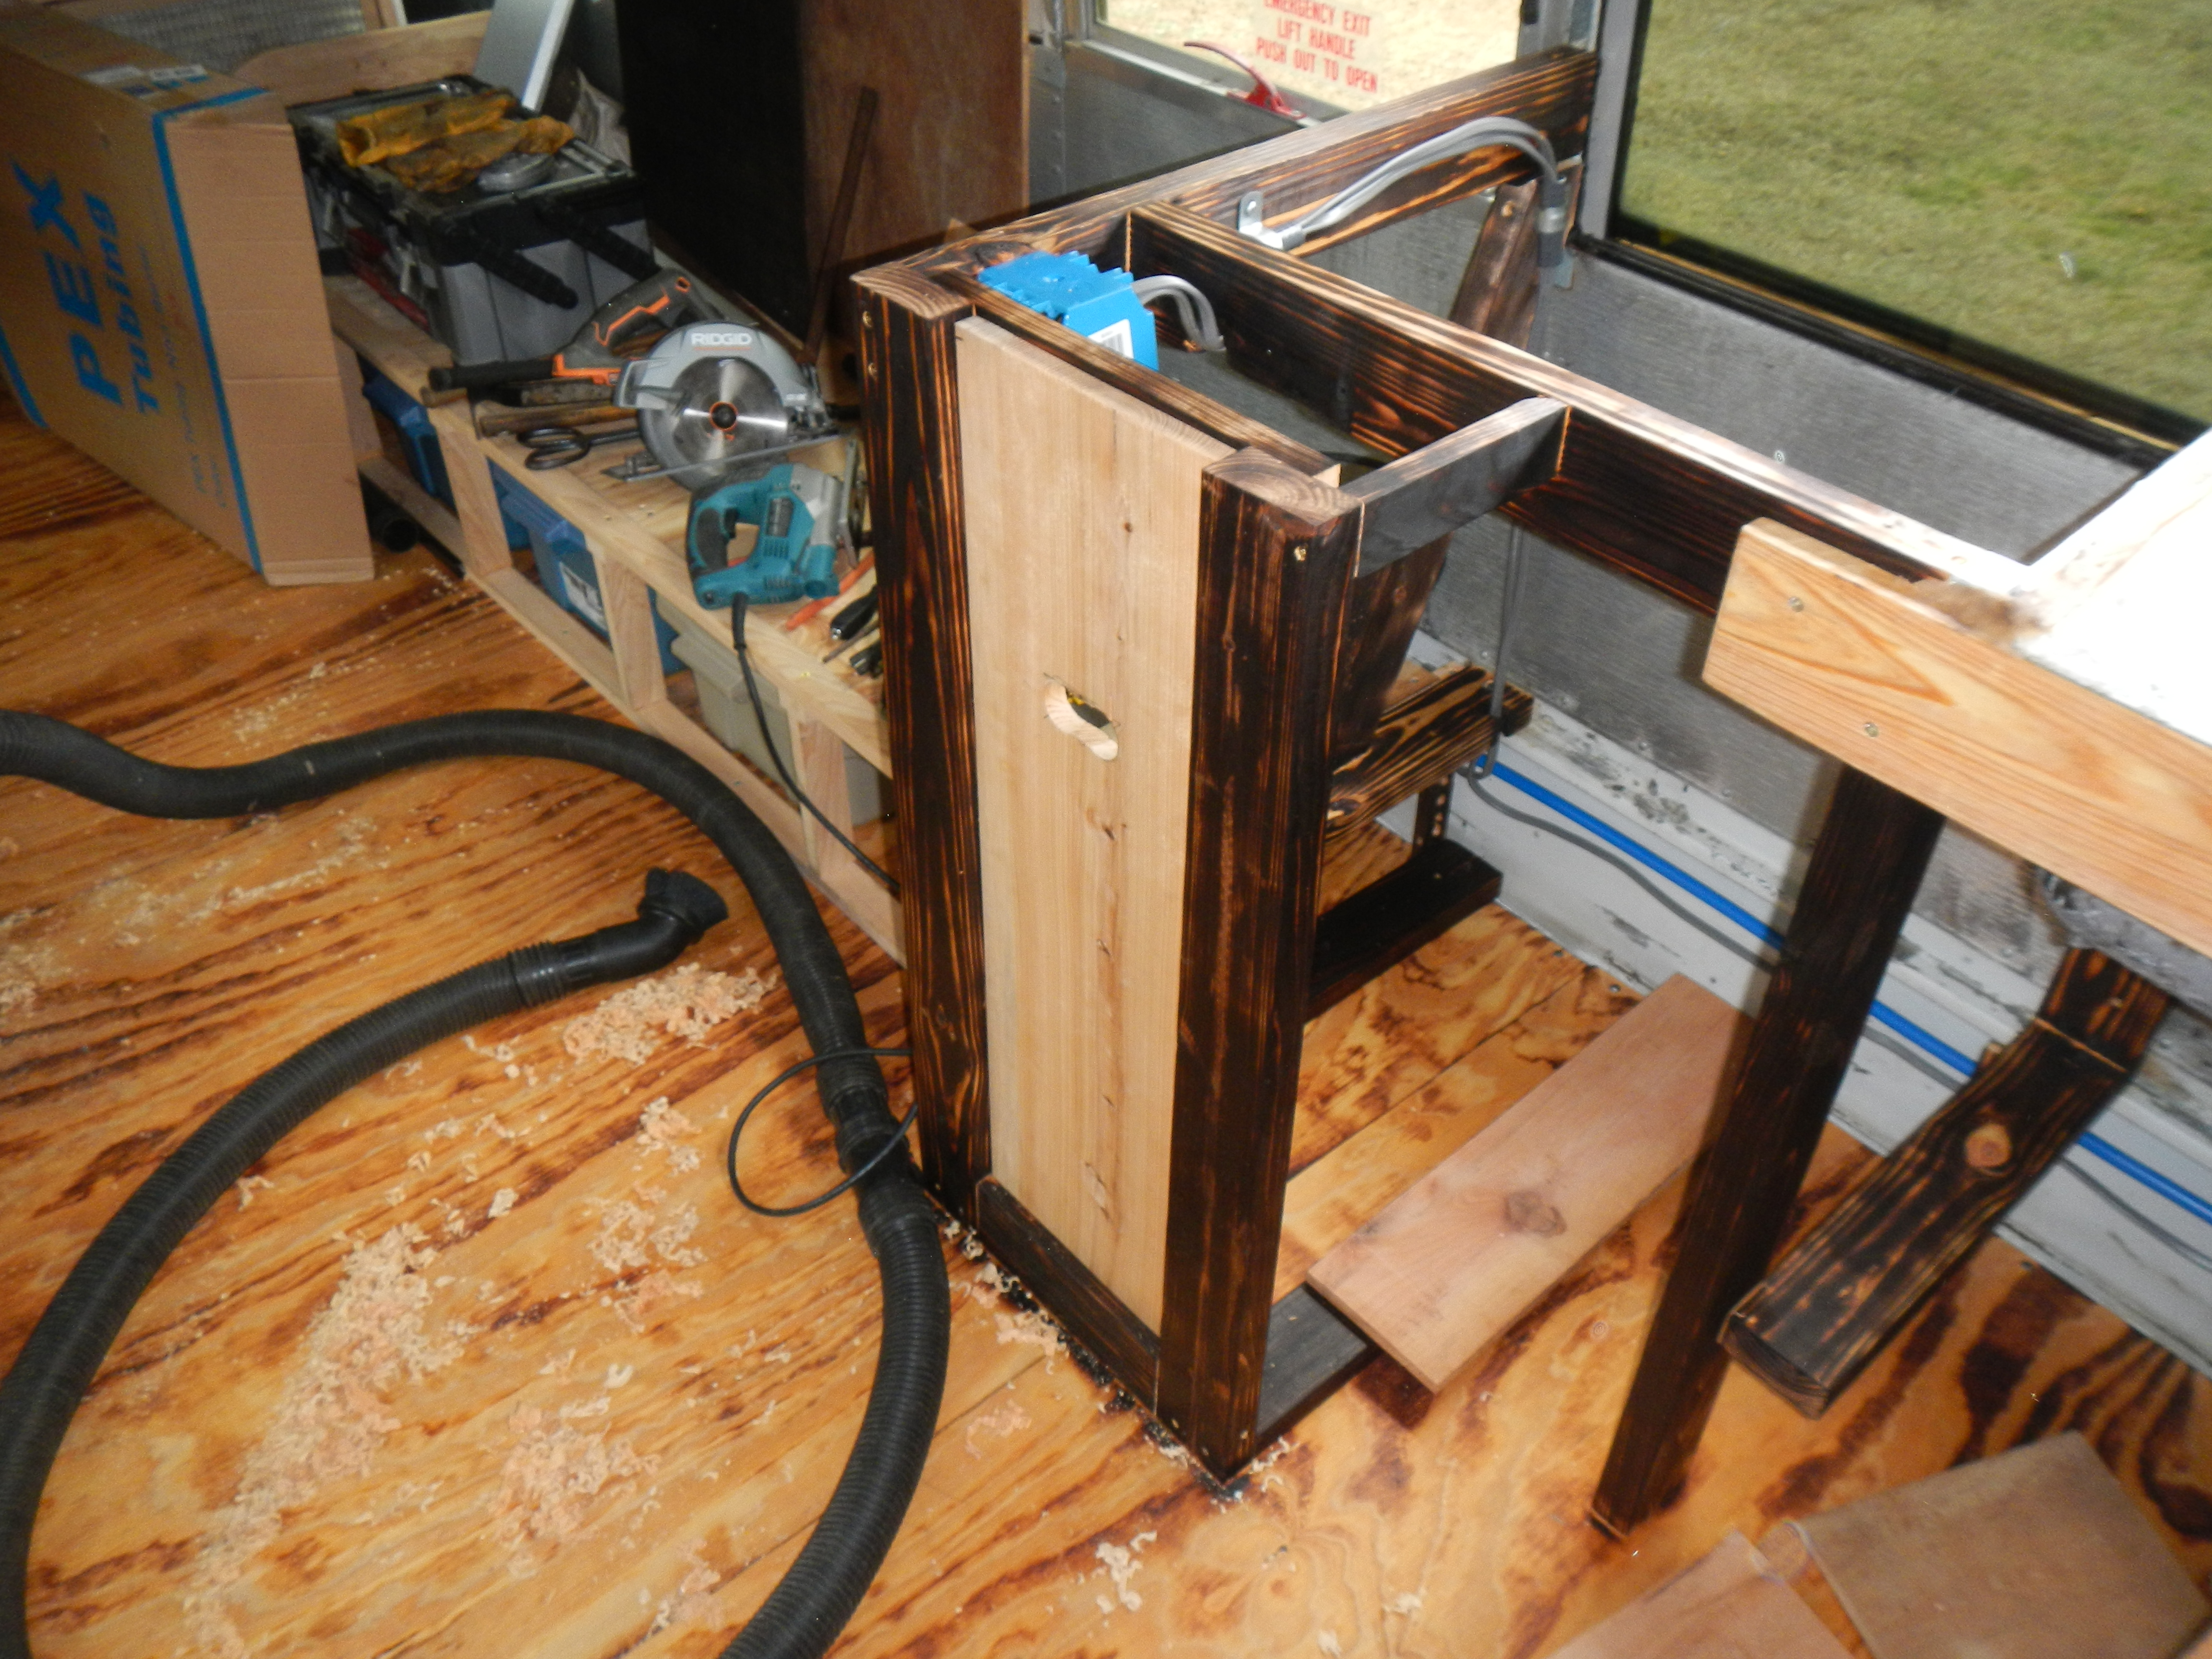
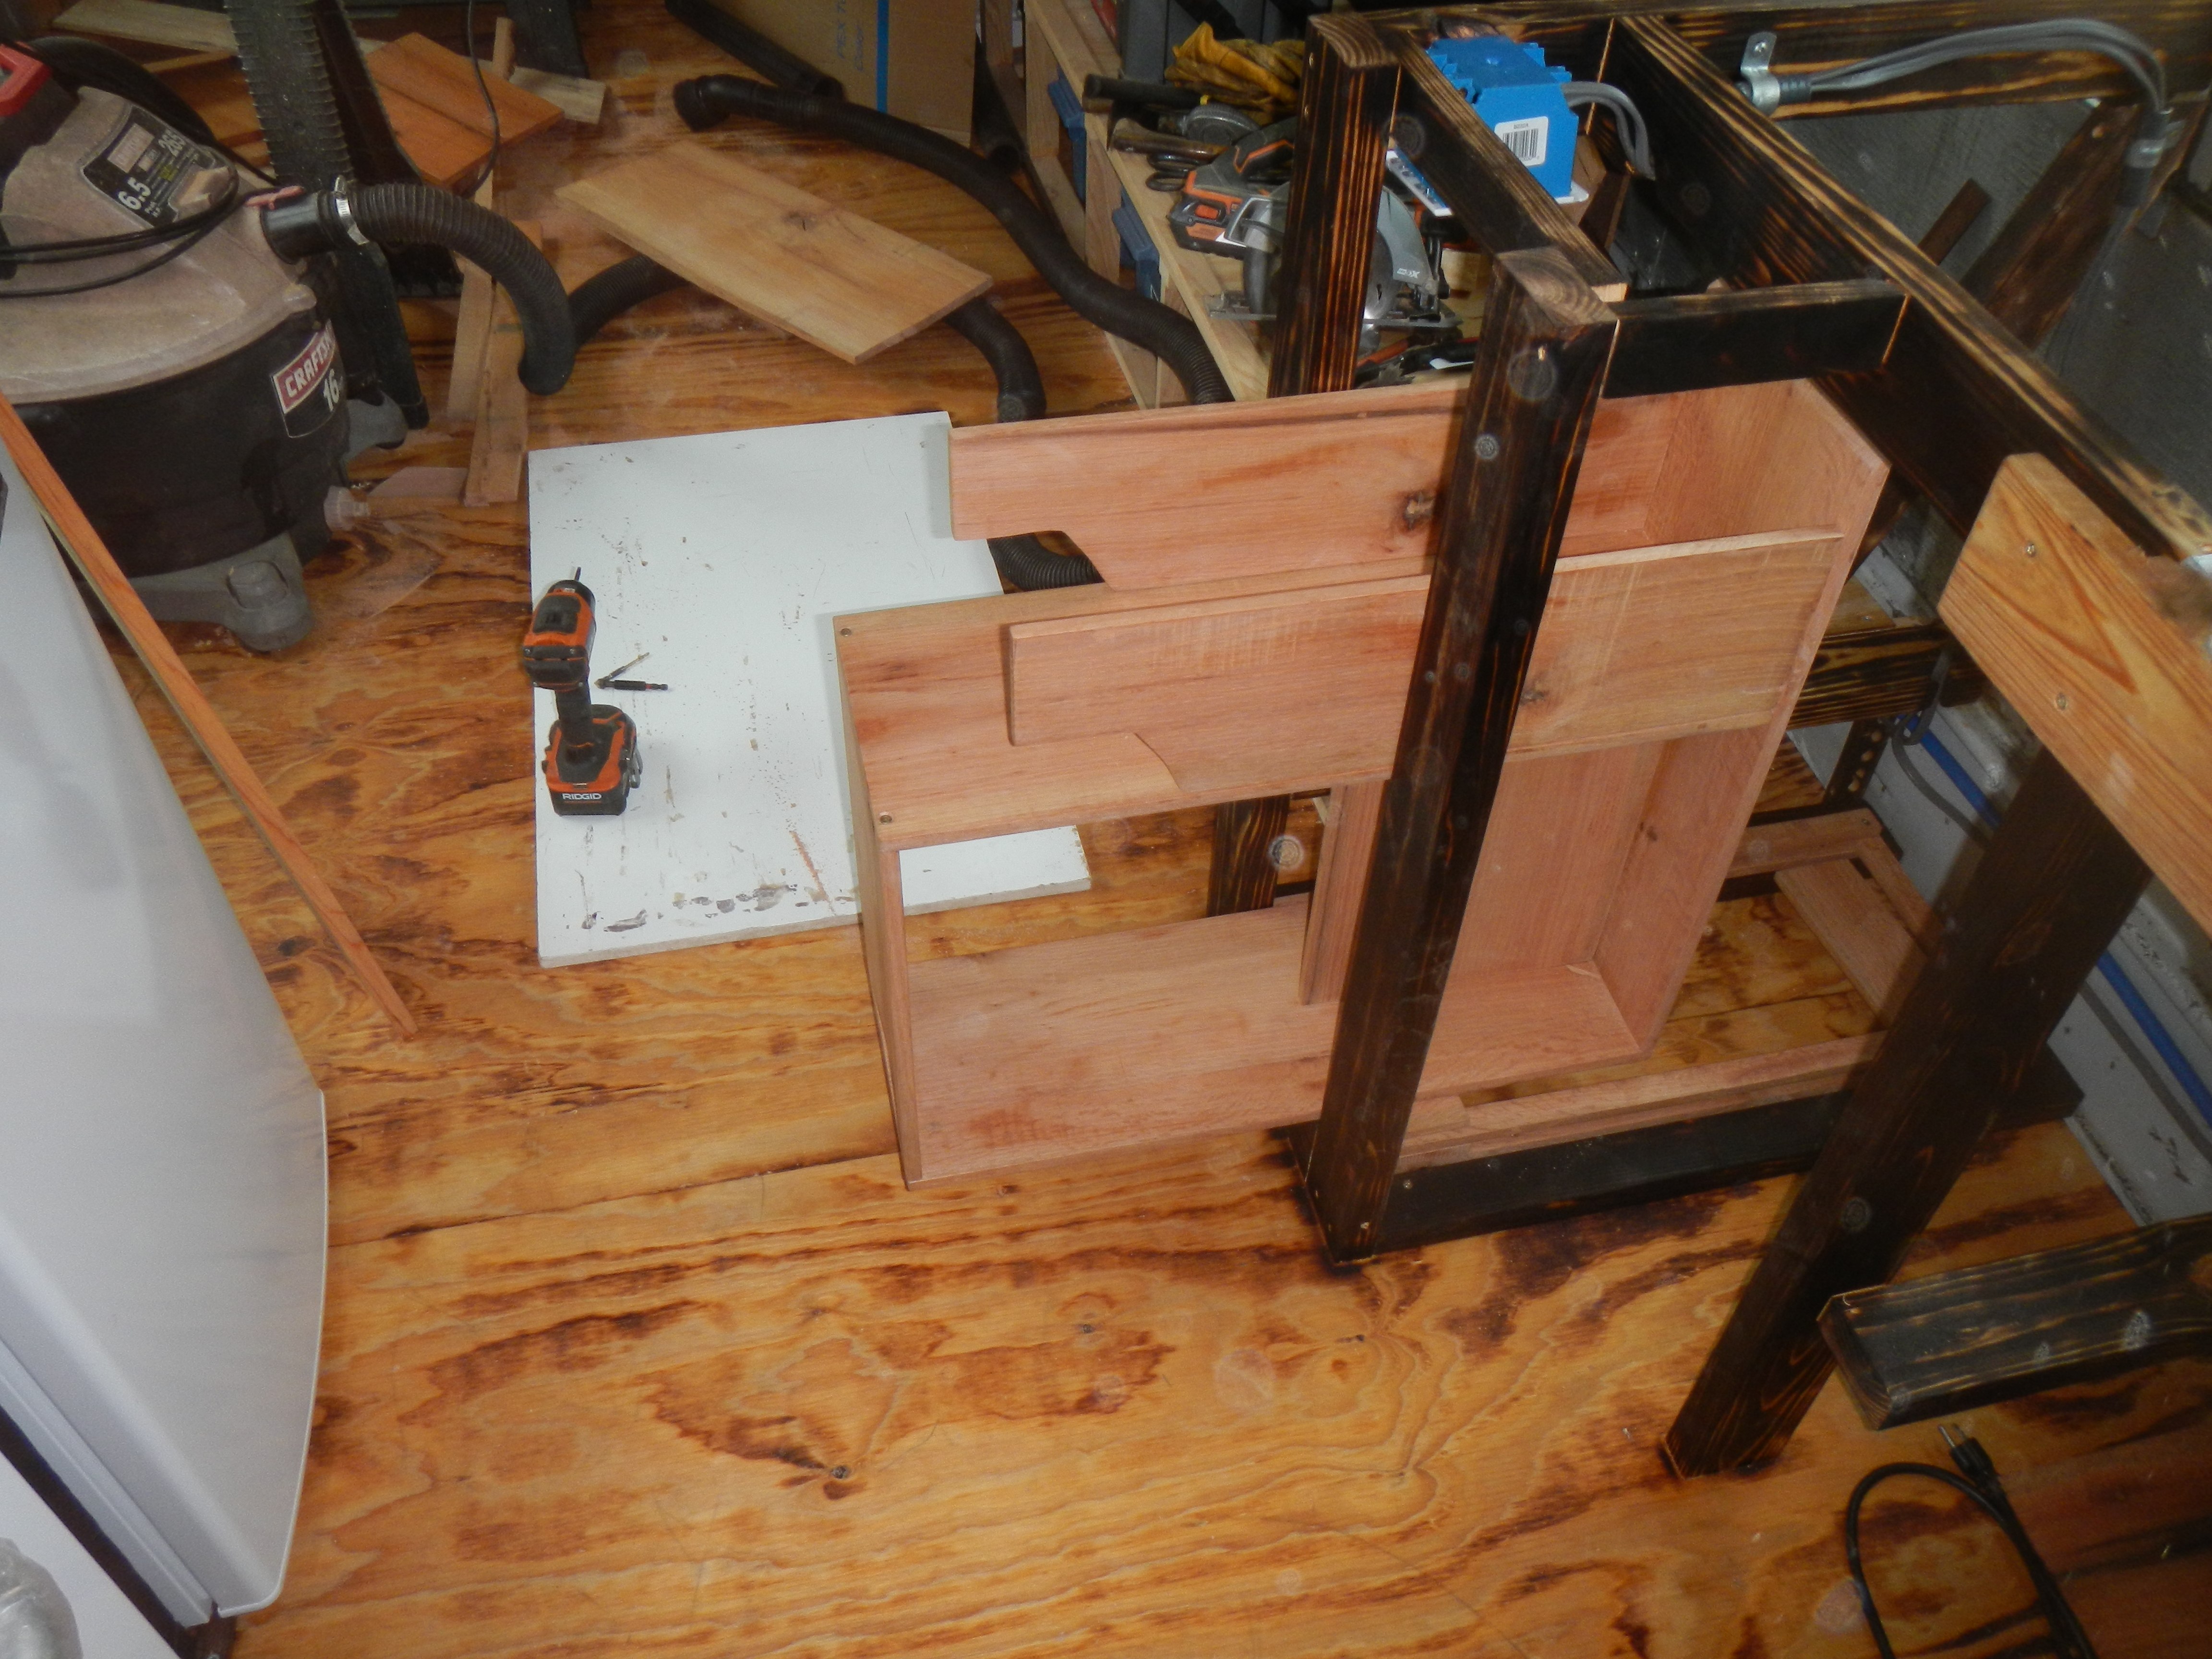
Step 1: select front
Getting this to fit closely took some time with a hand planer. Note wood shavings scattered about
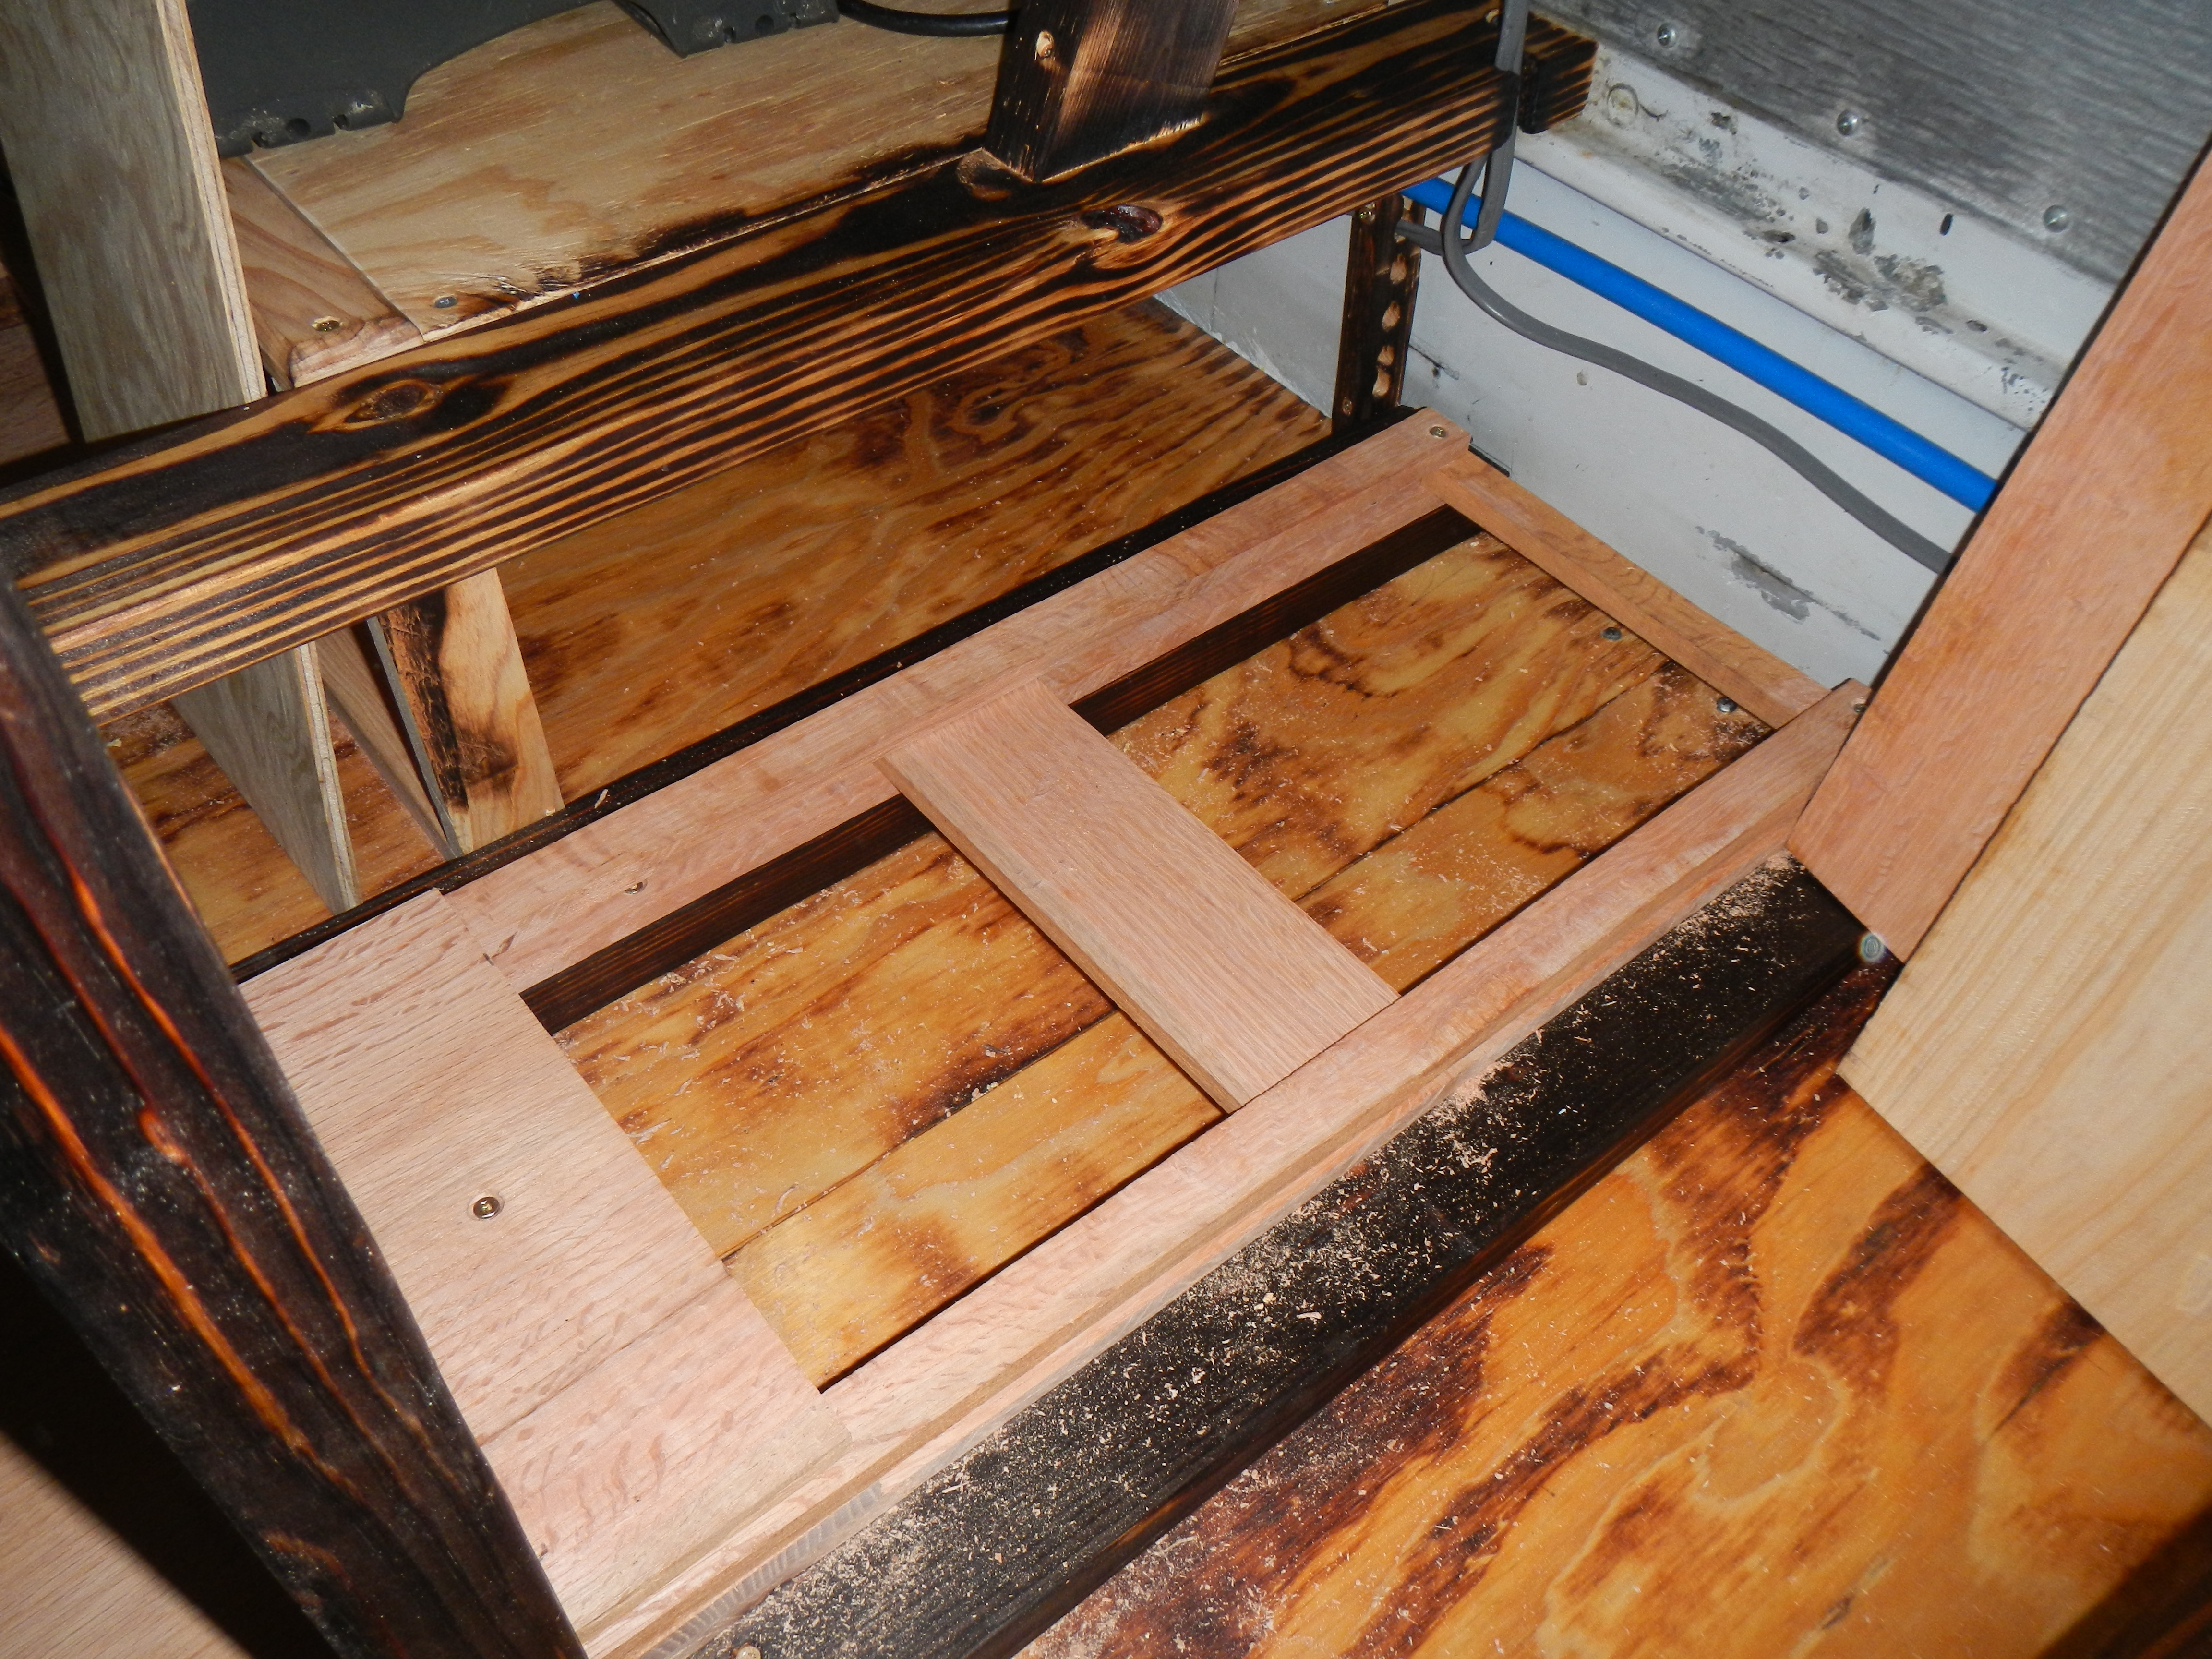
Step 2: design drawer slides
All moving or moved upon parts are red oak. I took care to maximize the contact surface area, and the majority of the operational load is borne by the entire board on the left instead of the captive slide. A single screw is used to loosely secure this board, which floats on the slides and gives slightly due to its cup.
Step 3: assemble the drawer and mount on slides
This took some time and several iterations to get satisfactory performance
Step 4: mount face, install stops and rails
Step 5: disassemble everything. Finish sand, wax, buff, wax again, buff again then reassemble. This got done the next day.
Drawer operation is pretty smooth, even with a heavy load- I promptly filled it up with all my hammers, chisels, a hand plane, pipe wrenches, crescent wrenches and sundry other detritus which had previously lived on the countertops or the bench. I’d originally planned to put some form of paneling up on the counter frames after the drawer was installed, but the burned wood is so pretty that I am now loath to do so. Final decision for finishing trim is pending Hannah’s arrival so she can weigh in after she sees it in person.